The Ultimate DIY Milk Bath Photo Guide For Goddess-Level Maternity Pics
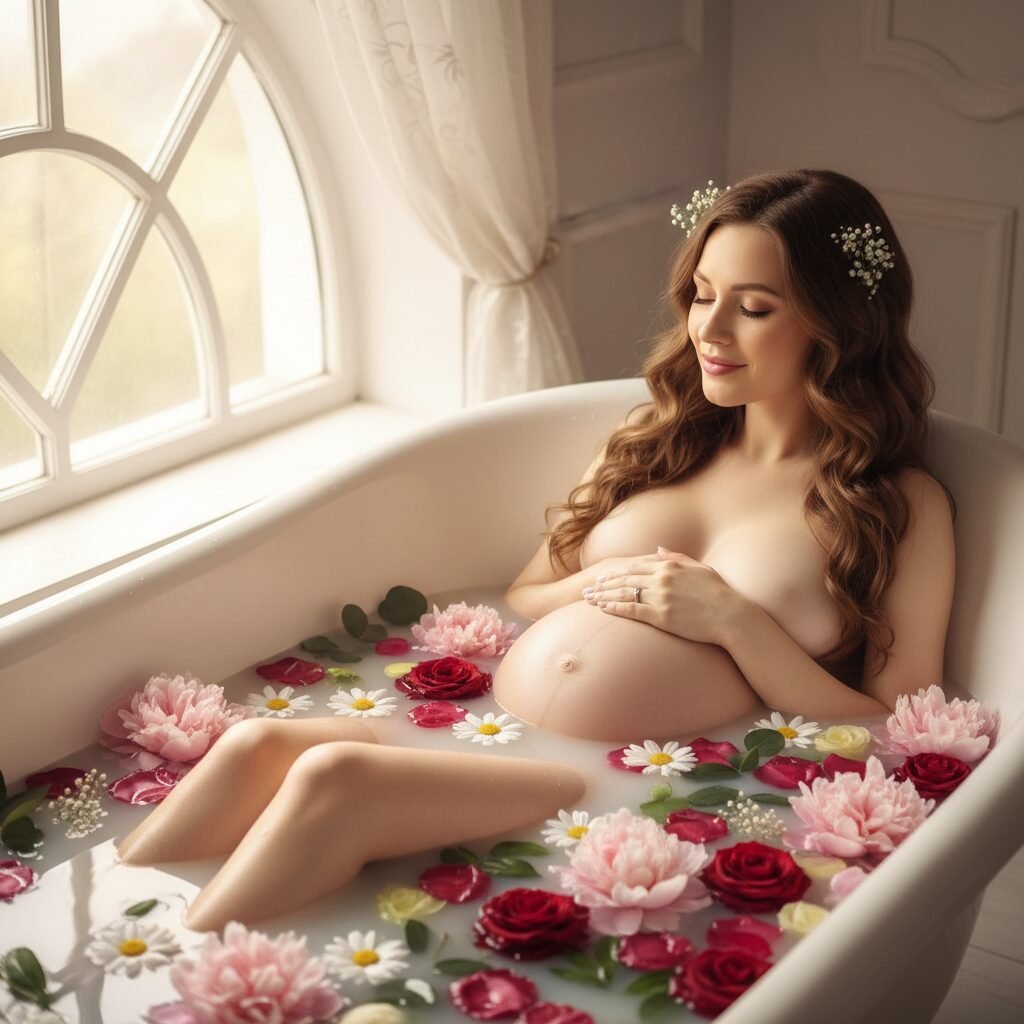
Pregnancy is a journey of profound transformation—a time when your body is performing miracles daily. Capturing this fleeting, powerful chapter through a maternity photoshoot is a beautiful way to honor yourself and the new life you are creating. Among the many styles of maternity photography, the milk bath session stands out for its ethereal, dreamy, and utterly timeless quality. It wraps you in a soft, luminous embrace, highlighting the gentle curves of pregnancy with artistic grace.
Many expectant parents believe this luxurious, goddess-like experience is only achievable in a high-end photography studio. But as a doula and maternal health educator, I’m here to assure you that you can create breathtakingly beautiful milk bath photos safely and affordably in your own home. It’s a wonderful nesting activity and a chance for you and your partner to connect and create lasting memories together.
This ultimate guide will walk you through every single step, from ensuring your safety to choosing the perfect flowers and capturing the magic on camera. We’ll cover the practical details, the artistic touches, and the all-important self-care that should accompany this celebration of you. Let’s create some magic.
Safety First: Creating a Secure and Serene Sanctuary

Before we dive into the creative details, our first priority is ensuring your complete safety and comfort. Your well-being and your baby’s are paramount. A milk bath photoshoot should be a relaxing and empowering experience, not a source of stress. Here are the essential safety protocols to establish your serene sanctuary.
Key Safety Considerations:
- Water Temperature: This is non-negotiable. The bath water should be warm, not hot. A temperature between 98°F and 100°F (37°C to 38°C) is ideal. Water that is too hot can raise your core body temperature, which can be dangerous during pregnancy. Use a bath thermometer to be precise. If you start to feel overheated, dizzy, or flushed, it’s a sign to get out immediately.
- A Helping Hand: Always have your partner, a friend, or a family member present and nearby. Getting in and out of a slippery tub can be challenging with a baby bump, and having someone there for physical support and to pass you towels or water is crucial.
- Preventing Slips: Place a non-slip mat both inside the tub and on the floor outside the tub. The milk and oils can make surfaces extra slippery. Take your time and move carefully.
- Skin-Safe Ingredients: Your skin can be more sensitive during pregnancy. Only use ingredients you know you are not allergic to. Opt for pure, unscented milk powders and be mindful of the flowers you choose. Avoid flowers that have been treated with pesticides or have strong, overwhelming scents. When in doubt, a patch test on your skin a day before is a wise idea.
- Stay Hydrated: Keep a large glass of cool water within arm’s reach. Soaking in a warm bath can be dehydrating, so it’s important to sip water throughout the process.
- Listen to Your Body: This is the golden rule. Do not push yourself. If you feel tired, uncomfortable, or crampy at any point, it’s time to end the session. The photos can wait; your health cannot. This experience is about honoring your body, so heed its signals.
Remember, this is an act of self-love. The most beautiful photo is one where you feel safe, comfortable, and cherished. Prioritize your well-being above all else.
Gathering Your Goddess-Level Supplies: The Perfect Milk Bath Recipe
Now for the fun part: assembling the elements that will transform your bathroom into a professional-looking photo studio. The beauty of a DIY milk bath is its simplicity and customizability. Here’s everything you’ll need, from the ‘milk’ to the finishing touches.
The ‘Milk’ Base
The key to that opaque, dreamy water isn’t gallons of dairy. It’s about using the right concentrate. Powdered versions are often easiest to work with and dissolve well.
| Milk Type | Pros | Cons | Recommended Amount |
|---|---|---|---|
| Whole Milk Powder | Creates a classic, opaque white look. Dissolves easily. Very cost-effective. | Contains dairy, which may not be suitable for those with allergies or who prefer a vegan option. | 2-3 cups per bath |
| Coconut Milk Powder | Excellent vegan option. Has a lovely, subtle tropical scent. Known for its skin-moisturizing properties. | Can be more expensive. May clump if not sifted into the water slowly. | 2-3 cups per bath |
| Liquid Whole or Coconut Milk | Can be used if you have it on hand. Mixes in instantly. | You need a larger quantity (at least 6-8 cups) to achieve opacity, making it less cost-effective. | 6-8 cups (half a gallon) |
| Colloidal Oatmeal | Fantastic for sensitive or itchy skin. Creates a very soft, soothing bath. | The water will be more translucent and less ‘milky’ white. Best used in combination with a milk powder. | 1 cup, mixed with milk powder |
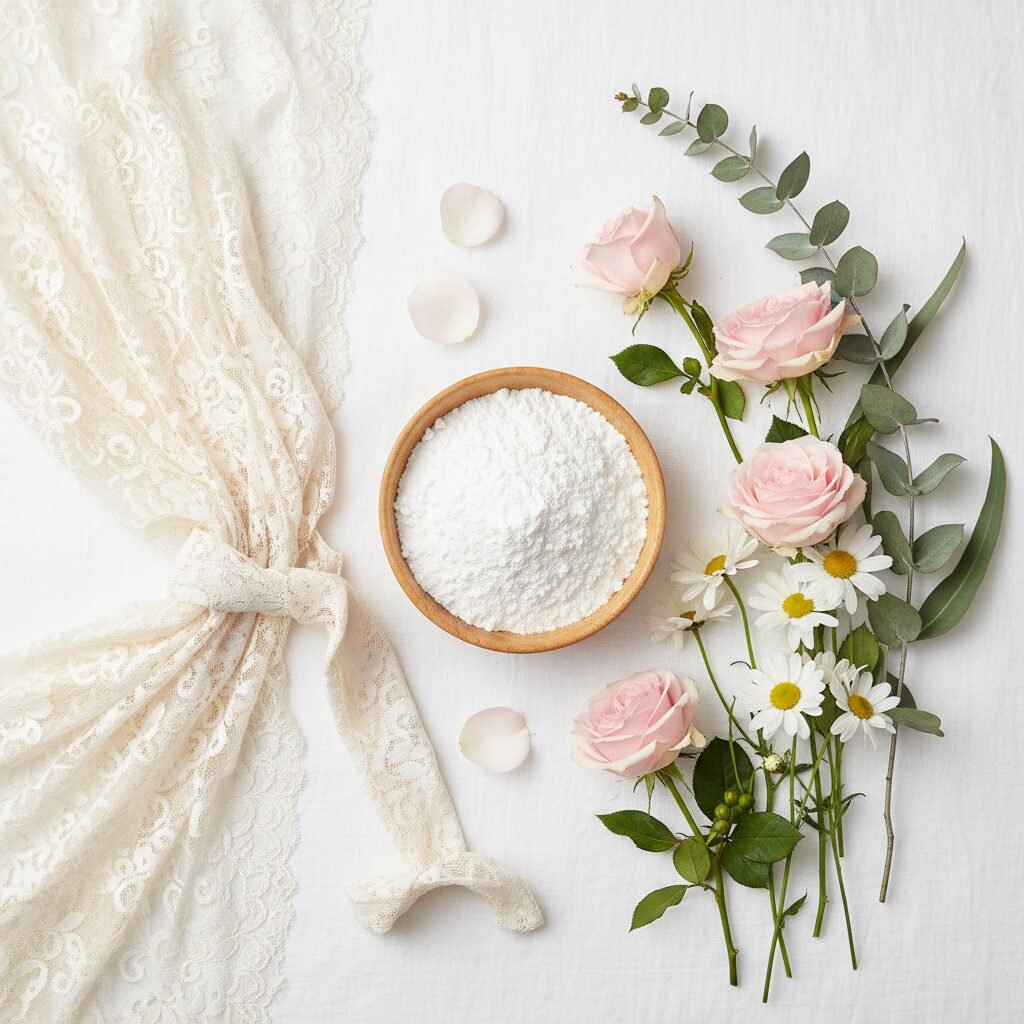
The Florals & Greenery
Flowers add color, texture, and romance. Choose a color palette that complements your skin tone and the wardrobe you’ve selected.
- Best Flowers to Use: Roses, carnations, daisies, chrysanthemums, and peonies are excellent choices. They are sturdy, float well, and their petals don’t bleed color too quickly.
- Fresh vs. Faux: Fresh flowers are beautiful but can be expensive and may sink. A pro tip is to use a mix: high-quality faux flowers for a base and a few fresh blooms for close-up shots.
- Preparation: Trim the stems off the flowers, leaving just the head. For a more deconstructed look, you can use just the petals. Adding some greenery like eucalyptus or fern leaves can provide a beautiful contrast.
The Wardrobe
What you wear (or don’t wear) sets the mood. Consider these options:
- Lace or Sheer Robes: A delicate, unlined lace robe looks incredibly elegant as it floats in the water.
- Sheer Fabric: You can strategically drape sheer fabric (like tulle or chiffon) over your body for a soft, artistic effect.
- Bandeau and Skirt: A simple bandeau top with a flowing skirt can provide coverage while still highlighting your bump.
- Au Naturel: Many women choose to be nude for milk bath photos, focusing purely on the beauty of the pregnant form. This is a powerful and beautiful option if you are comfortable with it.
The Ambiance & Gear
- Lighting: Natural light is your best friend. Plan your shoot for a time of day when your bathroom is brightest.
- Photography Equipment: You don’t need a fancy camera! A modern smartphone can take incredible photos. If you have a DSLR, great. A tripod can be very helpful for steady shots, especially if you’re using a timer.
- Comfort Items: A rolled-up towel for your neck, your favorite relaxing playlist, and some flameless LED candles to set a safe, serene mood.
Your Step-by-Step Guide to a Flawless Milk Bath Photoshoot
With your sanctuary prepared and supplies gathered, it’s time to bring your vision to life. Follow these steps methodically for a smooth, stress-free, and successful photoshoot.
- Step 1: Prepare the Space. Clean your tub thoroughly. Declutter the bathroom to ensure there are no distracting items in the background of your photos. Set up your camera or smartphone on a tripod, if using one, and frame your initial shot. Set out your towels, robe, and a glass of water.
- Step 2: Draw the Bath. Begin filling the tub with warm water, checking the temperature to ensure it’s in the safe zone (98-100°F). Fill it to a level that will comfortably cover your hips and belly when you recline.
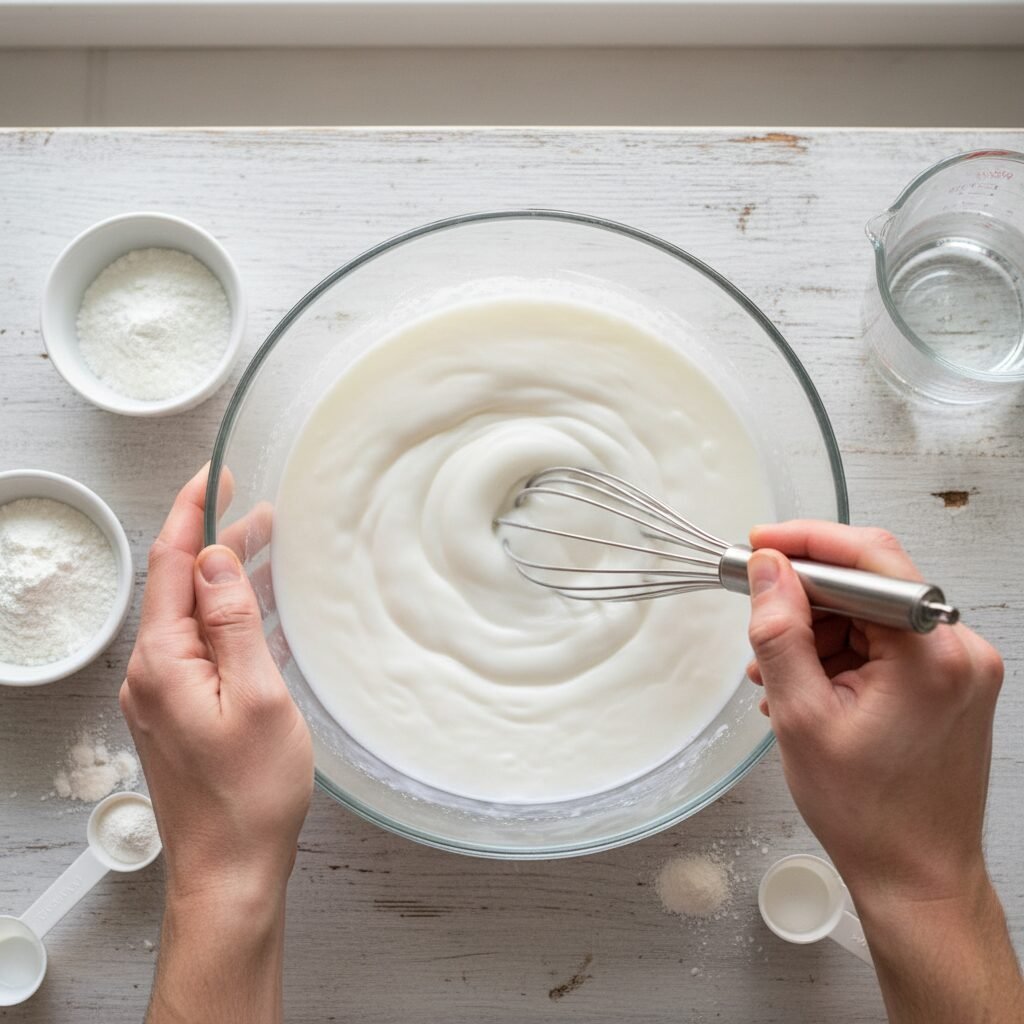
- Step 3: Mix the ‘Milk’. In a separate bowl or pitcher, mix your chosen milk powder with a few cups of warm water from the tub. Whisk it until it’s completely dissolved to avoid clumps. Once smooth, pour this mixture into the bath and swirl it around with your hand to create an even, milky appearance. Add more powder if you desire a more opaque look.
- Step 4: Add the Florals. This is the artistic part! Gently place your flowers and greenery on the surface of the water. Don’t dump them all in at once. Arrange them strategically around where you will be lying. They will drift, and that’s part of the charm, but an initial placement helps frame the shot. Save some extra petals or small blooms to sprinkle on top once you are in.
- Step 5: Get In Safely. Using your non-slip mat and with your partner’s assistance, carefully step into the tub. Lower yourself down slowly and find a comfortable, reclined position. Use a rolled towel to support your neck and head.
- Step 6: The Photoshoot. Now it’s time to shine! The person taking the photos should start snapping away. Experiment with different poses and angles (more on this in the next section). Take short breaks, sip some water, and readjust as needed. The goal is to capture genuine moments of serenity.
- Step 7: The Exit and Cleanup. When you’re finished, have your partner help you out of the tub onto the non-slip mat. Wrap yourself in a warm, fluffy towel. It’s important to drain the tub right away and rinse it thoroughly, as the milk and flower petals can leave a residue. Use a drain catcher to prevent clogs from the botanicals.
Capturing the Magic: Photography Tips for a Stunning Shoot
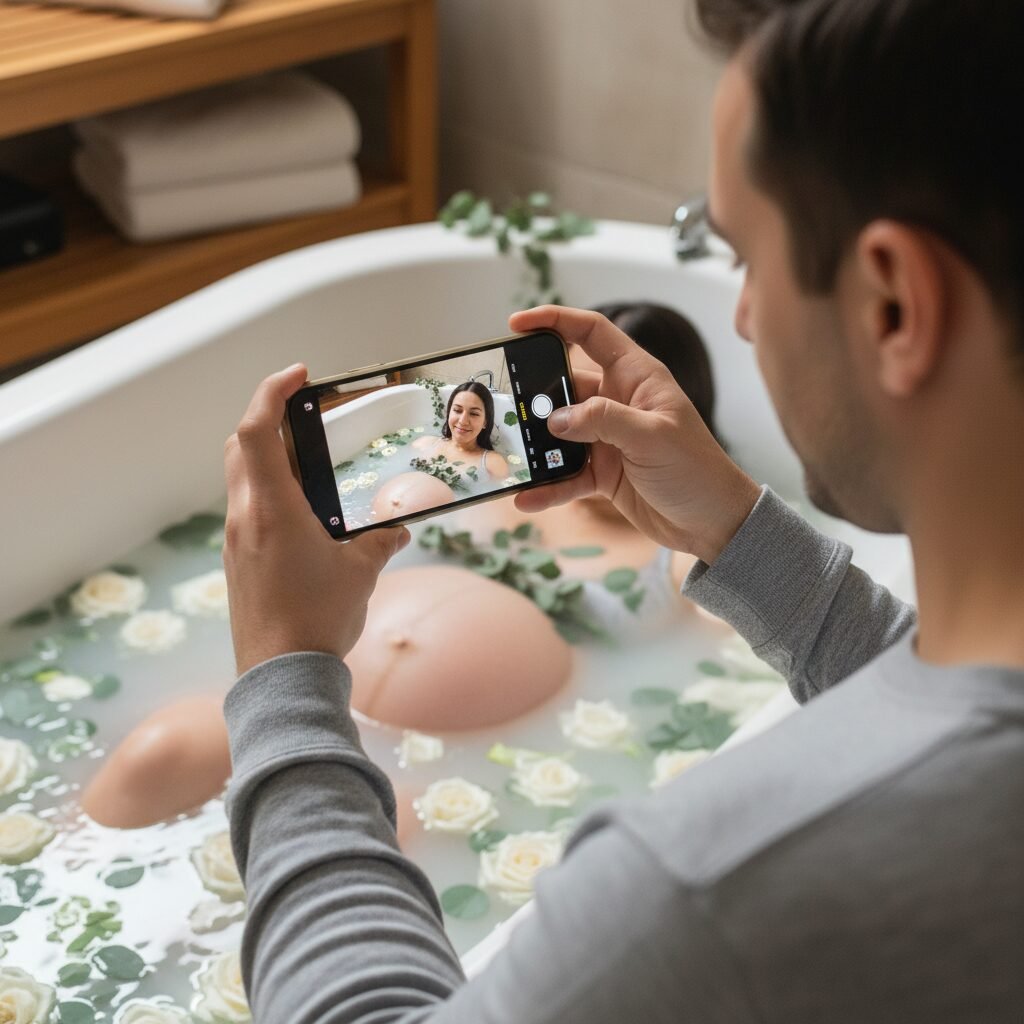
To the partners, friends, and designated photographers: your role is to capture the quiet strength and beauty of this moment. You don’t need to be a professional to take gorgeous photos. The key is patience, a good eye, and focusing on the emotion of the experience.
Lighting is Everything
Use Natural Light: Position the mom-to-be so that she is facing the primary light source (usually a window). This creates soft, flattering light and avoids harsh shadows. Turn off the overhead bathroom lights, as they often cast a yellow, unflattering glow.
Find Your Angles
Variety is key. Move around and try different perspectives to create a full gallery of images.
- The Overhead Shot: If you can do so safely (by standing on a sturdy stool), shooting from directly above is the classic milk bath angle. It beautifully showcases the belly, the flowers, and the serene composition.
- Profile View: Shoot from the side of the tub at eye level. This angle is perfect for highlighting the silhouette of the baby bump.
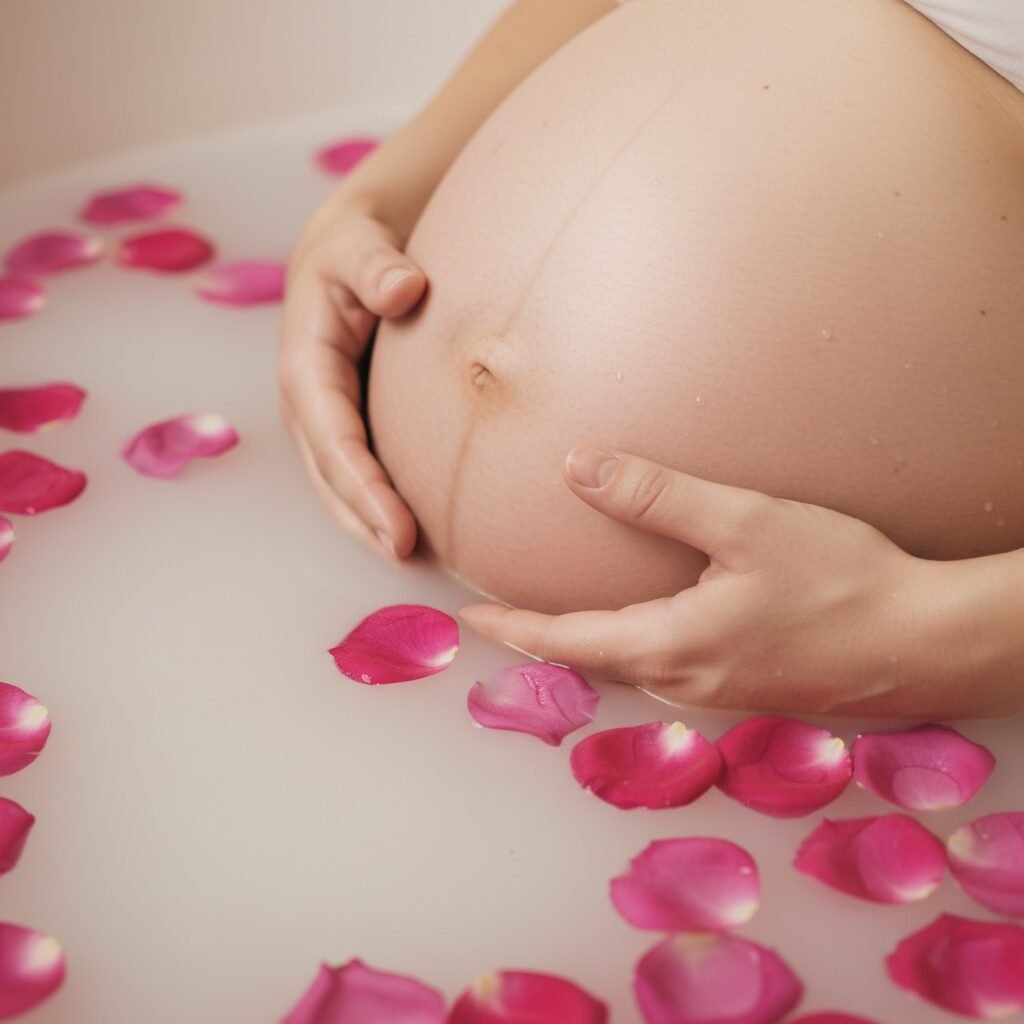
- Close-Up Details: Don’t forget the small moments. Take close-up shots of her hands cradling the belly, the flowers floating near her skin, or her peaceful facial expression. These intimate shots are often the most powerful.
- From the ‘Foot’ of the Tub: Shooting from the end of the tub, looking towards her, can create a beautiful leading line and a sense of depth.
Posing and Direction
Your subject may feel a bit vulnerable, so gentle and positive direction is essential. Use encouraging words and suggest simple poses.
- “Gently place both hands on top of your belly.”
- “Now try one hand on top, one hand underneath.”
- “Look down at your beautiful bump, just think about meeting your baby.”
- “Close your eyes and take a deep breath. You look so peaceful.”
- “Let your hands float in the water next to you.”
Technical Tips for Any Camera
- Clean Your Lens: The simplest but most overlooked tip! A quick wipe can make a huge difference in image clarity.
- Tap to Focus: If using a smartphone, tap on the screen where you want the sharpest focus—usually on her eyes or on the curve of her belly.
- Adjust Exposure: If the image looks too dark or too bright, use the exposure slider (usually a sun icon that appears after you tap to focus) to adjust it before you take the picture.
- Shoot in Bursts: Use the burst mode on your camera or phone to capture a series of shots at once. This increases your chances of getting that one perfect moment with no blinks and a perfect expression.
Styling and Posing: Embodying Your Inner Goddess
This photoshoot is a celebration of you. It’s a chance to connect with your changing body and the incredible life it’s nurturing. Here’s how to style yourself and pose in ways that feel authentic and make you look and feel like the goddess you are.
Hair and Makeup
The goal is to enhance your natural radiance, not mask it.
- Makeup: Think simple and waterproof. A light foundation or tinted moisturizer, waterproof mascara, and a neutral lip color are all you need. The steam from the bath can make heavy makeup run, so less is more. The focus should be on your glowing skin.
- Hair: Soft and romantic styles work best. Loose waves, a messy bun with tendrils framing your face, or even a simple braid are all beautiful options. You can let some of it dip into the water for an ethereal effect.
Posing with Confidence
Posing in a bathtub can feel awkward at first. The key is to relax and let your movements be fluid. The connection between you and your baby is the central theme.
- Cradle the Bump: This is the quintessential maternity pose. Place your hands gently on your belly, either from the top, bottom, or sides. It’s an instinctive gesture that conveys love and protection.
- Look Down at Your Belly: This creates an intimate, reflective portrait. It’s a moment between you and your baby, and the camera is just an observer.
- The Recline: Lean back against the tub, close your eyes, and let a serene expression wash over you. This pose exudes peace and contentment.
- Interact with the Elements: Gently cup a flower in your hand, let your fingers trail through the milky water, or scoop some water and let it run down your belly. These small actions create dynamic and engaging photos.
Post-Shoot Self-Care
The experience doesn’t end when the camera is put away. Take a few moments for yourself after the shoot.
- Rinse Thoroughly: Take a quick, warm shower to rinse the milk residue from your skin and hair.
- Moisturize Generously: Pat your skin dry and apply a generous amount of your favorite pregnancy-safe body butter or oil to lock in moisture.
- Rest and Hydrate: Put on a comfortable robe, drink a large glass of water, and relax. You’ve just created art! Allow yourself time to rest and soak in the positive energy of the experience.
Let these images be a reminder not just of what you looked like, but of how you felt: powerful, beautiful, and full of love for the little life you were about to meet.
Conclusion
Creating your own DIY milk bath photoshoot is so much more than just a way to get beautiful pictures. It is an act of radical self-celebration. In a world that often rushes us, this is an opportunity to slow down, to connect with your body in its most powerful state, and to create a tangible memory of this sacred time. It’s a testament to your strength, your beauty, and the incredible journey of motherhood you are on.
Whether your photos are taken by your partner, a friend, or a tripod and a timer, the most important element is the love and intention you bring to the process. Cherish the quiet moments, embrace the imperfections, and remember the feeling of floating in that warm, milky water, dreaming of the baby you will soon hold in your arms.
You are a creator of life. You are a goddess. And these images will forever be a beautiful reminder of the magic you hold within.