How to Take Pro-Level Maternity Photos at Home Using Just Your iPhone
Pregnancy is a fleeting, transformative journey, a unique chapter in your life story that deserves to be beautifully documented. While professional maternity photoshoots are a wonderful option, they aren’t always feasible due to budget, timing, or comfort. But what if you could capture that same professional, ethereal quality using a tool you use every day? Your iPhone.
As a doula and maternal health educator, I’ve seen firsthand how empowering it is for parents to take ownership of their pregnancy journey, and that includes creating their own memories. Forget the myth that you need expensive equipment and a professional photographer to get breathtaking results. Your smartphone is an incredibly powerful camera, and with a little knowledge and preparation, you can create a collection of stunning, intimate, and pro-level maternity photos that truly reflect your personal story.
This guide is designed for you—the expecting parent, the supportive partner, the family wanting to freeze this precious moment in time. We’ll walk you through everything, step-by-step: from setting the stage and mastering your iPhone’s hidden features to finding flattering poses that make you feel confident and beautiful. Let’s turn your home into a photo studio and create keepsakes you’ll treasure for a lifetime.
Pre-Shoot Prep: Setting the Stage for Success

Finding Your Light and Location
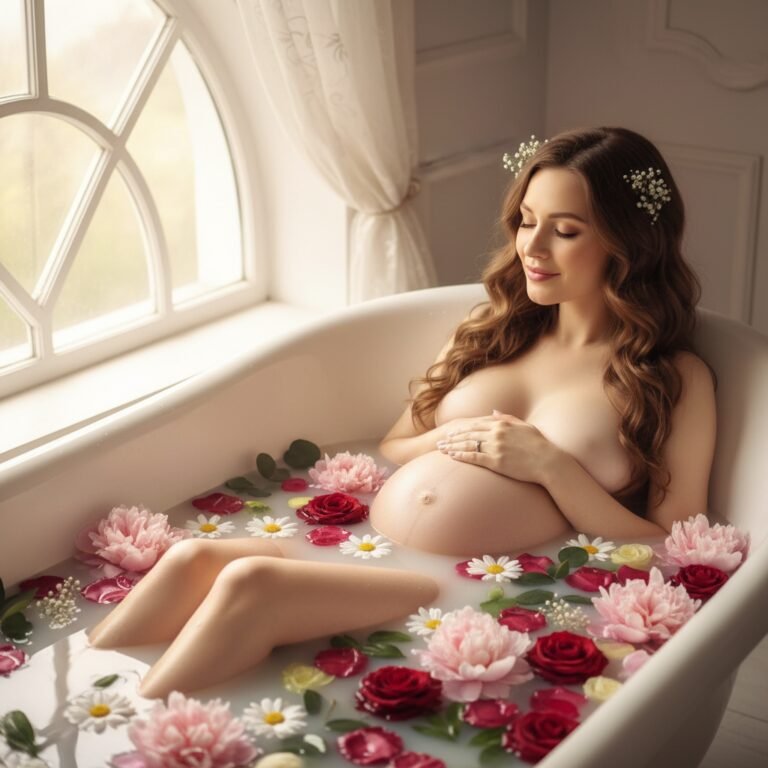
The single most important element in any photograph is light. Professional photographers are masters of light, and you can be too. The best light is almost always natural light. Look for a time of day when the sun isn’t harsh or directly overhead. The ‘golden hour’—the first hour after sunrise and the last hour before sunset—is famous for its soft, warm, and flattering glow. If that timing doesn’t work, any time with bright, indirect sunlight will do. Find the largest window in your home and plan to shoot near it. The light will wrap around you, minimizing harsh shadows and creating a gentle, radiant look.
Your location sets the mood. You don’t need a perfectly decorated home. A simple, uncluttered space is often best because it keeps the focus on you and your bump. Consider these spots:
- The Master Bedroom: A neatly made bed with neutral-colored linens can create a soft, intimate, and relaxed setting.
- The Nursery: If it’s ready, the nursery is a meaningful backdrop. Posing near the crib or a rocking chair adds a beautiful storytelling element.
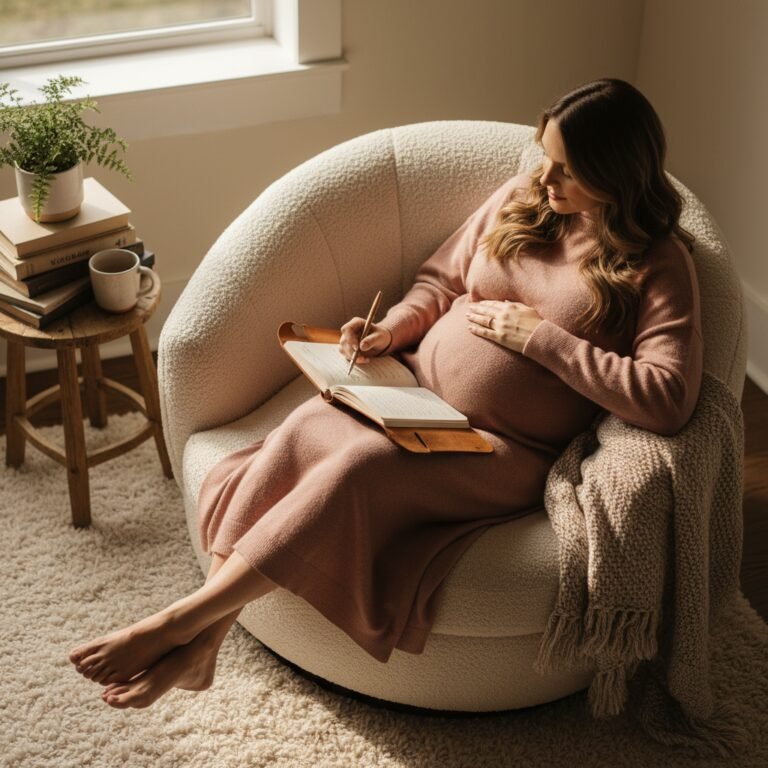
- A Living Room Corner: Find a clean wall or a corner near a window. You can use a simple armchair or even just stand against the wall for a minimalist, modern look.
Pro Tip: Declutter the background! Remove any distracting items like laundry baskets, charging cables, or stacks of mail. The goal is to create a serene and focused environment.
Choosing Your Wardrobe and Props
What you wear can dramatically impact the feel of your photos. The goal is to highlight your beautiful silhouette. Comfort is key, but so is form.
- Solid Colors: Busy patterns can distract the eye. Solid colors—especially neutrals like white, cream, beige, grey, or soft pastels—are timeless and keep the focus on you. Black is also a classic choice for creating a dramatic silhouette.
- Form-Fitting Fabrics: Choose outfits made of stretchy, comfortable materials that hug your curves and accentuate your bump. Maxi dresses, fitted tops, and even unbuttoned jeans with a simple bandeau can look stunning.
- Consider Texture: A chunky knit sweater, a delicate lace robe, or a flowing chiffon dress can add beautiful texture and dimension to your photos.
Props should be simple and meaningful. You don’t want them to overpower the image. A few thoughtful additions can enhance the story you’re telling:
- An ultrasound photo held near the bump.
- A pair of tiny baby shoes.
- A letter board with your due date or a sweet message.
- A special baby blanket or a cherished onesie.
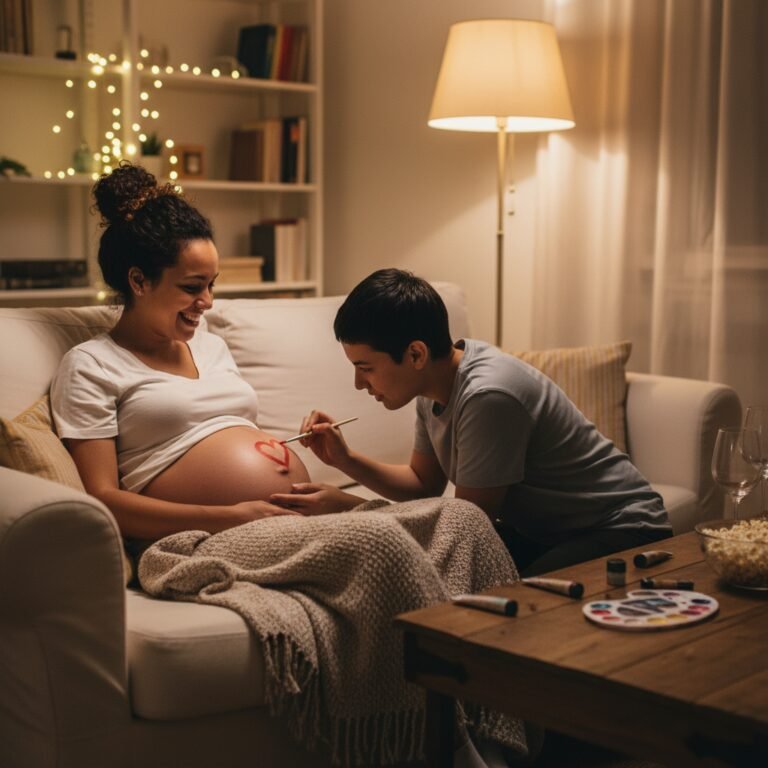
- Your partner’s hands creating a heart on your belly.
Mastering Your iPhone Camera: Unlocking Pro Features

Your iPhone’s native camera app is packed with features designed to help you take better photos. Let’s unlock a few key settings that will instantly elevate your maternity shots from simple snapshots to professional-looking portraits.
Portrait Mode: The Secret to a Dreamy, Blurred Background
Portrait Mode is your best friend for maternity photography. It uses software to create a ‘bokeh’ effect, which is that beautiful, blurry background you see in professional portraits. This effect makes the subject—you!—pop and eliminates background distractions.
- Open your Camera app and swipe over to PORTRAIT.
- The camera will guide you on distance. Position yourself so the ‘Natural Light’ box turns yellow.
- Tap on your face or belly on the screen to set the focus point. This is crucial!
- You’ll see a small ‘f’ icon, usually in the top right corner. Tap it to open the Depth Control slider. Sliding this left or right adjusts the intensity of the background blur. A lower f-number (like f/1.8) creates more blur, while a higher number (like f/16) keeps more of the background in focus. Start around f/2.8 for a beautiful effect.
- Snap the photo! The best part is you can even adjust the blur after you’ve taken the picture in the Photos app.
Grid Lines and the Rule of Thirds
Good composition guides the viewer’s eye and creates a more balanced, visually appealing image. The Rule of Thirds is a fundamental principle. To use it, first turn on your camera’s grid:
Go to Settings > Camera > Grid and toggle it on. Now, when you open your camera, you’ll see a 3×3 grid. The Rule of Thirds suggests placing your main subject not in the dead center, but along one of the lines or at one of the four intersection points. For a profile shot, align your body with the left or right vertical line. This simple trick creates a more dynamic and professional-looking composition.
Harnessing Light with Exposure Lock
Ever tried to take a photo in front of a window only to end up as a dark silhouette? Your iPhone’s exposure control can fix that. Point your camera at your subject, then tap and hold on your belly or face. You’ll see an ‘AE/AF LOCK’ box appear. This locks the focus and exposure. Now, next to the box, you’ll see a small sun icon. You can slide your finger up or down on the screen to manually make the image brighter or darker. For indoor shots by a window, you’ll likely want to slide it up slightly to properly expose your skin tones.
Using the Self-Timer and Tripod
If you’re taking photos by yourself or want to get a shot with your partner, the self-timer is essential. You don’t need a fancy tripod—a stack of books, a shelf, or a small, inexpensive phone tripod will work perfectly. Frame your shot, set the timer for 3 or 10 seconds, press the shutter button, and get into position. The 10-second option gives you more time to relax and settle into a natural pose.
Posing with Confidence: Flattering Angles for Every Body
Posing can feel awkward, but the goal is simply to create beautiful lines and highlight your pregnancy. The key is to connect with your body and your baby. Move slowly, breathe deeply, and remember that these photos are a celebration. Here are some simple, go-to poses that are both flattering and easy to achieve.
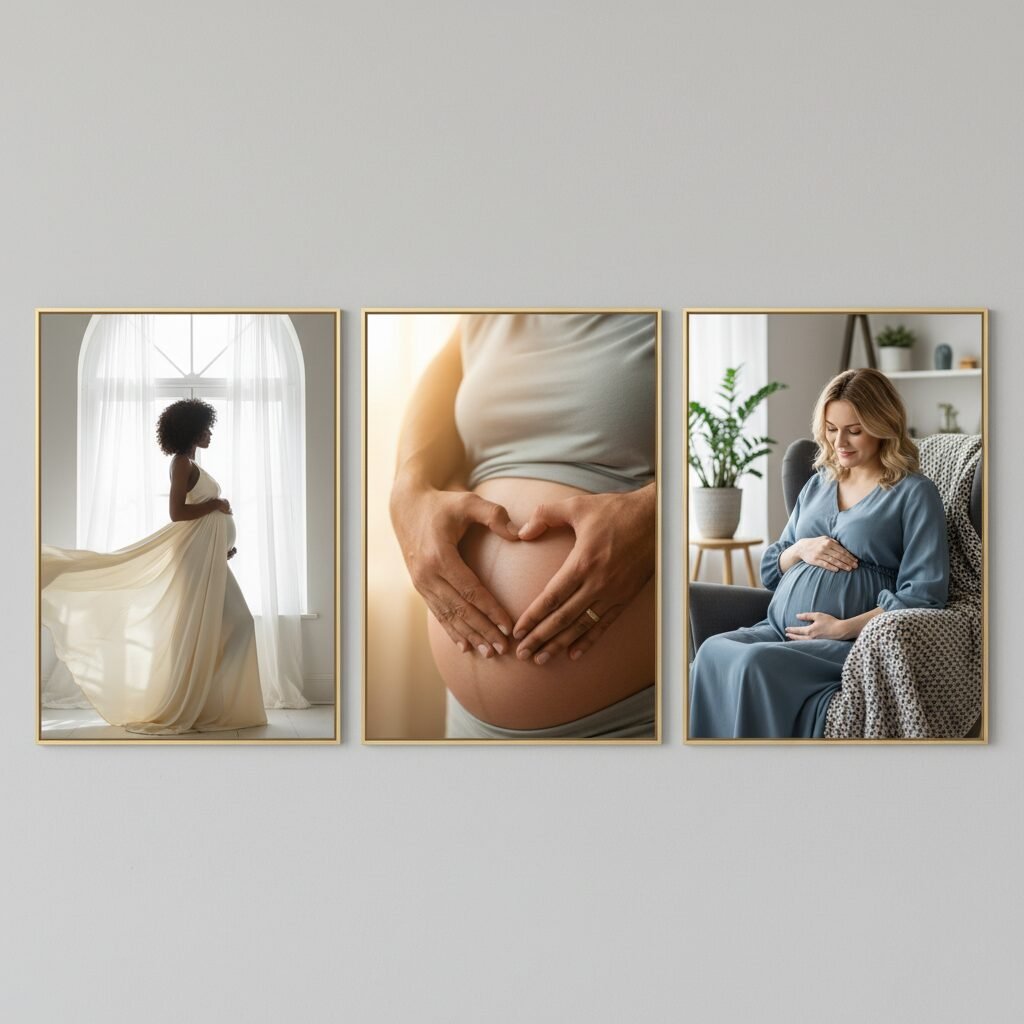
- The Classic Hands-on-Belly: This is the quintessential maternity pose for a reason. It’s a natural way to draw attention to your bump and show your connection to your baby. Try different hand placements: both hands cupping the bottom of your belly, one hand on top and one on the bottom, or gently resting one hand on the side.
- The Profile Silhouette: Stand sideways to the camera, with your main light source (the window) in front of you. Pop the leg closest to the camera and arch your back slightly to emphasize the curve of your belly. This creates a stunning, classic silhouette that beautifully showcases your new shape. If you place the window behind you, you can create a dramatic, dark silhouette.
- Looking Down at Your Bump: This pose creates a feeling of intimacy and quiet reflection. Gently tilt your chin down and look towards your belly with a soft, gentle expression. It’s a beautiful way to capture the bond you already feel.
- The ‘S’ Curve: To avoid looking ‘flat’ when facing the camera, create curves. Stand with your weight on your back leg, pop your front hip out to the side, and angle your shoulders slightly. This creates a flattering ‘S’ shape with your body.
- Incorporate Your Partner: These photos are about your growing family. Have your partner stand behind you, wrapping their arms around you and placing their hands on the belly. They can also kneel in front and kiss the bump, or you can stand face-to-face, holding hands and looking at each other. These poses capture connection and shared excitement.
- Sitting and Lounging: Don’t feel like you have to stand for every shot. Sit on the edge of the bed, curl up in a comfy armchair, or lie on your side. These poses feel relaxed and natural, resulting in authentic and tender photos.
Remember, the best pose is one that feels comfortable and genuine to you. Let your hands follow your heart; cradle your belly, feel the kicks, and let that love shine through the lens.
The Final Touch: Editing Like a Pro on Your iPhone

Editing is the final step that transforms a good photo into a great one. It’s not about changing how you look; it’s about enhancing the beauty that’s already there by adjusting light, color, and mood. You don’t need complicated software like Photoshop. The built-in iPhone Photos app is incredibly powerful, and free apps like VSCO or Lightroom Mobile offer even more control.
Simple Edits in the iPhone Photos App
Open a photo you like and tap ‘Edit’ in the top right corner. Here are the most important adjustments to make:
- Exposure/Brilliance: If your photo is a little dark, start by increasing the Brilliance slider slightly. It’s an intelligent tool that brightens shadows and tones down highlights without making the photo look washed out. You can also nudge the Exposure slider for overall brightness.
- Warmth: Photos taken indoors can sometimes look a bit cool or blue. Slide the Warmth tool slightly to the right to add a warm, golden, and more inviting tone to the image. This often makes skin tones look healthier and more vibrant.
- Contrast: A small increase in contrast can make the image ‘pop’ by making the darks darker and the lights lighter. Don’t overdo it, as too much contrast can look harsh.
- Crop & Straighten: Use the crop tool to improve your composition. If the horizon is slightly tilted, straighten it. You can also crop in tighter to remove distracting elements from the edges of the frame or to bring the focus closer to your subject. Re-apply the Rule of Thirds here if needed.
Using a Preset or Filter
For a consistent look across all your photos, consider using a filter or preset. Apps like VSCO and Lightroom Mobile are famous for their beautiful, professional-grade presets. The key is subtlety. Find a preset that you like—often one with warm tones or a slightly faded, film-like quality works well for maternity shots—and apply it to your photos. Once applied, you can almost always reduce the intensity of the filter. An intensity of 50-70% is often better than 100%, as it enhances the photo without overpowering it.
The goal of editing is to make the final image feel as magical as the moment did. Play around with the tools, but remember that less is often more. A light touch is all you need to make your beautiful photos truly shine.
Conclusion
You’ve done it. By combining the incredible technology in your pocket with the beautiful story unfolding in your life, you have created something truly special. You’ve captured the quiet moments, the gentle curves, and the profound love of this unique chapter—all from the comfort and intimacy of your own home. These images are more than just pictures; they are a testament to your strength, your journey, and the family you are building.
Remember, the goal was never perfection. It was connection. It was about taking a moment to honor your body, to connect with your baby, and to create a tangible memory of this fleeting time. The slight imperfections, the familiar background of your home, the genuine smiles—these are the things that make these photos uniquely yours. Cherish these images. Share them, print them, and look back on them with pride, knowing you were the artist behind the lens, capturing the most beautiful subject of all: your own story of becoming.