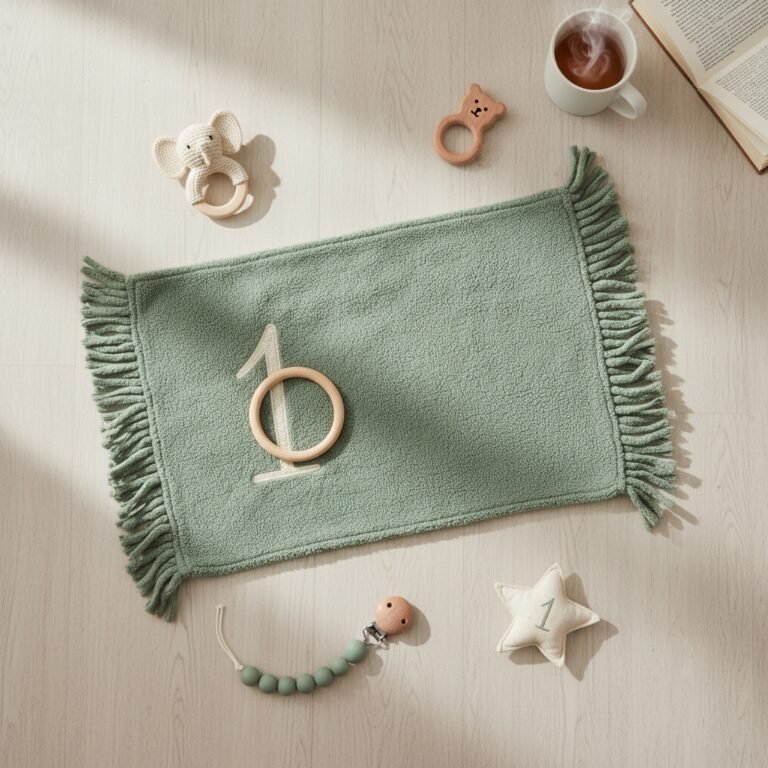
Nesting Overdrive? 5 Easy Sewing Projects for Baby You Can Do in a Weekend
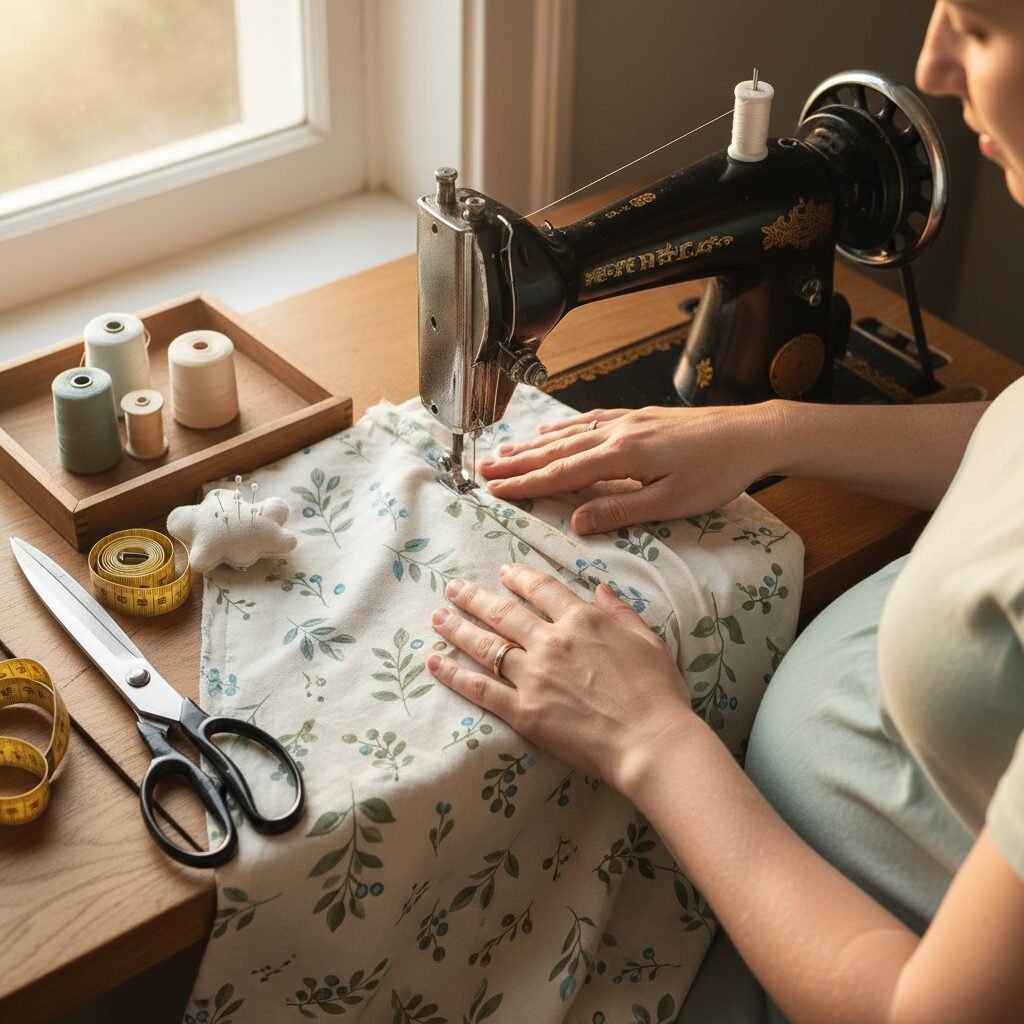
That sudden, powerful urge to clean, organize, and prepare your home for your new arrival is a well-known phenomenon of late pregnancy: nesting. This instinct is more than just a whim; it’s a deep-seated biological drive to create a safe and welcoming environment for your baby. While for some this means organizing closets, for others, it manifests as a creative burst. If you’re feeling the pull to create, channeling that energy into simple sewing projects can be an incredibly rewarding and therapeutic way to connect with your baby before they even arrive.
Creating something with your own hands is an act of love. It’s a way to pour your hopes and dreams for your little one into a tangible object they will use and cherish. But you don’t need to be an expert seamstress to make beautiful, functional items. We’ve curated a list of five easy sewing projects perfect for beginners. Each one can be completed in a weekend, providing you with a sense of accomplishment and a beautiful collection of handmade essentials for your baby.
Project 1: The Classic & Essential Burp Cloth
Project 1: The Classic & Essential Burp Cloth
If you’re new to sewing, burp cloths are the perfect starting point. They are essentially small rectangles, which means you’ll only be sewing straight lines. They are also incredibly practical—you can never have too many! This project is forgiving and gives you great practice with basic sewing machine functions.
Materials Needed:
- 1/2 yard of absorbent fabric (like flannel, terry cloth, or cotton chenille) for the back.
- 1/2 yard of decorative cotton fabric for the front.
- Coordinating all-purpose thread.
- Basic sewing supplies: sewing machine, scissors or rotary cutter, cutting mat, pins or sewing clips, iron.
Step-by-Step Instructions:
- Prepare Your Fabric: Pre-wash and dry both fabrics to prevent shrinking later. Iron them smooth. This is a crucial step for any sewing project.
- Cut Your Pieces: From each fabric, cut a rectangle measuring 10 inches by 18 inches. You should have one decorative cotton piece and one absorbent flannel piece. A rotary cutter and mat will give you the most precise cuts.
- Pin the Fabrics: Place the two rectangles on top of each other with the right sides (the printed/pretty sides) facing each other. Line up the edges carefully and pin them together all the way around.
- Start Sewing: Using a standard straight stitch, begin sewing around the perimeter of the rectangle with a 1/2-inch seam allowance. Important: Leave a 3-inch gap on one of the long sides. This opening is for turning the burp cloth right-side out.
- Reinforce Corners: When you start and stop sewing at the 3-inch gap, be sure to backstitch a few times. This reinforces the seam and prevents it from coming apart when you turn it.
- Clip the Corners: Before turning, trim the four corners diagonally. Be careful not to cut through your stitching. This step helps create crisp, sharp corners when you turn the fabric out.
- Turn and Press: Carefully turn the burp cloth right-side out through the 3-inch opening you left. Use a dull object, like a chopstick or a knitting needle, to gently poke out the corners. Press the entire burp cloth with a hot iron, making sure to tuck in the raw edges of the opening so they are flush with the rest of the seam.
- Topstitch to Close: To close the opening and give your burp cloth a professional finish, topstitch all the way around the entire rectangle, about 1/4-inch from the edge. This will seal the gap and help the burp cloth keep its shape through countless washes.
That’s it! You’ve created a beautiful and highly functional item for your baby. Make a stack of three or five for a lovely handmade gift set.
Project 2: Soft & Simple Baby Bibs
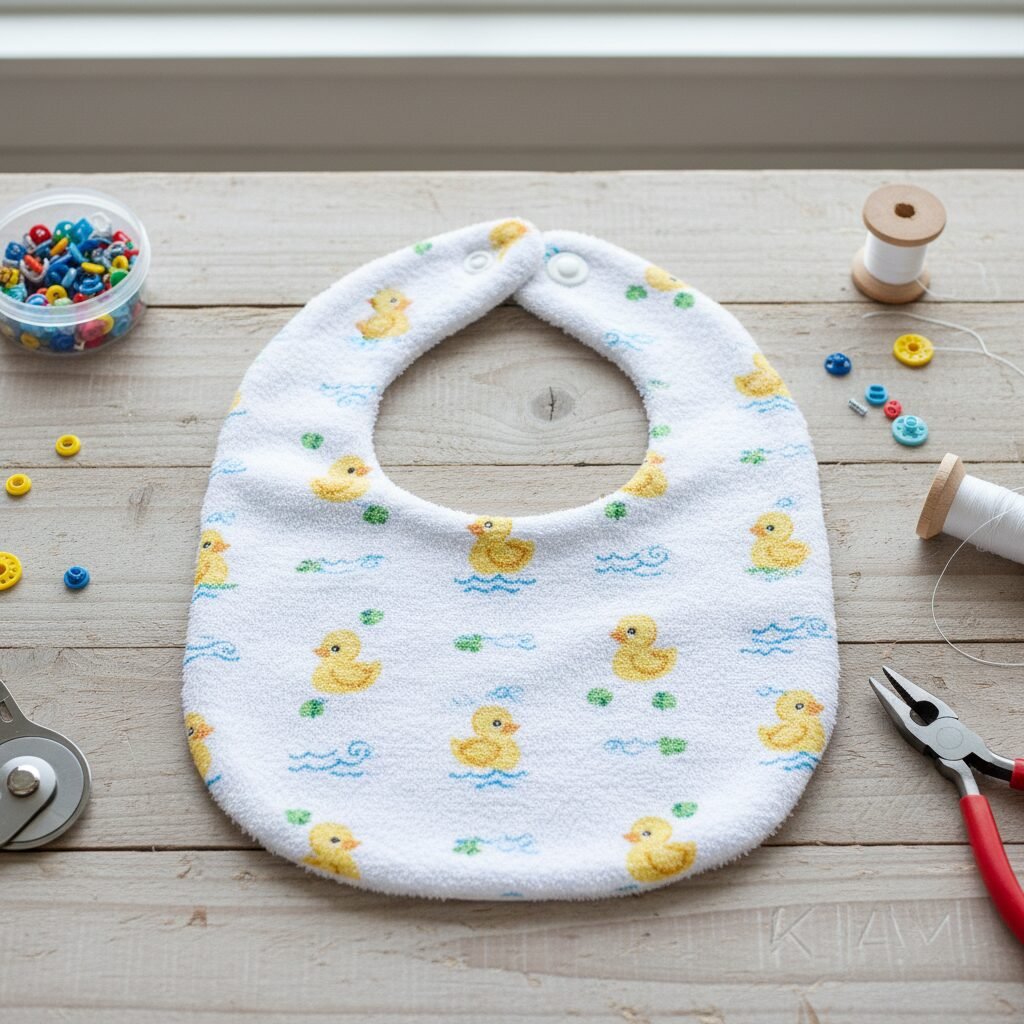
Project 2: Soft & Simple Baby Bibs
Bibs are another non-negotiable baby item. This project introduces you to sewing gentle curves, a fundamental skill that opens the door to many other projects. Don’t be intimidated; the key is to go slowly and guide the fabric gently.
Materials Needed:
- 1/4 yard of decorative cotton fabric.
- 1/4 yard of absorbent backing fabric (terry cloth is excellent for this).
- Coordinating thread.
- A bib pattern (you can download one for free online or trace an existing bib you like).
- KAM snaps and pliers, or sew-on Velcro for the closure.
- Basic sewing supplies.
Step-by-Step Instructions:
- Prepare and Cut: Pre-wash, dry, and iron your fabrics. Pin your bib pattern to both layers of fabric and carefully cut out one front piece and one back piece.
- Layer and Pin: Place the cotton piece and the terry cloth piece together, right sides facing in. Pin securely, paying extra attention to the curved areas around the neck and shoulders.
- Sew the Seam: Using a 1/2-inch seam allowance, sew all the way around the bib. Just like the burp cloth, you need to leave a 2-3 inch gap along one of the straight bottom edges for turning. Remember to backstitch at the beginning and end.
- Clip the Curves: This is the most important step for a smooth finish. Carefully snip small notches into the seam allowance along all the curved edges, especially the inner neck curve. Snip every half-inch or so, being very careful not to cut your stitch line. This relieves tension in the fabric and allows it to lay flat when turned.
- Turn and Press: Turn the bib right-side out through the opening. Gently push out all the curves. Press the bib with an iron, folding the raw edges of the opening inward.
- Topstitch for a Finished Look: Topstitch 1/4-inch from the edge all the way around the bib. This closes the turning gap and gives the bib a durable, professional look.
- Add the Closure: Following the manufacturer’s instructions, attach your KAM snaps to the ends of the neckband. If using Velcro, cut a small piece, separate the hook and loop sides, and sew one to the front of one neckband tab and the other to the back of the opposite tab.
Making these bibs is a wonderful way to practice curves. Take your time, and remember that every stitch is an expression of care for your little one.
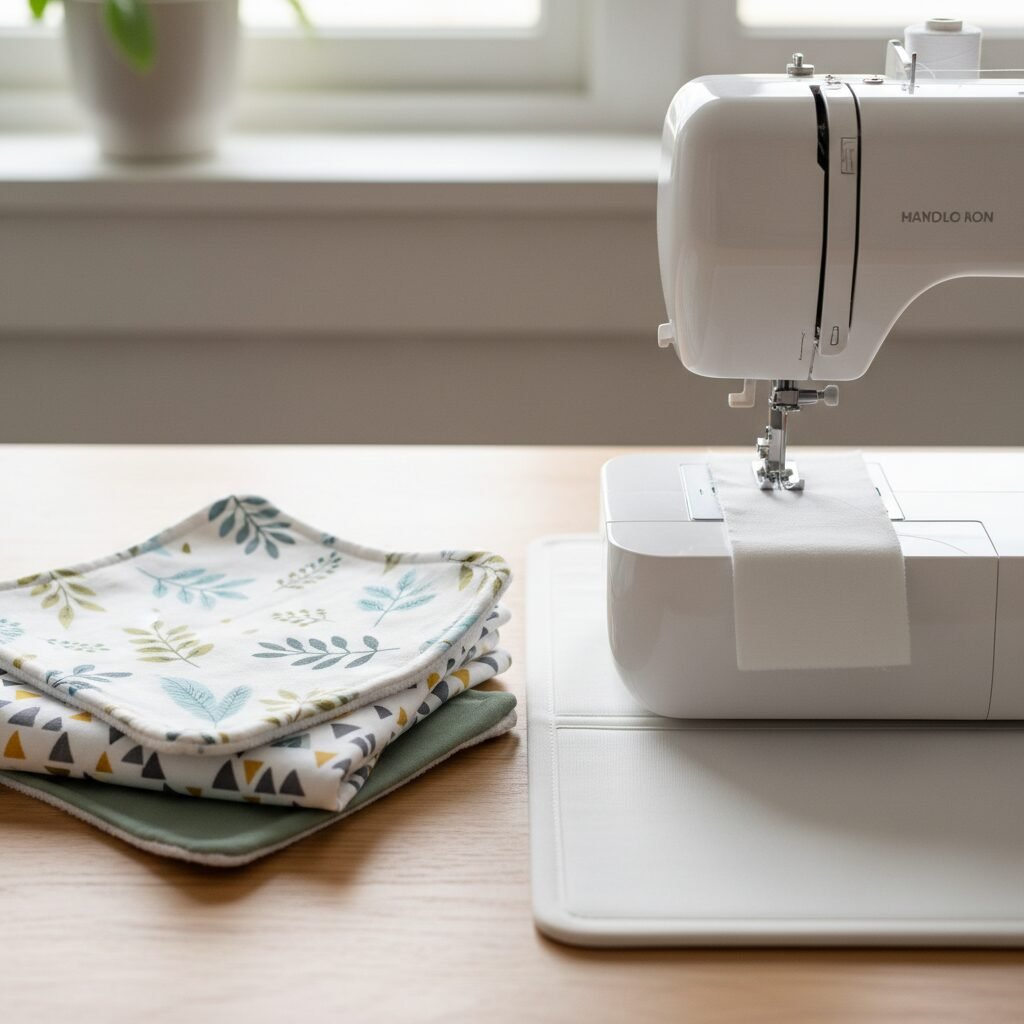
Project 3: Cozy Flannel Receiving Blankets
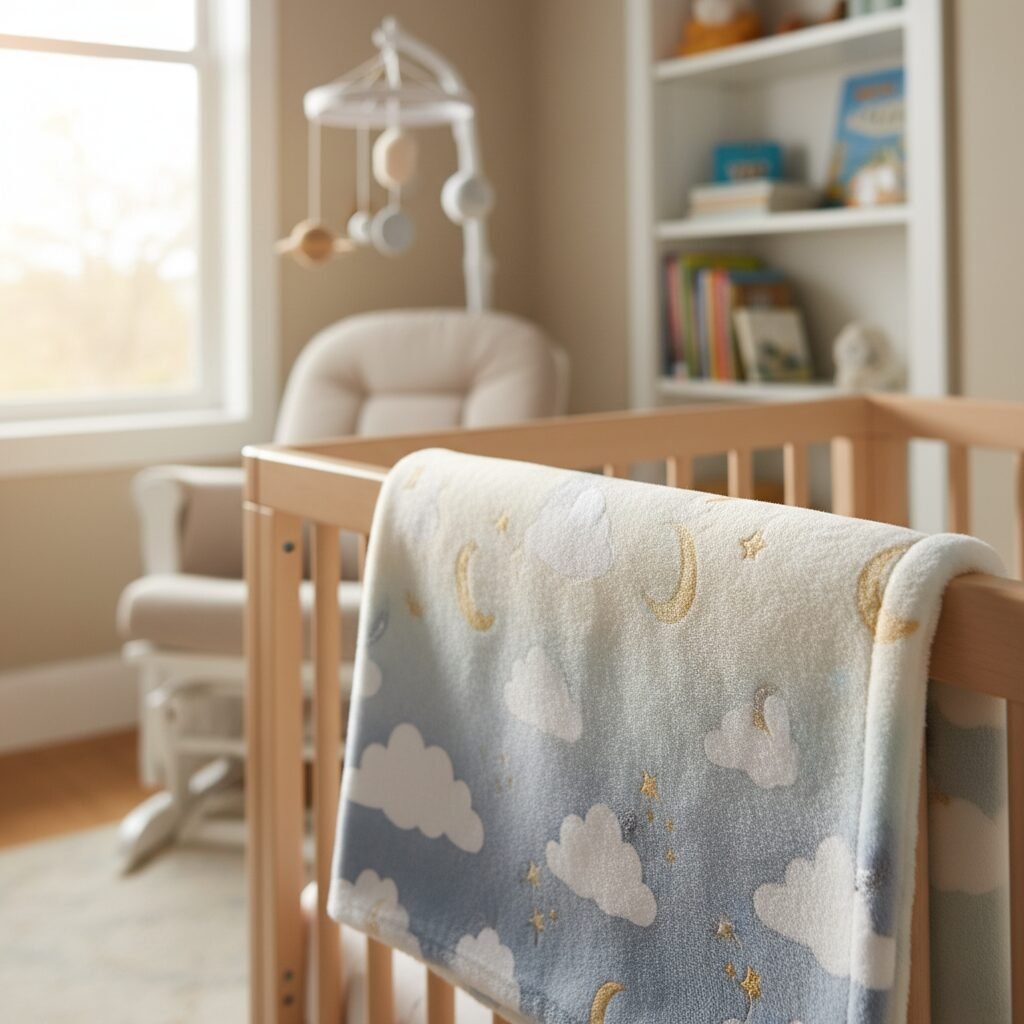
Project 3: Cozy Flannel Receiving Blankets
There is nothing quite like wrapping a newborn in a soft, warm flannel blanket that you made yourself. A simple, single-layer receiving blanket is one of the easiest projects imaginable, and its versatility is unmatched—use it for swaddling, as a nursing cover, a play mat, or a car seat blanket.
Materials Needed:
- 1 yard of high-quality baby flannel (this will make one blanket approximately 35″ x 35″).
- Coordinating thread.
- Basic sewing supplies.
Step-by-Step Instructions:
- Prepare and Square the Fabric: Pre-wash, dry, and iron your flannel. The most important step for a perfect blanket is ensuring your fabric is a perfect square. Fold the fabric diagonally to see if the corners line up. Trim any excess to make it perfectly square. A common size is 36×36 inches before hemming.
- Create the Hem: This project is all about the hem. Place your fabric wrong-side up on your ironing board. Fold one edge over by 1/2 inch and press it flat with your iron.
- Fold and Press Again: Fold that same edge over another 1/2 inch, enclosing the raw edge completely. Press it firmly. This is called a double-fold hem, and it creates a durable and clean finish. Pin the hem in place.
- Repeat for All Sides: Repeat steps 2 and 3 for the remaining three sides of the blanket. The corners can be a little bulky; you can simply fold them over, or for a neater look, you can miter them (there are many simple video tutorials for this technique online).
- Sew the Hem: Using a straight stitch, sew the hem down close to the inner fold. Sew all the way around the blanket, pivoting at the corners. To pivot, stop with the needle down in the fabric, lift the presser foot, turn the fabric 90 degrees, lower the presser foot, and continue sewing.
Pro Tip: For a more luxurious, reversible blanket, you can use two different 1-yard pieces of flannel. Simply place them right-sides together, sew around the perimeter with a 1/2-inch seam allowance (leaving a 4-inch gap for turning), clip corners, turn, press, and topstitch all the way around, just like the burp cloth.
Project 4: Adorable & Stylish Bandana Bibs
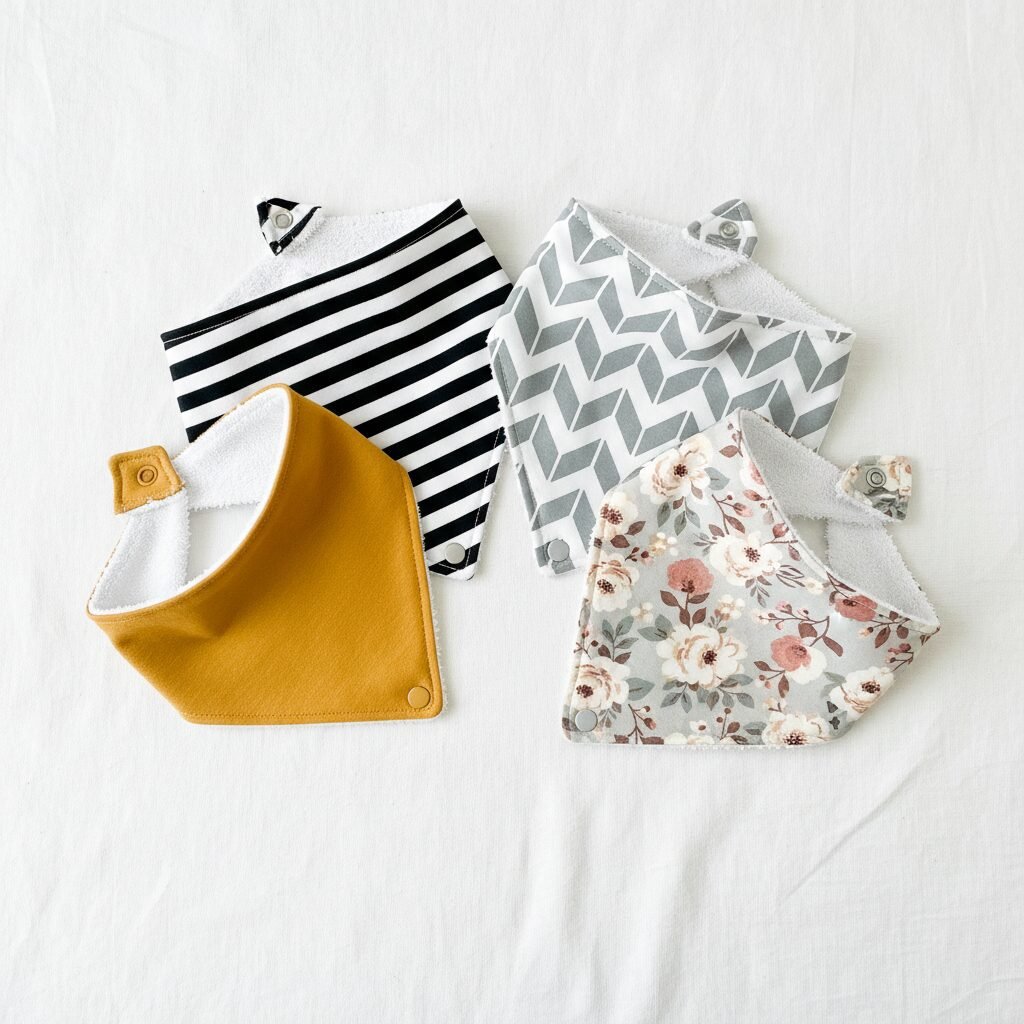
Project 4: Adorable & Stylish Bandana Bibs
Once you’ve mastered the standard bib, the bandana bib is a fun and stylish variation. They are fantastic for catching drool during the teething phase and look like a cute accessory rather than just a bib. The construction is very similar to the standard bib, just with a different shape.
Materials Needed:
- 1/4 yard of soft, absorbent knit fabric or fleece for the back.
- 1/4 yard of stylish cotton or knit fabric for the front.
- Coordinating thread.
- A bandana bib pattern (many are available online for free).
- KAM snaps and pliers.
- Basic sewing supplies.
Step-by-Step Instructions:
- Prepare and Cut: Pre-wash fabrics as appropriate for their content. Pin your pattern to your fabrics and cut one front piece and one back piece.
- Pin and Sew: Place the front and back pieces right-sides together, pin, and sew with a 1/4 to 1/2-inch seam allowance. Leave a 2-inch gap on a straight edge for turning. Backstitch at the start and end.
- Clip Corners and Curves: This shape has sharp points and a curve. Clip the two sharp points of the bandana, and clip the curve of the neckline, just as you did with the standard bib.
- Turn and Press: Turn the bib right-side out through the opening. Use a point turner or chopstick to gently poke out the points. Press well with an iron, tucking the seam allowance of the opening in.
- Topstitch: Topstitch 1/8 to 1/4-inch from the edge all around the entire bib. This closes the opening and helps the bib lay flat and look crisp.
- Add Snaps: Add one or two sets of KAM snaps to the ends for an adjustable fit as the baby grows.
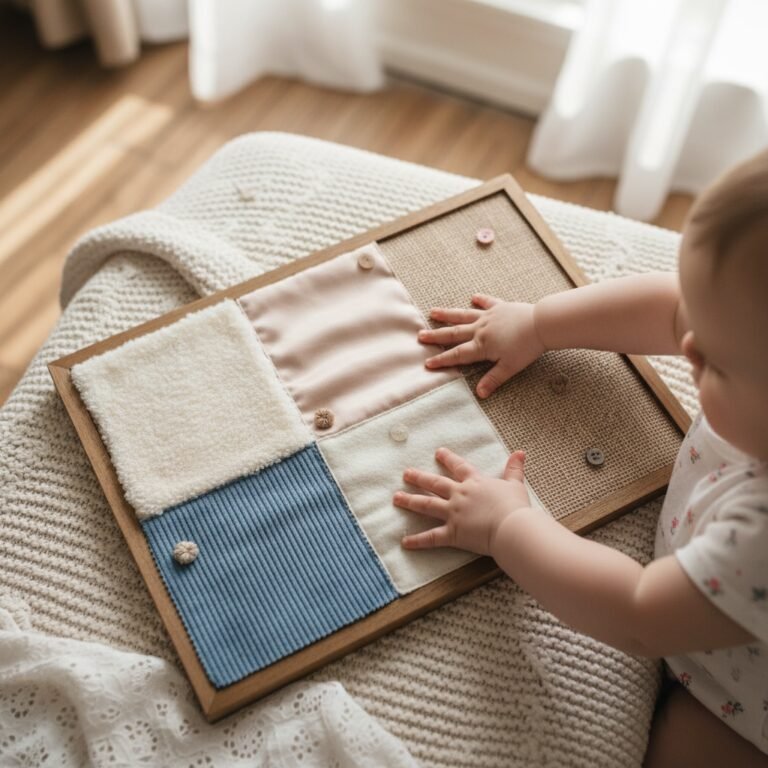
Project 5: Sensory Crinkle Taggie Toy
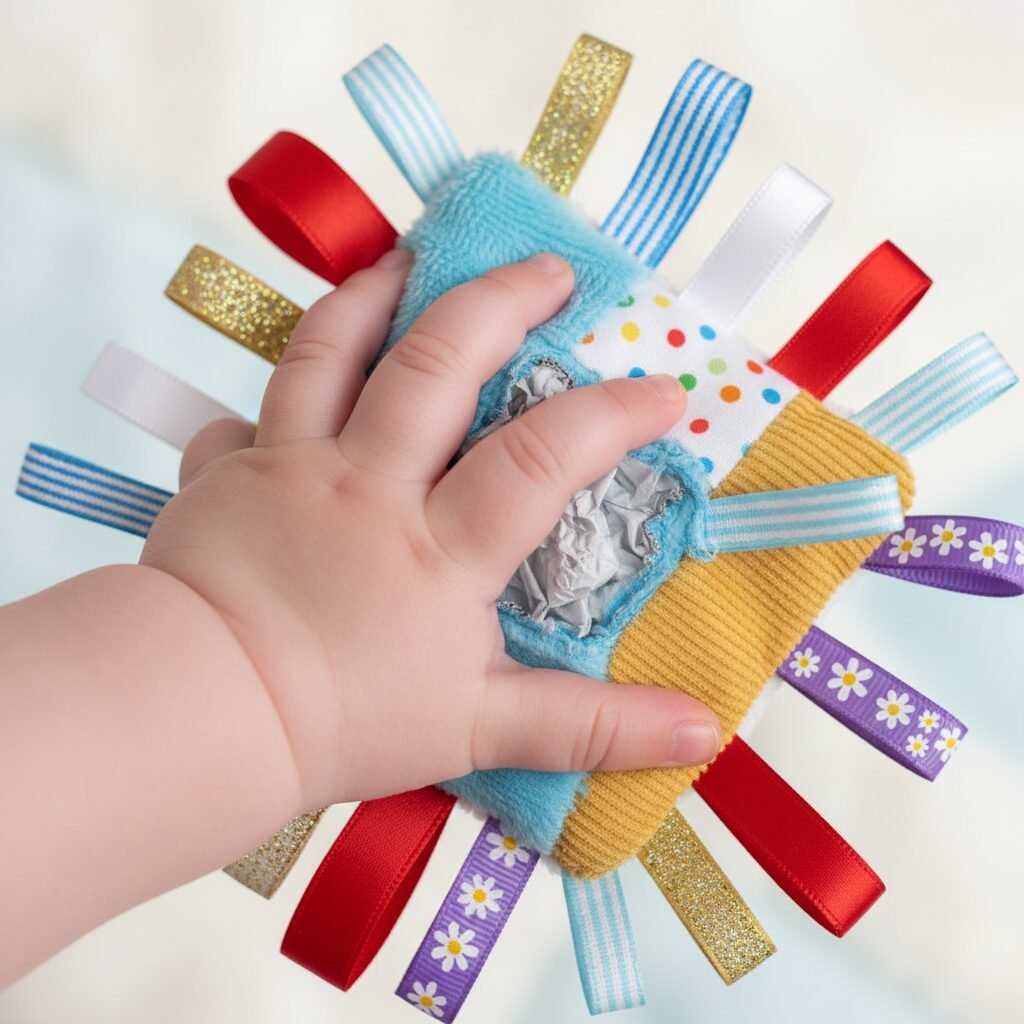
Project 5: Sensory Crinkle Taggie Toy
This final project isn’t something to wear, but something to play with! Taggie toys are fantastic for sensory development. Babies love to touch the different textures of the ribbons and hear the crinkling sound. This is a great project for using up fabric scraps and ribbon remnants.
Materials Needed:
- Two 6×6 inch squares of fabric. Use different textures for more sensory fun, like minky, flannel, or corduroy on one side and smooth cotton on the other.
- Assorted ribbons of different colors, widths, and textures (grosgrain, satin, ric-rac). You’ll need about 12 pieces, each 4 inches long.
- One 5×5 inch square of crinkle material (you can buy this at fabric stores or safely use a clean, washed baby wipe package interior).
- Coordinating thread.
- Basic sewing supplies.
Step-by-Step Instructions:
- Prepare Ribbons: Fold each 4-inch piece of ribbon in half to form a loop.
- Arrange and Pin Ribbons: Take one of your 6×6 fabric squares and place it right-side up. Arrange the folded ribbon loops around the edges of the square, with the raw edges of the ribbon lining up with the raw edge of the fabric, and the loops pointing inward toward the center of the square. Pin them securely in place. You can place 3-4 ribbons on each side.
- Baste the Ribbons: To ensure the ribbons don’t shift, sew them in place using a basting stitch (a long stitch length) about 1/4-inch from the edge of the fabric. Sew all the way around the square.
- Layer the Toy: Now, create your stack. On your work surface, place the second 6×6 fabric square right-side up. On top of that, place your crinkle material. Finally, place the fabric square with the ribbons on top, right-side down (so the ribbons are now sandwiched between the two pretty sides of the fabric).
- Sew it Together: Pin all layers together. Sew around the square with a 1/2-inch seam allowance, leaving a 2-3 inch gap for turning. Backstitch at the beginning and end.
- Clip, Turn, and Press: Clip the corners. Carefully turn the toy right-side out. Poke out the corners. Press with an iron on a low setting, being careful not to melt the ribbons or the crinkle material.
- Topstitch to Finish: Topstitch all the way around the square, 1/4-inch from the edge. This closes the gap and adds an extra layer of security to the ribbon tags. Safety is paramount: Double-check that all ribbons are sewn in very securely.
Conclusion
Embracing the nesting instinct through creativity is a beautiful way to prepare your heart and home for your baby. In just one weekend, you can create a collection of items that are not only practical but are also infused with your love and anticipation. Each stitch is a story, and every finished project is a testament to the parent you are becoming. Don’t worry about perfection; focus on the process and the joy of making. These handmade treasures will be a tangible connection to this special time, long after your little one has arrived. Happy sewing!