Shelfie Goals: How to Style a Nursery Bookshelf Like a Pro Designer
Preparing a nursery is one of the most tangible and heartfelt ways to await your new arrival. Every choice, from the color of the walls to the softness of the rug, is an act of love. Among these nesting rituals, styling the nursery bookshelf holds a special place. It’s more than just storage; it’s a curated corner of dreams, stories, and personality that will grow with your child. It’s the backdrop for countless bedtime stories and the keeper of treasured firsts.
But the pressure to create a ‘Pinterest-perfect’ space can feel overwhelming. You see stunning ‘shelfies’ online and wonder how to translate that designer magic into your own home. The good news? It’s entirely achievable. This guide will walk you through the process step-by-step, blending professional design principles with the practical needs of new parents. We’ll help you move beyond simply stacking books to artfully styling a bookshelf that is beautiful, functional, and a true reflection of your family’s story.
Step 1: The Foundation – Choosing the Right Bookshelf & Location

Step 1: The Foundation – Choosing the Right Bookshelf & Location
Before you can style your masterpiece, you need the right canvas. The bookshelf you choose and where you place it are foundational decisions that impact both the aesthetics and safety of your nursery.
Choosing Your Shelf Style
Nursery bookshelves come in various shapes and sizes. Consider the overall theme of your room and your available space:
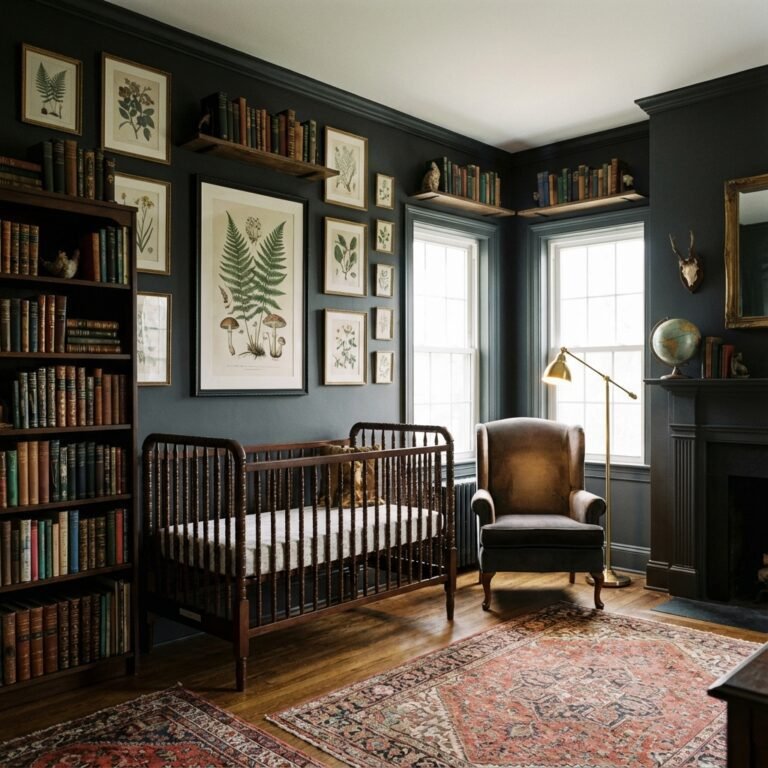
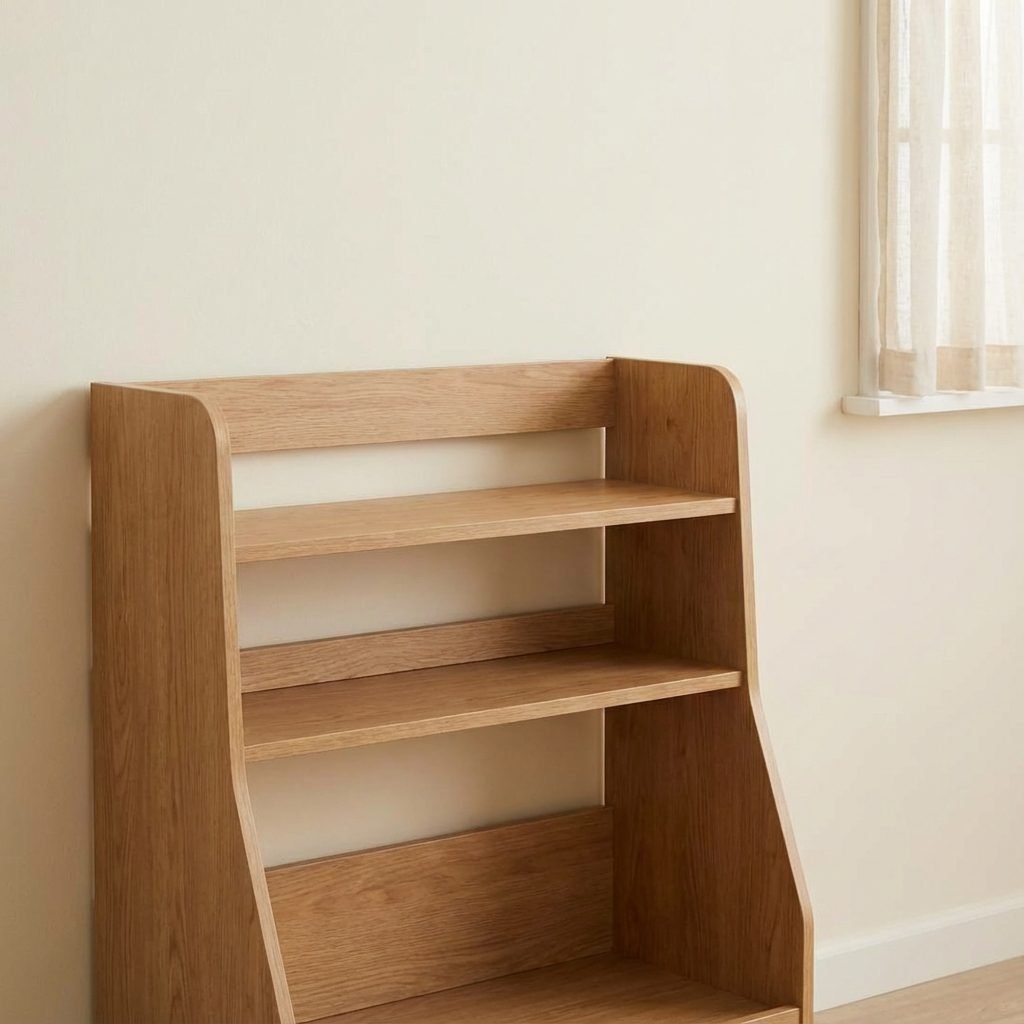
- Freestanding Bookcases: The classic choice. They offer ample storage and can be a significant piece of furniture. Look for units with a mix of shelf sizes and perhaps some closed storage at the bottom for less decorative items.
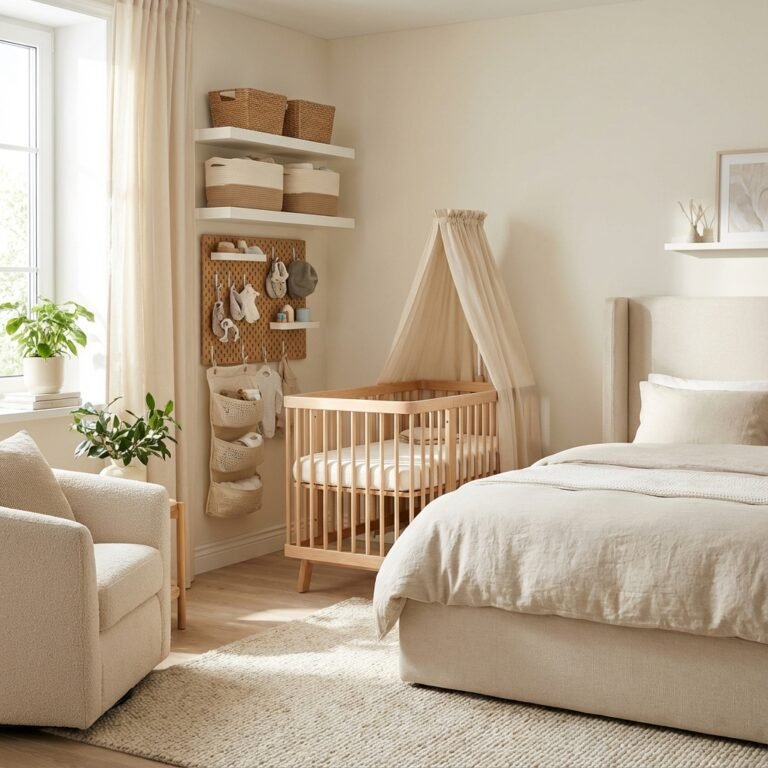
- Floating Shelves: These are perfect for smaller spaces or for creating a minimalist, modern look. They create a beautiful, gallery-like display for a select number of forward-facing books and decor items.
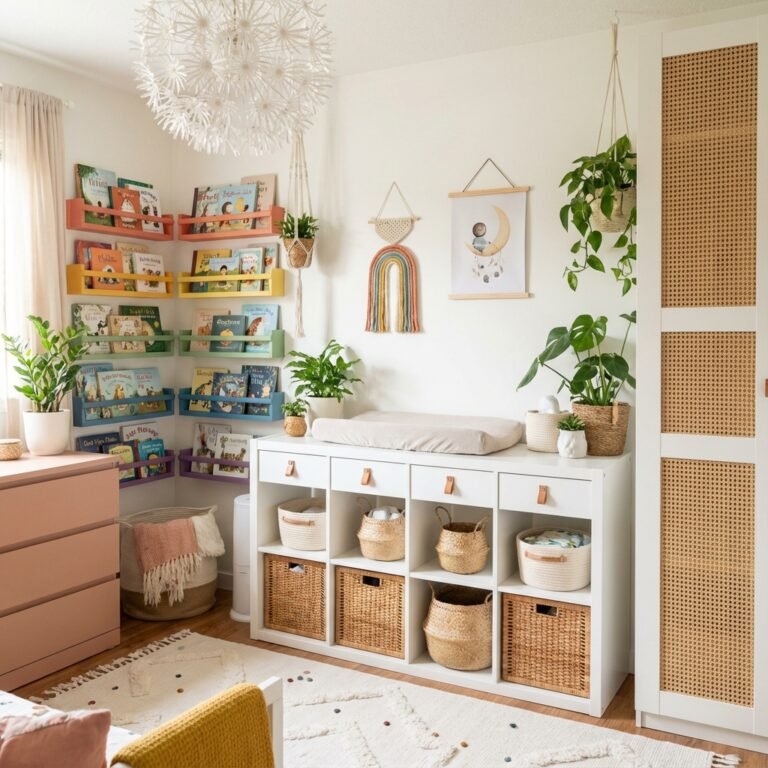
- Cube Storage: Highly versatile and modular, cube units allow you to mix and match bins, baskets, and open shelves for a combination of hidden and visible storage.
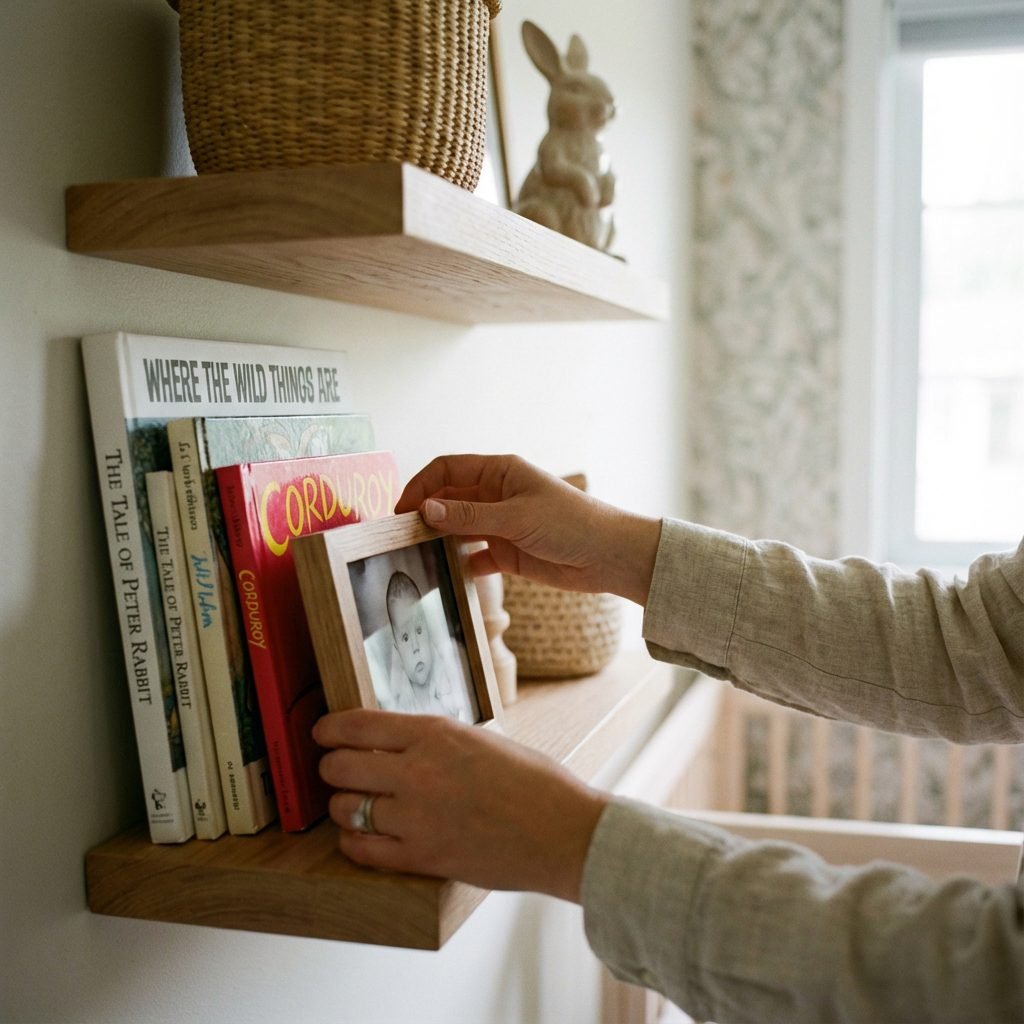
- Picture Ledges: These narrow shelves are designed specifically to display books with their covers facing out, turning them into works of art. They are fantastic for creating a reading nook and encouraging little ones to pick out a story.
Location, Location, Location
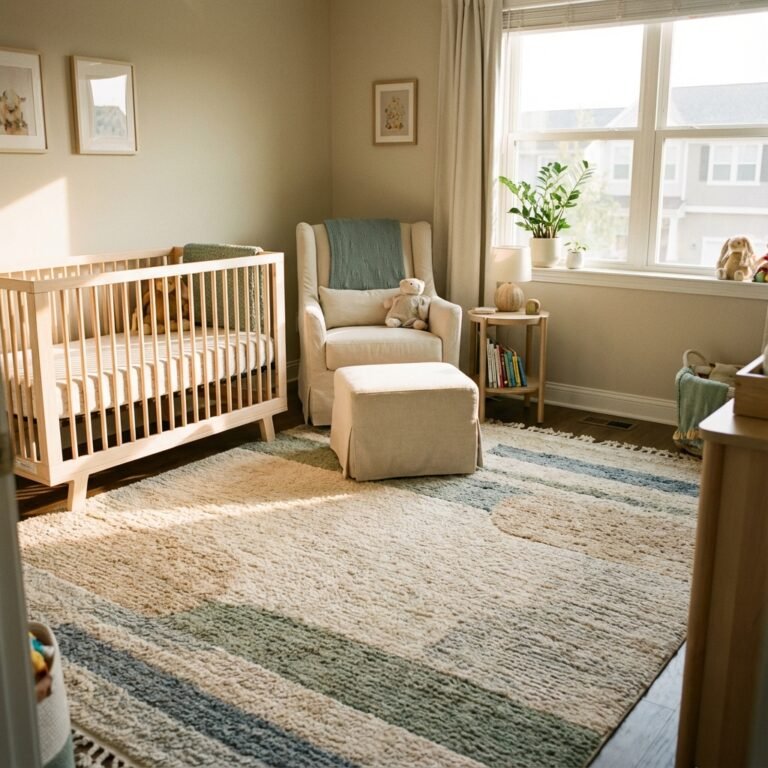
Where you place the bookshelf matters. It should be easily accessible for you, but positioned thoughtfully for your child’s safety as they grow. Consider placing it near a comfy glider or rocking chair to create a cozy reading zone. Avoid placing it directly over the crib where items could potentially fall.
The Non-Negotiable Rule: Safety First
This is the most critical part of this step. As soon as your baby becomes mobile, they will see a bookshelf as the ultimate climbing frame.
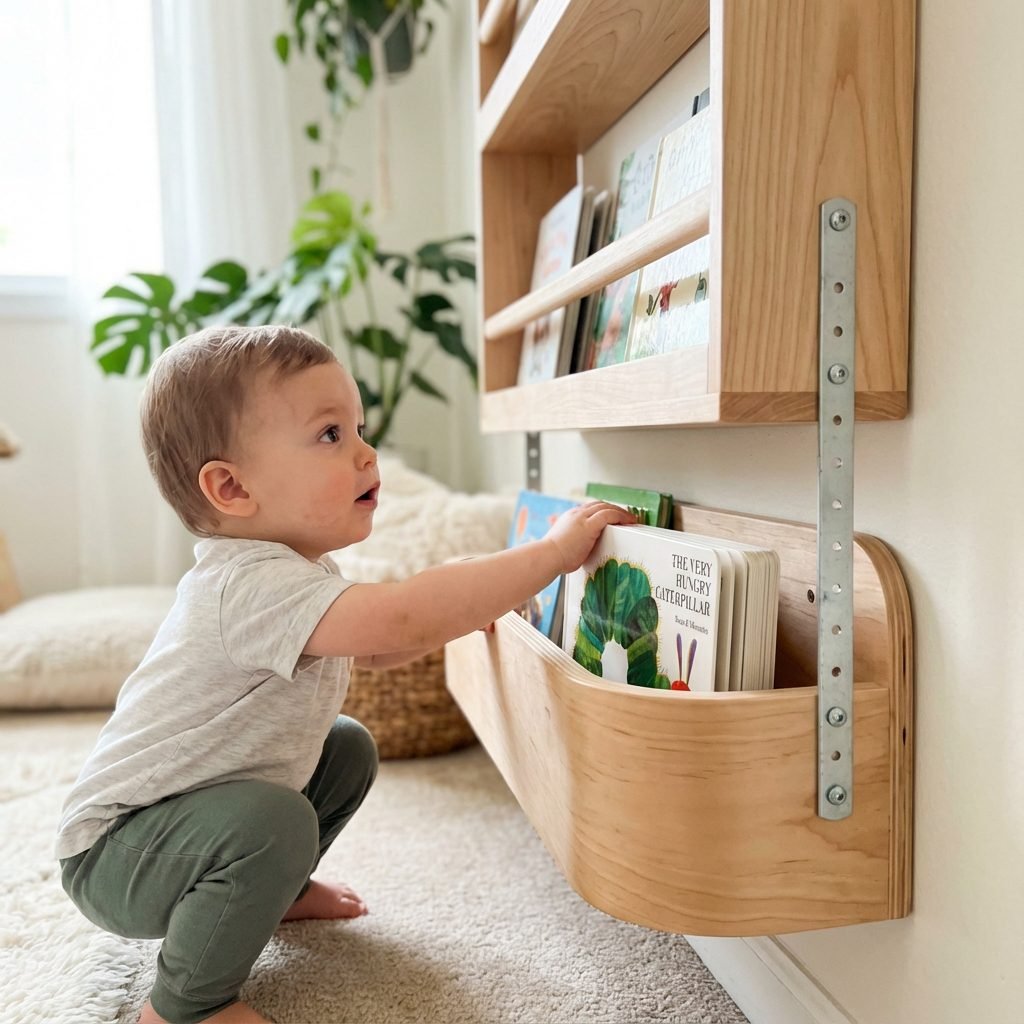
Every single freestanding bookshelf or heavy storage unit in a child’s room must be securely anchored to the wall. No exceptions. Use the anti-tip hardware that comes with the furniture or purchase a kit separately. This simple step is a life-saving measure.
Check that shelves are sturdy and can bear the weight of books without bowing. For floating shelves, ensure they are installed correctly into wall studs to prevent them from coming loose.
Step 2: Curating Your Collection – The Art of Mixing Media
Step 2: Curating Your Collection – The Art of Mixing Media
A designer-styled shelf is never just one thing; it’s a carefully curated collection of objects that tell a story. Think beyond books to create texture, personality, and visual interest. The goal is to gather a mix of items that are meaningful, beautiful, and functional.
Gather Your Elements
Start by shopping your own home, then supplement with new purchases. Create piles for each category:
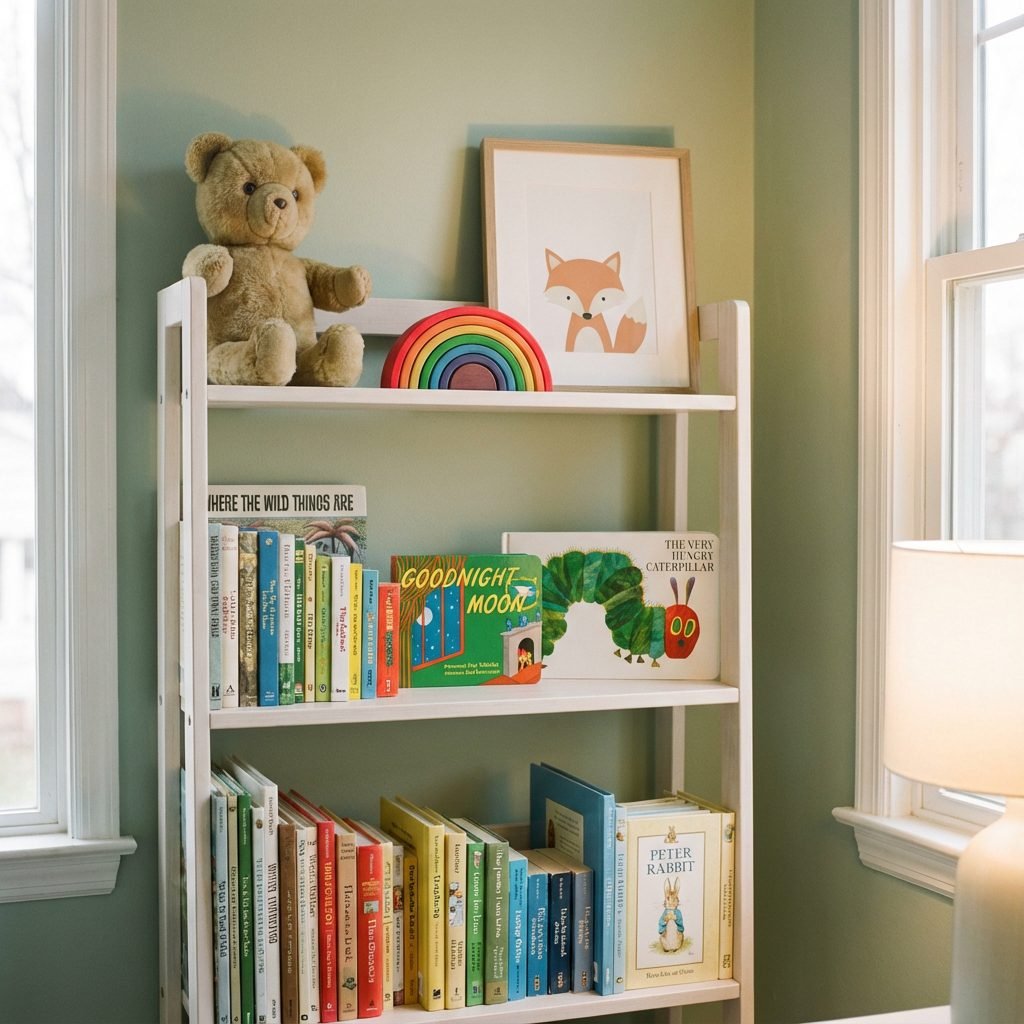
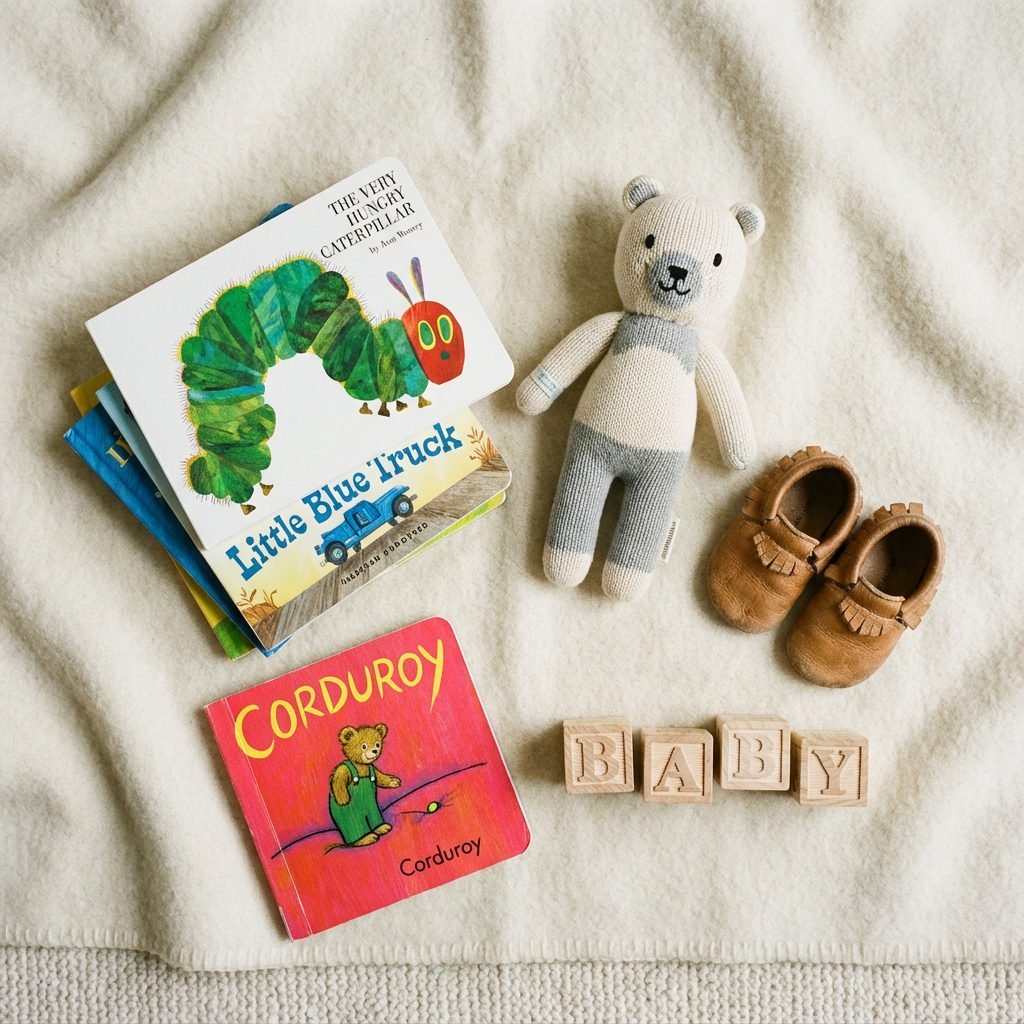
- Books: The star of the show! Gather a mix of board books and picture books. Don’t just think about the stories inside; consider the colors of the spines and the artistry of the covers. A collection of classics mixed with modern favorites works beautifully.
- Sentimental Keepsakes: This is what makes the shelf uniquely yours. Include items like your own favorite childhood book, a framed ultrasound photo, baby’s first shoes, a special rattle, or a silver cup.
- Toys & Plush Animals: Choose a few special toys that fit your nursery’s theme and color palette. A classic teddy bear, wooden stacking rings, or a soft knitted animal can add a touch of whimsy and softness.
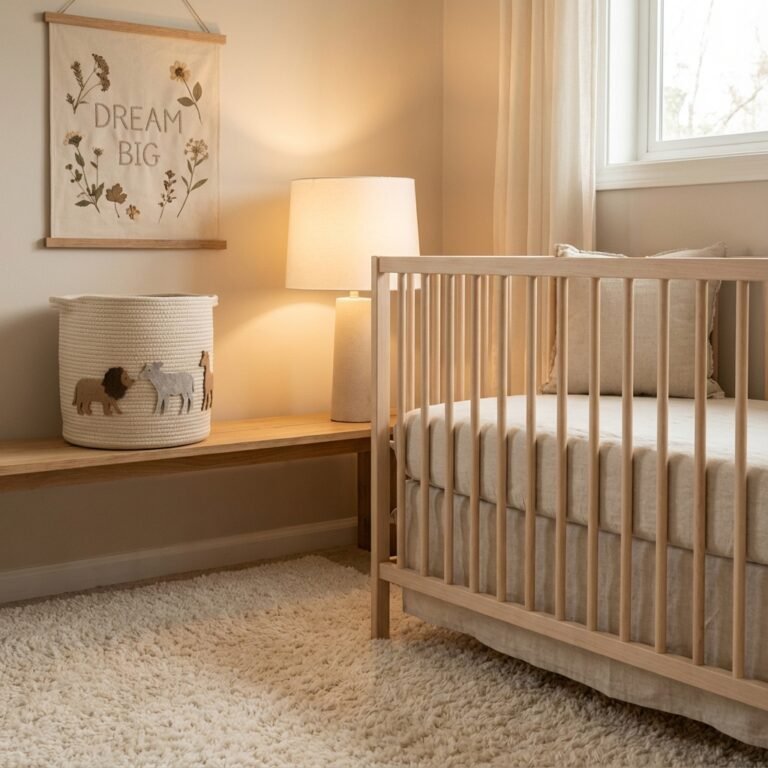
- Functional Decor: Think about items that are both pretty and useful. Small, stylish baskets or woven bins can hold smaller items like pacifiers, socks, or teethers.
- Art & Greenery: A small, framed print, a wooden letter of your baby’s initial, or a small, baby-safe faux plant (or a real, non-toxic one placed out of reach) can add life and dimension to the shelves.
By gathering everything in one place before you start styling, you can see how the colors, textures, and sizes work together, making the assembly process much smoother.
Step 3: The Designer’s Playbook – Applying Core Styling Principles
Step 3: The Designer’s Playbook – Applying Core Styling Principles
This is where the magic happens. By applying a few simple design principles, you can arrange your curated items with intention and confidence, creating a balanced and visually pleasing display.
Color Palette & Theme
Stick to a cohesive color palette, typically 3-4 colors, that complements the rest of the nursery. This doesn’t mean everything has to match perfectly, but the items should feel like they belong together. You can pull colors from a piece of art, the crib bedding, or the rug to create a harmonious look.
Balance & Scale (The Rule of Odds)
Visual balance is key. Avoid putting all the large, heavy items on one side. Instead, distribute them throughout the shelves to create a sense of equilibrium. A great designer trick is to work in odd numbers, particularly groups of three. An arrangement of three items of varying heights is almost always more visually appealing than a group of two or four.
Layering & Depth
Create depth by layering items. Place larger, flatter objects like framed art or bigger books at the back of the shelf, and then place smaller, more dimensional objects in front of them. For example, a small stuffed animal sitting in front of a stack of books adds immediate interest and dimension.
Varying Orientation & Height
Avoid lining up everything in a single, static row. Create rhythm and movement by varying the orientation of your books. Stand some up vertically, and stack others horizontally. Use a horizontal stack of books as a pedestal to elevate a smaller decorative object. This variation in height is crucial for drawing the eye across the shelves.
The Power of Negative Space
Don’t feel the need to fill every single inch of space. Negative space, or ‘breathing room,’ is a crucial design element. It prevents the shelves from looking cluttered and allows each individual item to be seen and appreciated. Step back frequently as you style and ask yourself, ‘Can I take one thing away?’ Often, less is more.
Step 4: The Practical Process – Styling Your Shelf from Start to Finish
Step 4: The Practical Process – Styling Your Shelf from Start to Finish
With your items curated and design principles in mind, it’s time to assemble your ‘shelfie’. Follow these steps for a structured, stress-free styling session.
- Start with a Clean Slate: Empty the bookshelf completely and give it a good wipe-down. A fresh start is essential.
- Place Your ‘Anchor’ Pieces: Begin by placing your largest items first. These could be larger baskets, a tall stack of books, or a significant piece of decor. Distribute them across the different shelves, perhaps in a zigzag pattern, to create an initial sense of balance.
- Add the Books: Now, layer in your books. Create a mix of vertical rows and horizontal stacks. Turn a few books with beautiful covers to face outwards. This is a great way to add color and art.
- Incorporate Personal & Soft Touches: Weave in your sentimental items and soft toys. Place a teddy bear peeking out from behind a row of books or nestle baby’s first shoes next to a framed photo. These are the elements that infuse the shelf with love.
- Fill in with Smaller Decor: Use your smallest items—like wooden blocks or a small plant—to fill in the remaining gaps. Place them on top of stacked books or in small groupings of three.
- Step Back and Edit: This is the most important step. Take a few steps back and look at the bookshelf as a whole. Does it feel balanced? Is it too cluttered or too sparse? Don’t be afraid to move things around, swap items out, or remove something entirely. Live with it for a day or two and see how it feels before calling it finished.
Beyond the ‘Shelfie’: Ensuring It’s Functional and Safe for Baby
Beyond the ‘Shelfie’: Ensuring It’s Functional and Safe for Baby
A beautifully styled bookshelf is wonderful, but in a nursery, function and safety must always be the top priorities. As your baby grows, their interaction with the room will change, and your perfectly styled shelf needs to be ready for curious hands.
Designing for Interaction
While some items are purely decorative, a bookshelf should invite your child into the world of reading. Here’s how to keep it practical:
- Bottom Shelf Rule: Place sturdy, baby-safe board books and soft toys on the lowest, most accessible shelf. This empowers your little one to choose their own stories and toys, fostering independence and a love for reading from an early age.
- Rotate and Refresh: Keep the display engaging by rotating books and toys every few weeks. This not only maintains your child’s interest but also gives you a chance to feature seasonal books or new favorite toys.
- Top Shelf Treasures: Reserve the highest shelves for delicate, sentimental items, keepsakes, and anything that is not baby-proof. This keeps precious items safe while still allowing them to be part of the room’s decor.
Evolving Safety Considerations
Your safety check doesn’t end after you’ve anchored the furniture. Re-evaluate as your child reaches new developmental milestones.
- Check for Hazards: Ensure there are no small items that could be a choking hazard within your child’s reach. Avoid glass frames or heavy, hard objects on lower shelves that could be pulled down.
- Secure Cords: If you have any decor with cords or strings, make sure they are well out of reach.
- The Climb Test: As your toddler grows, they will try to climb. Regularly check that the wall anchor is still secure and that there’s nothing on the shelves that could tempt them to make a dangerous ascent.
Remember, the nursery is a living space. It will evolve from a serene sanctuary for a newborn to a playful environment for a toddler. Your bookshelf can adapt right along with it, remaining a beautiful and beloved feature of the room for years to come.
Conclusion
Styling your nursery bookshelf is more than just a decorating task; it’s a creative expression of love and anticipation. By combining foundational safety with core design principles, you can create a space that is not only ‘shelfie’-worthy but also a warm, functional, and personal cornerstone of your baby’s room. You’ve learned how to choose the right foundation, curate a meaningful collection, apply a designer’s eye, and put it all together in a way that is both beautiful and safe.
Embrace the process, trust your instincts, and have fun creating this special corner. Every time you walk into the nursery and see that shelf, filled with stories waiting to be read and keepsakes holding precious memories, you’ll be reminded of the care and love that went into building this first, wonderful world for your child.