These DIY Frozen Padsicles Saved My Nether Regions (And Cost Pennies to Make)
The journey to parenthood is filled with beautiful moments, but the physical reality of postpartum recovery is a chapter often whispered about, if discussed at all. After bringing a new life into the world, your body has performed a monumental task, and it needs time, care, and significant support to heal. One of the most common discomforts following a vaginal birth is perineal pain, swelling, and tenderness. While the hospital may provide ice packs, there is a simple, inexpensive, and profoundly effective tool you can prepare ahead of time: the DIY frozen ‘padsicle.’ These aren’t just a trendy hack; they are a medically-sound combination of cold therapy and natural healing agents that can provide immense relief during those first few challenging weeks. This guide will walk you through, step-by-step, why you need them, what to buy, and how to create a stash of these perineal lifesavers that will make you feel more comfortable and in control of your healing process.
The Science of Soothing: Why Padsicles are a Postpartum Necessity
Before we dive into the ‘how,’ let’s understand the ‘why.’ After a vaginal delivery, it’s completely normal to experience swelling, bruising, and soreness in the perineum (the area between the vagina and anus). You may have stitches from a tear or an episiotomy, which can add to the discomfort. This is where padsicles become an indispensable part of your recovery kit. Their effectiveness is rooted in two key principles: cryotherapy and the healing properties of their ingredients.
The Power of Cold Therapy
Cryotherapy, or the use of cold for therapeutic purposes, is a well-established medical practice for managing pain and inflammation. Applying cold to the perineum helps to:
- Reduce Swelling: The cold temperature causes vasoconstriction (the narrowing of blood vessels), which decreases blood flow to the area, significantly reducing inflammation and swelling.
- Numb the Area: Cold has a natural analgesic effect, numbing the nerve endings and providing temporary but immediate relief from the stinging, aching, and throbbing sensations.
- Promote Healing: By controlling inflammation, you create a better environment for your body’s natural healing processes to work efficiently.
The Healing Ingredients
A padsicle isn’t just a frozen sanitary pad; it’s a vehicle for delivering gentle, healing ingredients directly where they are needed most.
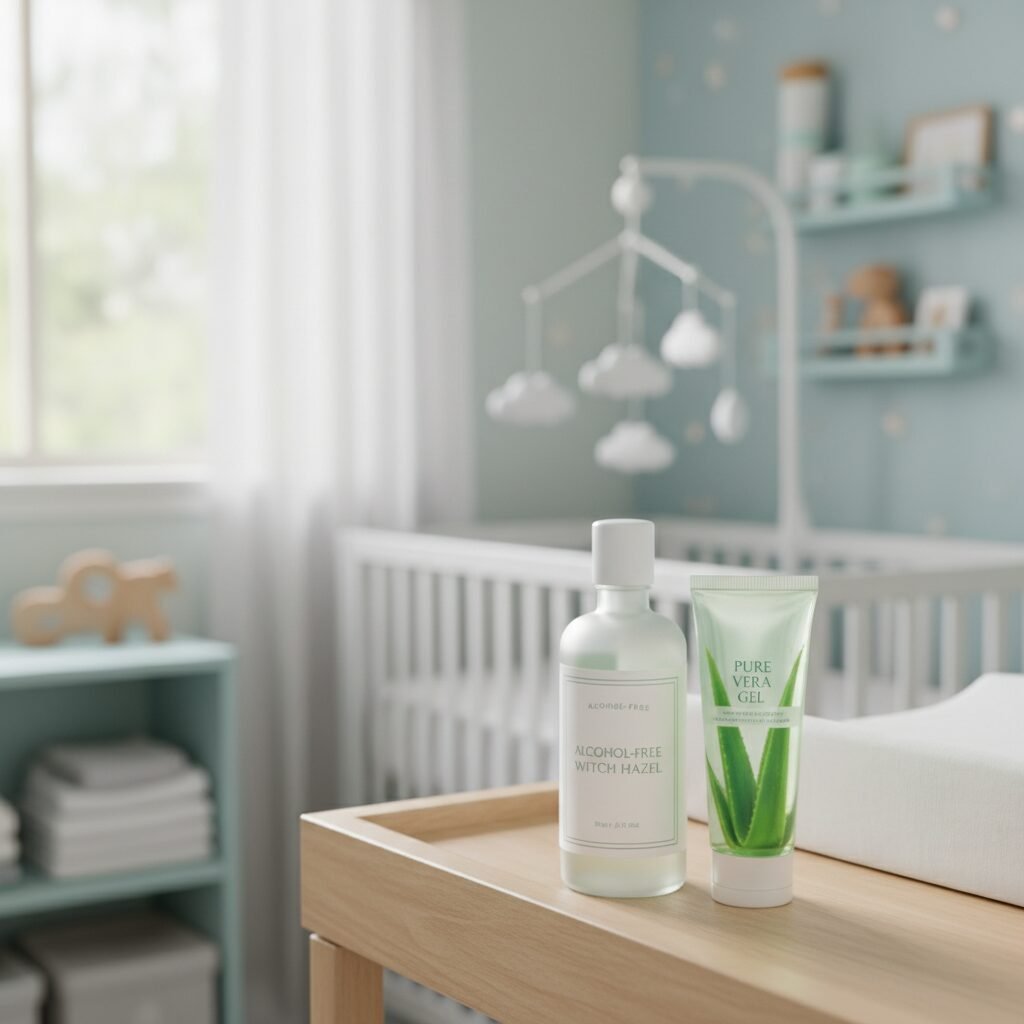
- Witch Hazel (Alcohol-Free): This is the star ingredient. Witch hazel is a natural astringent derived from the Hamamelis virginiana plant. It is renowned for its ability to reduce inflammation, soothe irritation, and tighten tissues, which can help with hemorrhoids—another common postpartum guest. It is crucial to use an alcohol-free version to avoid stinging and drying out sensitive tissues.
- Aloe Vera Gel (100% Pure): Known as the ‘plant of immortality,’ aloe vera is packed with vitamins, enzymes, and amino acids. When applied to the skin, it provides a cooling sensation, moisturizes, and has anti-inflammatory properties that accelerate wound healing. Look for a gel that is 100% pure, without added colors or fragrances.
- Lavender Essential Oil (Optional): A drop or two of lavender oil can be added for its calming aroma and its antibacterial and analgesic properties. However, some individuals may be sensitive to essential oils, so it’s wise to do a patch test on your arm first or omit it altogether.
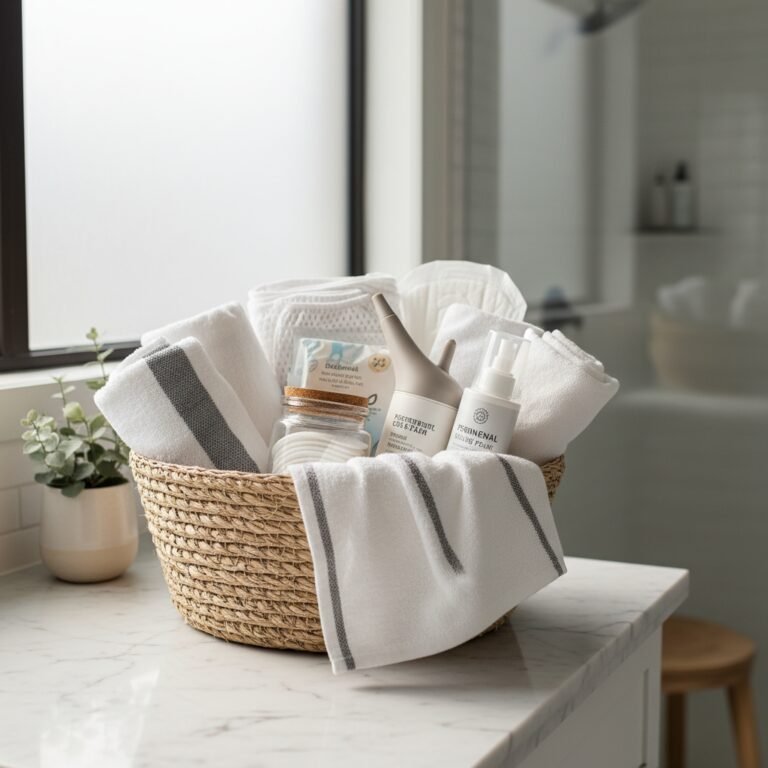
Your DIY Padsicle Toolkit: Gathering the Essential Supplies
Creating your padsicles is a simple project you can (and should) tackle before the baby arrives, ideally around 35-37 weeks of pregnancy. Having a batch ready in your freezer is a gift to your future self. Here is everything you will need:
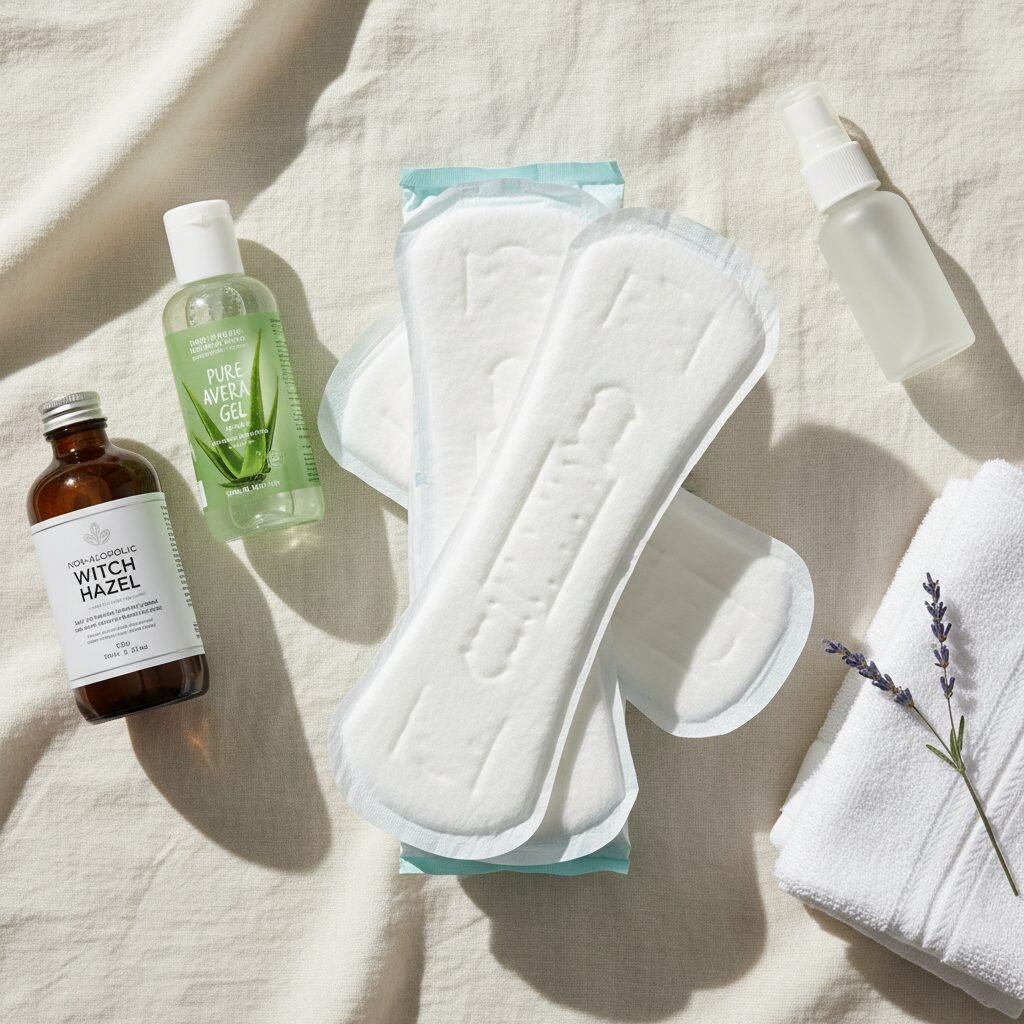
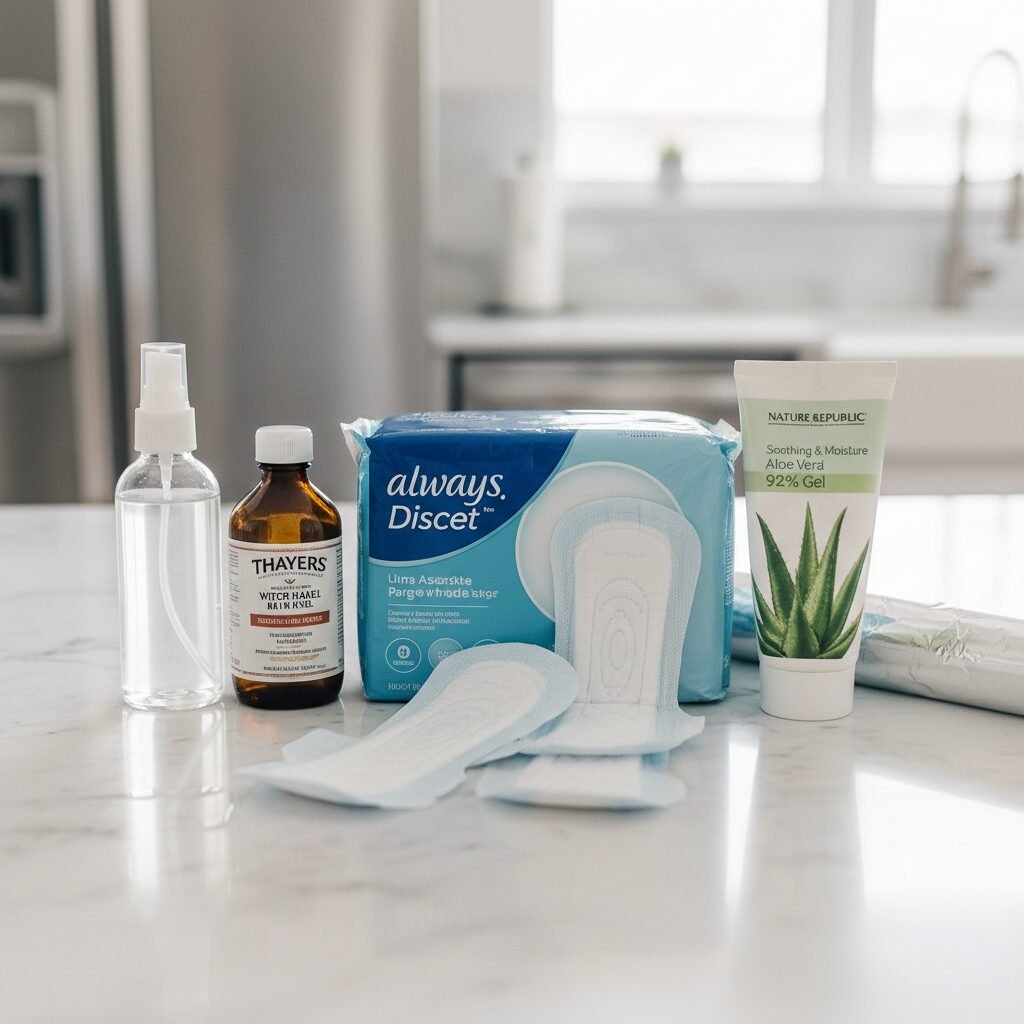
Core Ingredients & Tools
- Heavy-Duty Maternity or Overnight Pads: Choose the largest, most absorbent pads you can find. The thick, cushioned kind without wings are often best as they hold more liquid and provide a larger surface area for cooling.
- Alcohol-Free Witch Hazel: Check the label carefully. Thayers, T.N. Dickinson’s, and many store brands offer excellent alcohol-free options.
- 100% Pure Aloe Vera Gel: Avoid the green, artificially colored gels often marketed for sunburns. You want a clear, pure gel with minimal additives.
- Small Spray Bottle (Optional but Recommended): This makes applying the witch hazel much easier and more even than pouring it.
- Aluminum Foil or Plastic Wrap: For individually wrapping each padsicle before freezing.
- A Large Gallon-Sized Freezer Bag or Airtight Container: For hygienic storage in the freezer.
Optional Add-ins
- High-Quality Lavender Essential Oil: If you choose to use it, ensure it is a pure, therapeutic-grade oil. Just 1-2 drops per pad is sufficient.
A Note for Partners: This is an incredibly thoughtful and practical task for a partner or support person to take on. Preparing these for the birthing parent is a tangible act of care that will be deeply appreciated during the recovery period.
Step-by-Step Instructions: Assembling Your Postpartum Padsicles
Once you have all your supplies, set aside about 30 minutes to assemble your first batch. We recommend making 15-20 to start. You can always make more later if needed.
- Set Up Your Station: Lay out a piece of aluminum foil or plastic wrap for each pad you plan to make. This will be your assembly line.
- Unwrap the Pad: Carefully open a maternity pad, removing it from its individual wrapper but keeping the paper backing on the adhesive strip. Lay it flat on your work surface, absorbent side up.
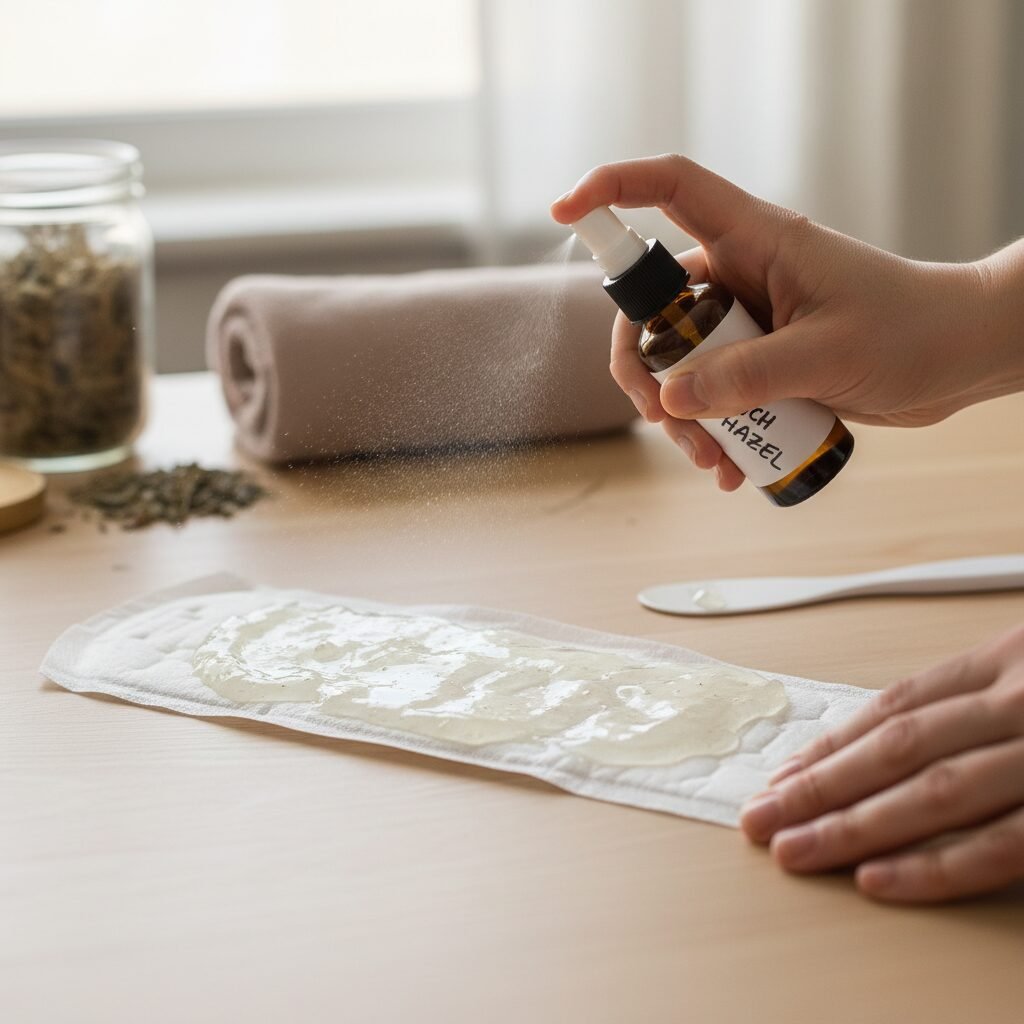
- Apply Aloe Vera: Squeeze a generous line of aloe vera gel down the center of the pad, from front to back. Use the back of a clean spoon or a clean finger to spread it into an even, thick layer. Don’t spread it all the way to the edges, as it can get messy when it melts.
- Saturate with Witch Hazel: Using your spray bottle, generously spritz the pad with alcohol-free witch hazel until it is damp but not completely waterlogged. Focus on the area where you applied the aloe.
- Add Optional Lavender Oil: If you are using lavender oil, add one or two drops along the length of the pad.
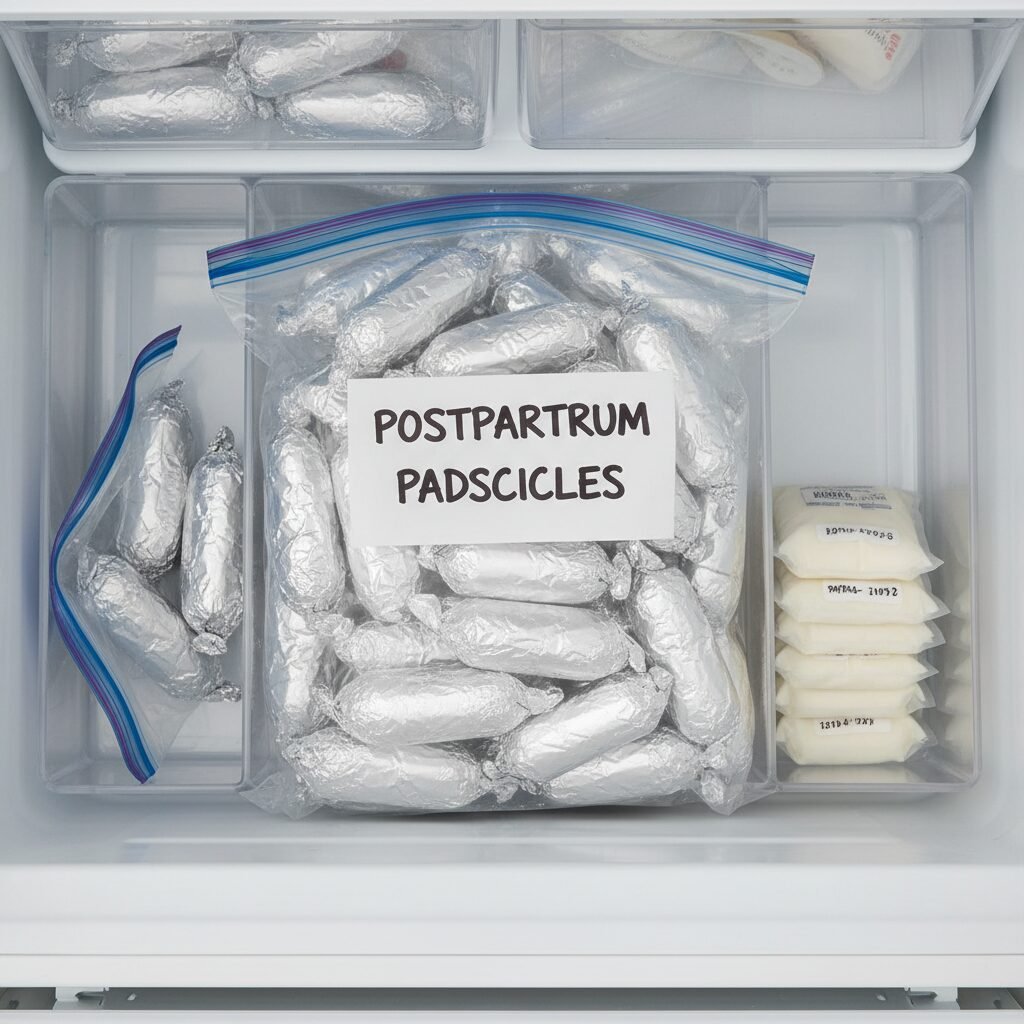
- Fold and Wrap: Carefully fold the pad in half, bringing the two ends together. Then, wrap the entire folded pad snugly in its piece of aluminum foil or plastic wrap. The foil helps it hold its shape.
- Freeze: Place the individually wrapped padsicles into your large freezer bag or airtight container. Label the bag with the date and place it in an easily accessible spot in your freezer. They need at least 3-4 hours to freeze completely.
Using and Storing Your Padsicles for Maximum Relief
When you return home from the hospital, your padsicle stash will be ready and waiting. Using them correctly will ensure you get the most benefit.
How to Use a Padsicle
- Let it Thaw (Slightly): When you’re ready for relief, take one padsicle from the freezer. Let it sit on the counter for 2-3 minutes. This brief thawing period is crucial to prevent it from being painfully cold or sticking to your sensitive skin.
- Prepare for Placement: Unwrap the foil and unfold the pad. Remove the paper backing to expose the adhesive strip.
- Position in Underwear: Place the padsicle in your postpartum underwear (mesh hospital underwear or high-waisted cotton briefs work best) just as you would a regular pad. The cold, soothing side should be against your perineum.
- Wear for Relief: Wear the padsicle for 15-20 minutes at a time, or until it no longer feels cold. The melting liquid will be absorbed by the pad. You can use a fresh padsicle every 2-4 hours as needed during the first few days.
Storage Tips
- Keep them Sealed: Storing them in a sealed freezer bag or container is important for hygiene and prevents them from absorbing any freezer odors.
- Accessibility is Key: Keep the bag near the front of the freezer so you or your partner can grab one easily, even in a sleep-deprived state.
| Frequency | Duration | Best For |
|---|---|---|
| First 24-48 Hours | Every 2-3 hours | Peak swelling and acute pain management. |
| Days 3-7 | 3-4 times per day | Managing lingering soreness and inflammation. |
| Week 2 and Beyond | As needed for discomfort | Soothing irritation, especially after increased activity. |
Conclusion
The fourth trimester is a period of profound transition, healing, and bonding. Preparing a simple, inexpensive tool like DIY padsicles is a powerful act of self-care that acknowledges the physical demands of childbirth. It is about equipping yourself with what you need to feel more comfortable, allowing you to focus more of your energy on recovering and connecting with your new baby. Remember to be gentle with yourself, accept help when it’s offered, and celebrate the incredible strength of your body.
Your body is not ruined; you are a goddamn tiger who has earned her stripes. – Unknown
Take this time to heal, to rest, and to marvel at what you have accomplished. You have everything you need to navigate this new chapter with grace and strength.
Medical Disclaimer: The information provided in this article is for informational purposes only and is not intended to be a substitute for professional medical advice, diagnosis, or treatment. Always seek the advice of your physician or other qualified health provider with any questions you may have regarding a medical condition. Never disregard professional medical advice or delay in seeking it because of something you have read here.