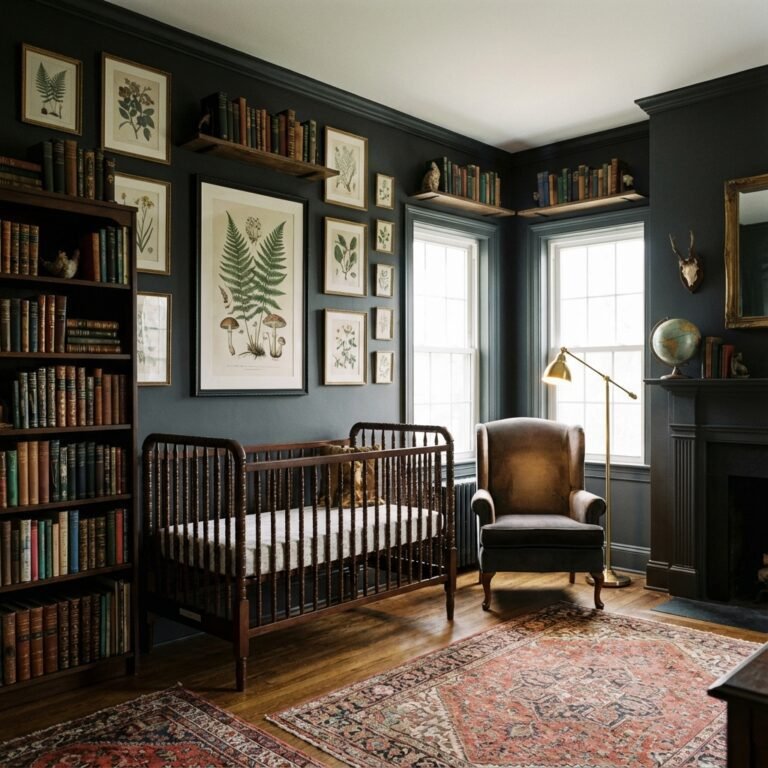
11 Genius IKEA Nursery Hacks That Will Save You Thousands
Welcoming a new baby is one of life’s most profound joys, but it can also bring a wave of financial pressure. The list of baby essentials seems endless, and creating a dream nursery can feel like an expensive, out-of-reach fantasy. As a doula and maternal health educator, I’ve supported countless families through this transition, and I want to let you in on a secret beloved by savvy parents everywhere: IKEA. Beyond the meatballs and minimalist design lies a world of untapped potential for creating a bespoke, functional, and stunning nursery for a fraction of the cost of traditional baby furniture. These aren’t just about saving money; they’re about injecting your love and personality into your baby’s first room. This guide will walk you through 11 genius IKEA hacks that are not only budget-friendly but also safe, practical, and beautiful. Let’s build a space where your family can thrive, without the financial stress.
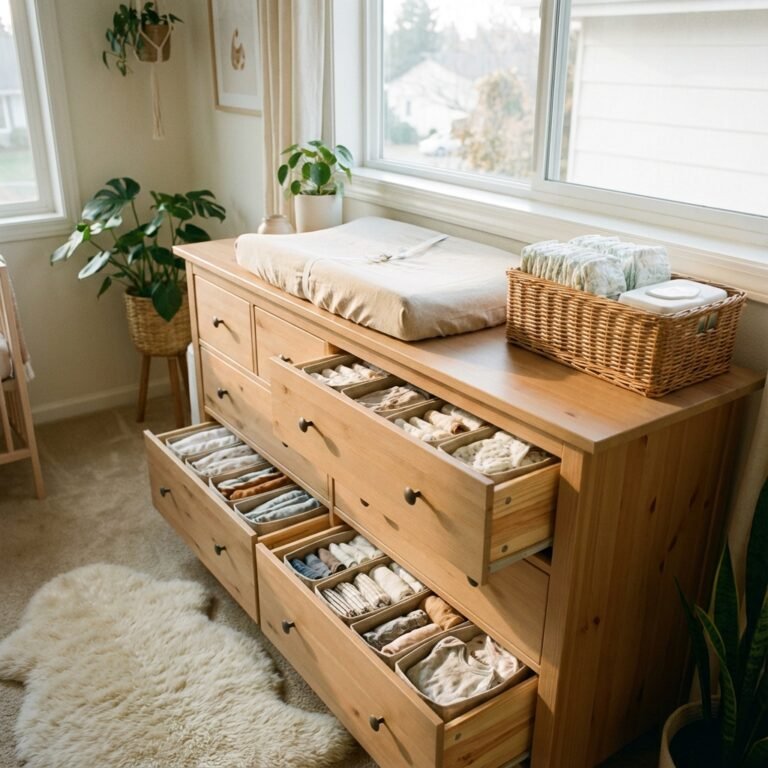
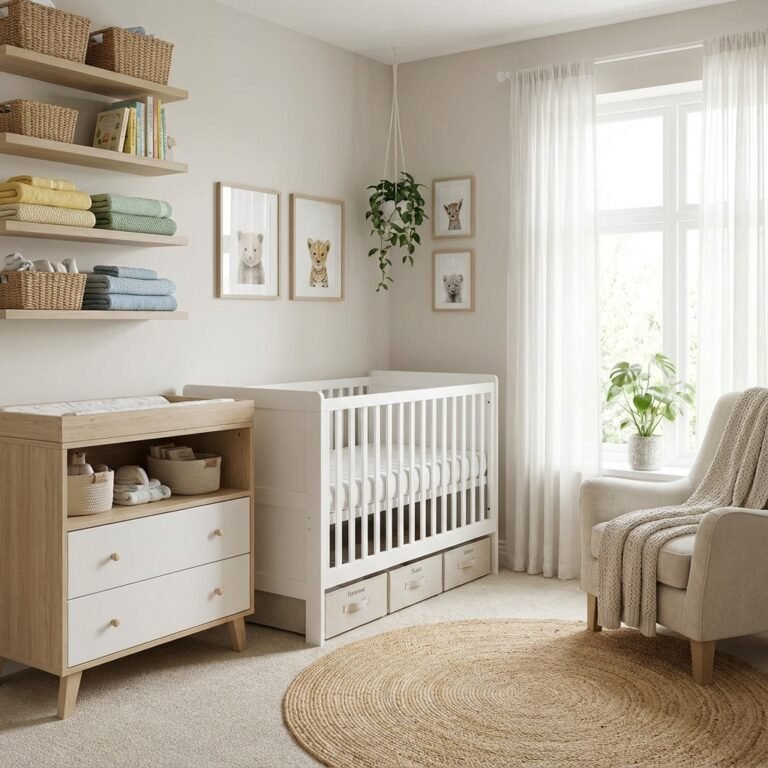
The Ultimate Changing Station: More Than Just Diapers
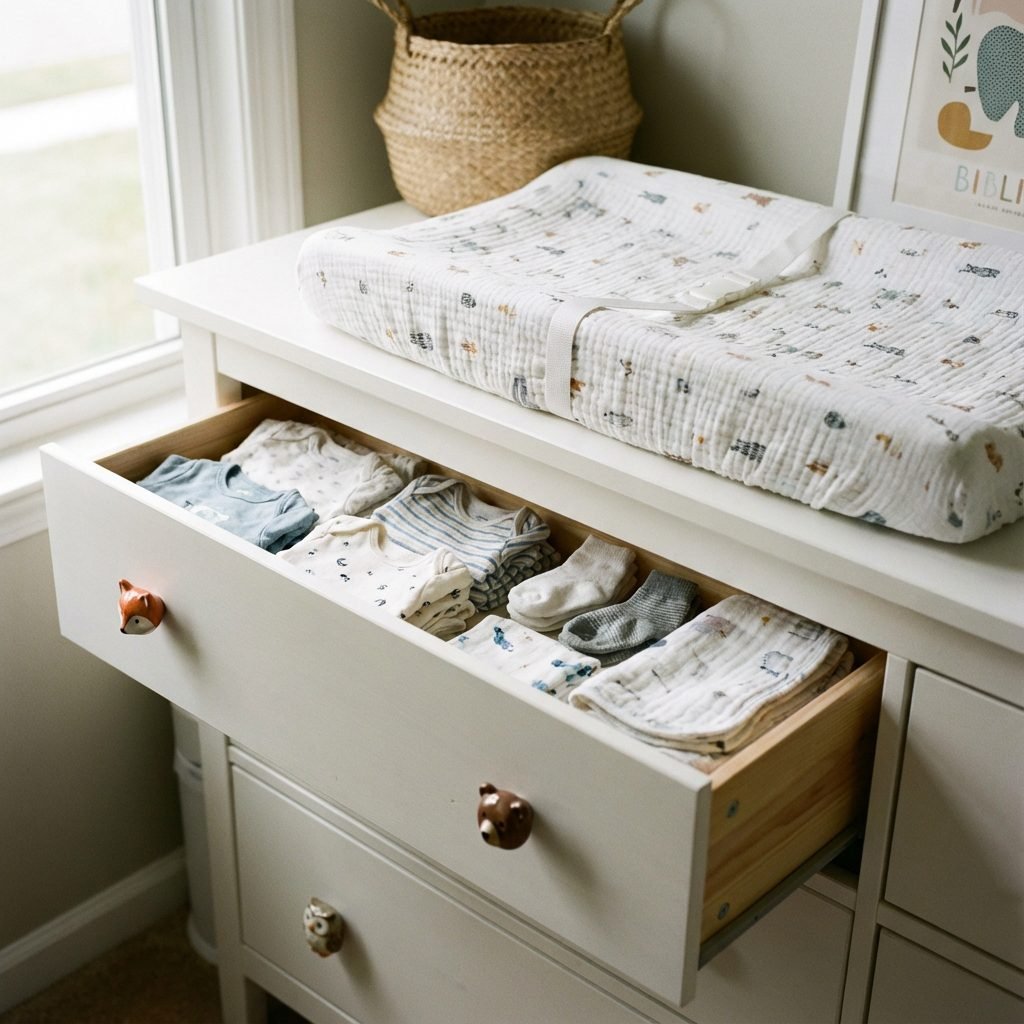
The changing table is the command center of the nursery. You’ll spend countless hours here, so it needs to be organized, durable, and at a comfortable height. Instead of splurging on a dedicated, single-purpose piece of furniture, you can transform versatile IKEA dressers and shelving units into multi-functional stations that will grow with your child.
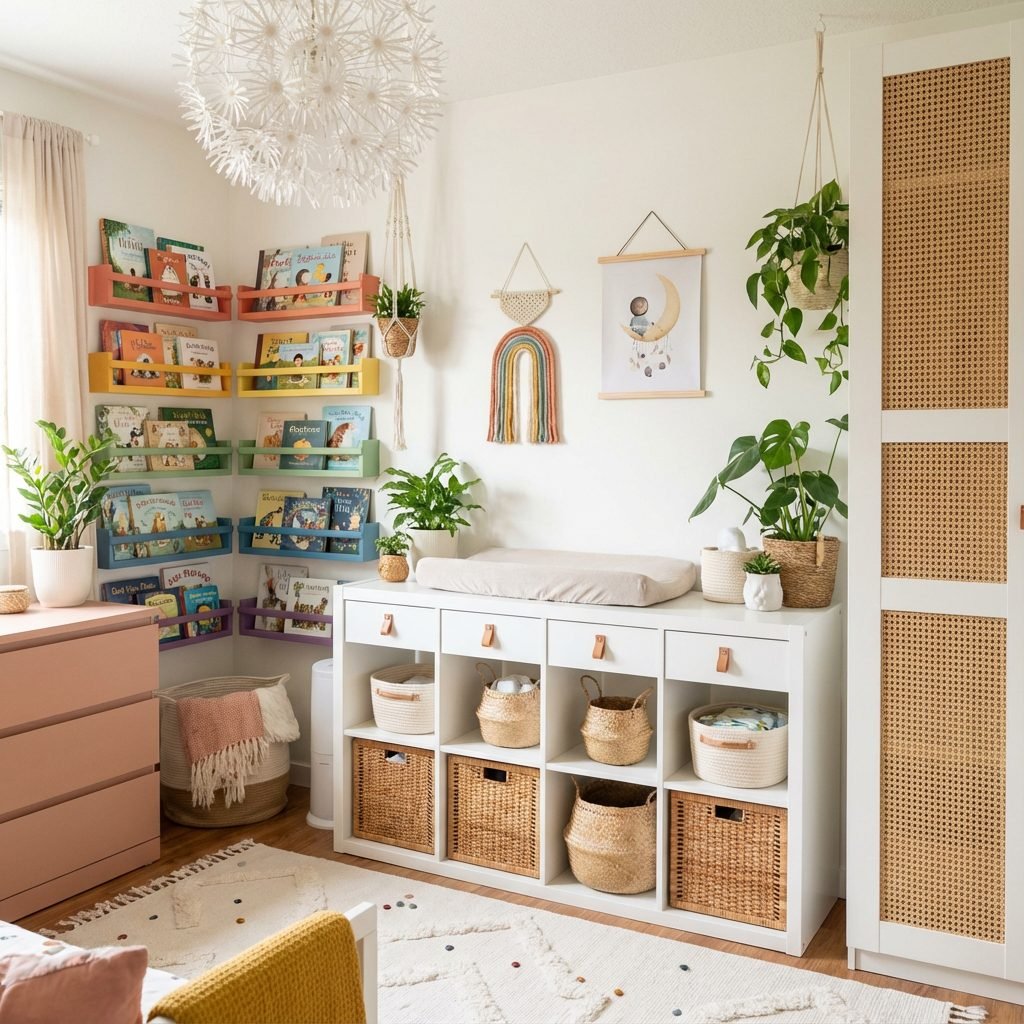
1. The KALLAX Shelf Unit Changing Table
The KALLAX shelf is legendary in the hacking community for its versatility. Its cube design is perfect for storage bins, making diapers, wipes, and creams easily accessible. By placing a changing pad securely on top, you instantly have a sturdy changing station. Why it’s genius: The open cubbies keep everything visible and within arm’s reach during a messy diaper change. Once your baby is potty-trained, the KALLAX seamlessly transitions into a toy storage unit or bookshelf, offering incredible long-term value. How to do it: Assemble the 2×2 or 2×4 KALLAX unit. Secure it to the wall using the included anti-tip hardware—this is non-negotiable for safety. Place a contoured changing pad on top, ensuring it has a non-slip base or is secured with straps. Fill the cubbies with DRÖNA or TJENA storage boxes to organize all your supplies.
2. The HEMNES Dresser Transformation
For a more traditional look with enclosed storage, the HEMNES 3-drawer chest is a perfect choice. It’s made of solid wood, giving it a high-end feel, and its height is ideal for most parents. Why it’s genius: The drawers hide clutter, creating a serene and organized look. You can store clothes in the drawers and diapering essentials on top. Like the KALLAX, this piece has a long life as a regular dresser in your child’s room for years to come. How to do it: Build the dresser and anchor it to the wall. You can add a changing table topper for a more defined and secure space, or simply place a changing pad directly on the surface. Consider swapping the standard knobs for more playful or personalized ones to match your nursery theme. This simple change can make the piece feel completely custom.
3. The RÅSKOG Utility Cart Diaper Caddy
Sometimes, you need your diapering station to be mobile. The RÅSKOG utility cart is the perfect solution. Why it’s genius: This rolling cart can hold everything you need for a diaper change and can be moved from the nursery to the living room or wherever you are. It’s a lifesaver during the newborn phase when you and the baby might be camped out in one room. How to do it: This hack requires minimal effort! Simply assemble the cart. Use the top tier for diapers and wipes, the middle for creams and lotions, and the bottom for extra supplies like swaddles, burp cloths, and a change of clothes. You can add small containers or dividers within the tiers to keep things even more organized.
Smart Storage for Tiny Treasures
Babies come with an astonishing amount of stuff. From tiny socks to board books and an ever-growing collection of toys, finding a place for everything is key to maintaining a peaceful environment. These IKEA hacks turn everyday items into brilliant storage solutions.
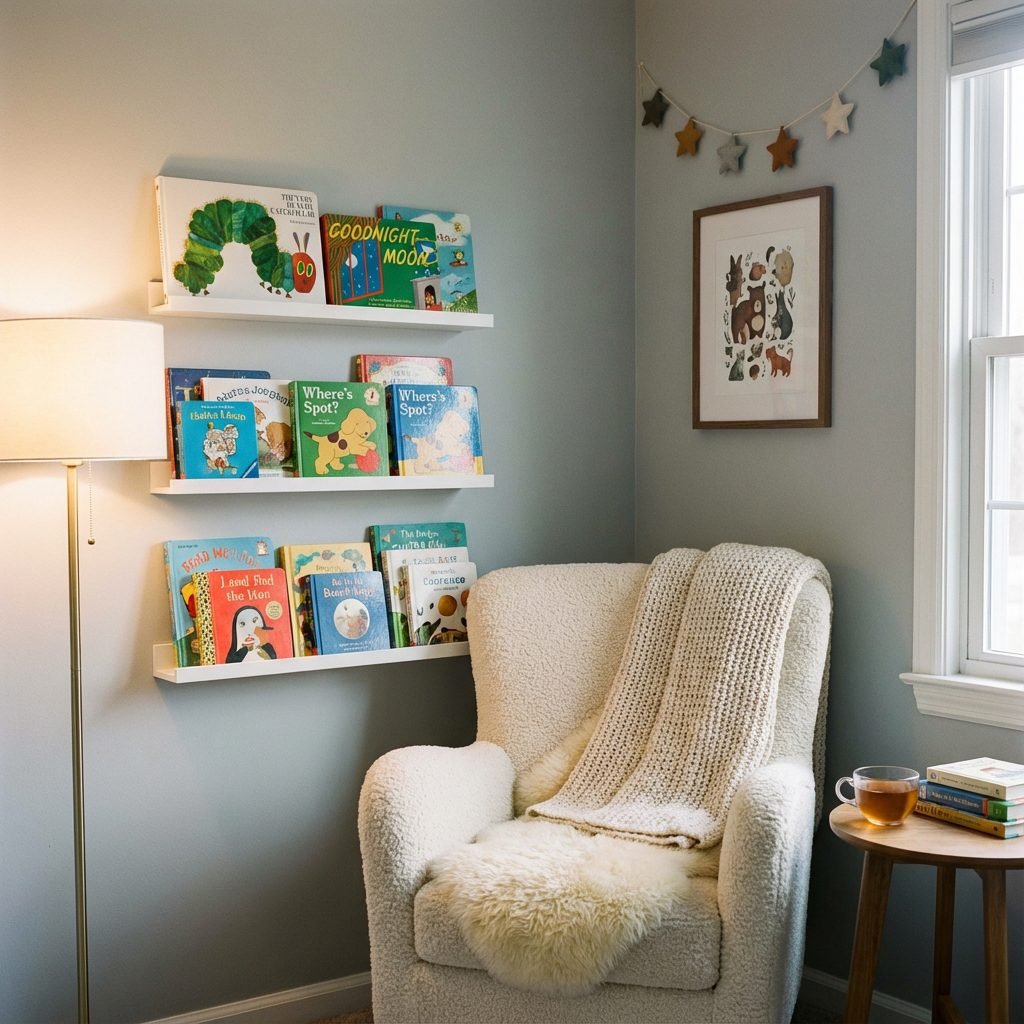
4. BEKVÄM Spice Racks as Bookshelves
This is arguably one of the most popular and beloved IKEA nursery hacks of all time. The BEKVÄM spice racks are small, shallow, and incredibly cheap. Why it’s genius: When mounted on the wall, they become the perfect forward-facing bookshelves. This display style allows toddlers to see the covers of their books, encouraging them to pick one out and fostering an early love of reading. They take up zero floor space, which is ideal for smaller nurseries. How to do it: The racks can be left as natural wood, painted to match your nursery decor, or even stained for a richer look. Mount them securely to the wall at a height that is accessible for your child as they grow. Arrange them in a row or stagger them for a more dynamic look.
5. The TROFAST System for Toy Domination
The TROFAST storage system is a game-changer for toy organization. With its sturdy frame and slide-out bins of various sizes and colors, it’s designed for kids. Why it’s genius: It empowers children to clean up after themselves. The low-to-the-ground bins are easy for little hands to pull out and put back. You can label the bins with pictures or words to teach categorization skills (e.g., blocks, cars, dolls). How to do it: Choose the frame size that fits your space and select a combination of bins that works for your toy collection. For a fun hack, you can add a custom top to the TROFAST unit (like a stained piece of wood or a laminate countertop) to create a play surface or train table.
6. The SKÅDIS Pegboard for Vertical Organization
Don’t forget about wall space! The SKÅDIS pegboard system offers a customizable way to organize everything from hairbows and pacifiers to art supplies. Why it’s genius: It’s completely flexible. You can move the containers, shelves, and hooks around as your baby’s needs change. It keeps small, essential items off surfaces and in a designated spot, reducing clutter. How to do it: Mount the pegboard above the changing table or in a play corner. Use the various SKÅDIS accessories—like containers for lotions, clips for artwork, and hooks for towels or sweaters—to create a system that works for you.
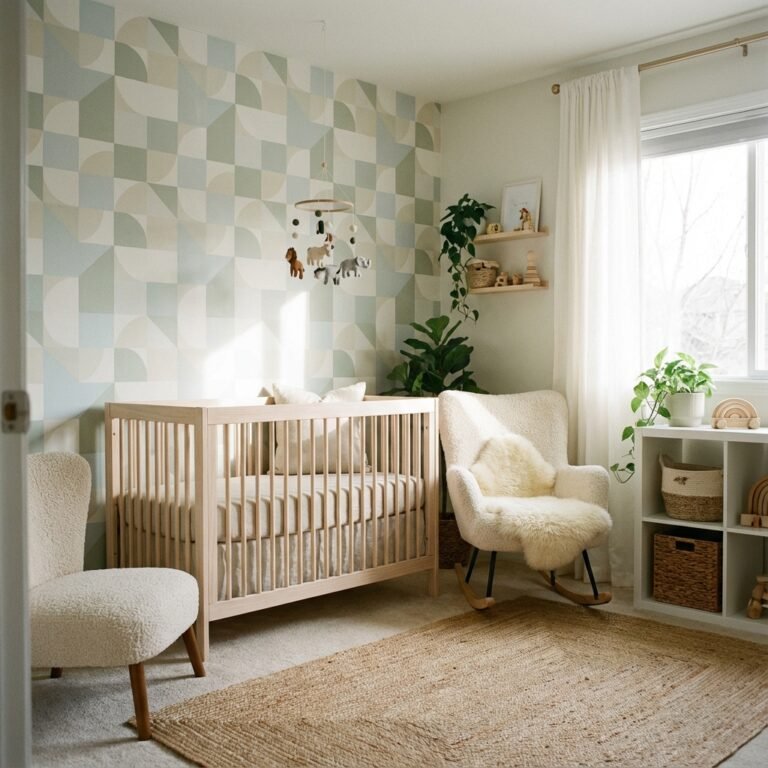
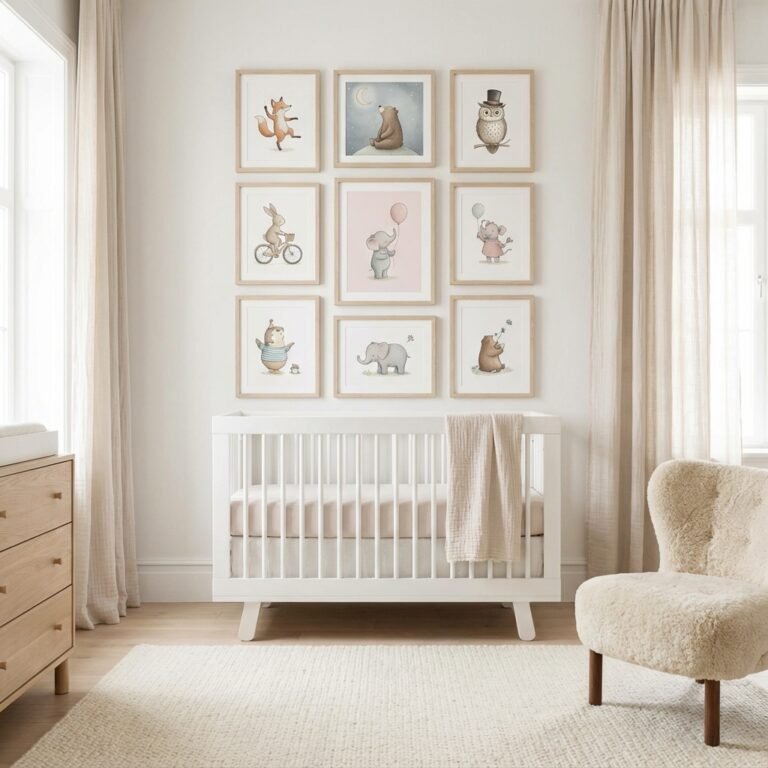
Creating a Dreamy & Personalized Sleep Space
The crib is the centerpiece of the nursery. While safety is the number one priority, you can still add personal touches to make the sleep space feel special and serene without compromising on safety standards.
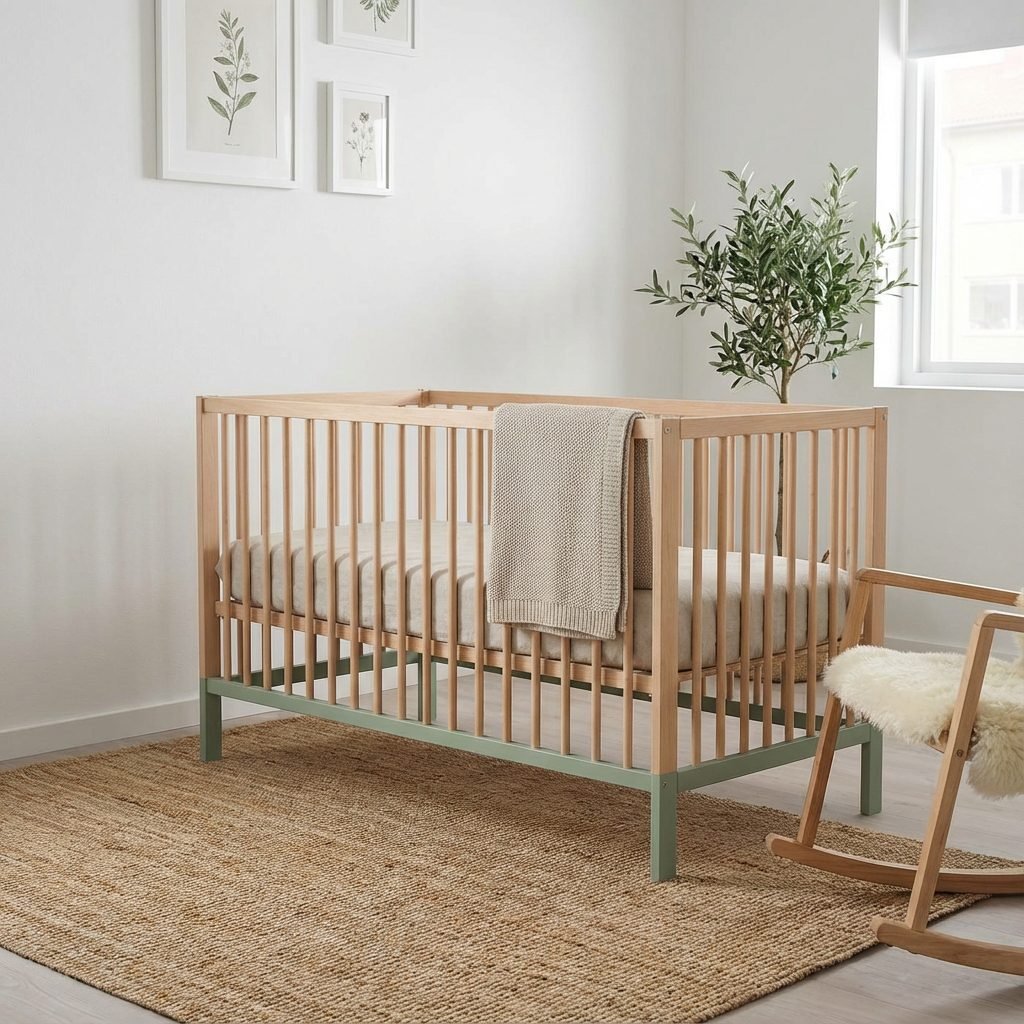
7. The SNIGLAR Crib Glow-Up
The SNIGLAR crib is a minimalist, solid beech wood crib that is unbelievably affordable. Its simple design is a blank canvas. Why it’s genius: You get the safety and reliability of a new IKEA crib for a minimal cost, leaving room in the budget for personalization. How to do it: Many parents choose to paint or dip-dye the legs of the crib in a non-toxic, baby-safe paint to add a pop of color. You could paint the bottom half white or a pastel shade that matches your decor. Important Safety Note: Never paint the railings or any surface the baby might chew on. Only modify the exterior legs and frame, and always use zero-VOC, non-toxic paint that is certified safe for nursery furniture.
8. The MOPPE Mini Chest for Bedside Essentials
The MOPPE mini chest of drawers is a small, unfinished wood unit perfect for keeping nighttime essentials close at hand. Why it’s genius: It’s the perfect size to place on a small stool or shelf next to your nursing chair. It can hold pacifiers, a sound machine remote, burp cloths, and other small items you’ll need during late-night feedings, saving you from fumbling in the dark. How to do it: Since it’s unfinished wood, the possibilities are endless. You can paint it, stain it, or add decorative paper to the drawer fronts. Add small, stylish knobs to complete the custom look.
From Playtime to Wardrobe: Genius Finishing Touches
These final hacks focus on creating dedicated zones for play and growth, ensuring every corner of the nursery is both fun and functional. They showcase how a little creativity can turn simple IKEA products into cherished parts of your child’s room.
9. The FLISAT Sensory Table
The FLISAT children’s table is designed with removable lids that reveal TROFAST bins underneath, making it the perfect base for a sensory table. Why it’s genius: Sensory play is crucial for a child’s development. This hack contains the mess (mostly!) and provides a dedicated spot for activities with sand, water, rice, or playdough. How to do it: Simply place the TROFAST bins into the table’s openings. You can have multiple bins with different sensory materials ready to swap out. When playtime is over, put the lids back on, and it becomes a regular art or snack table.
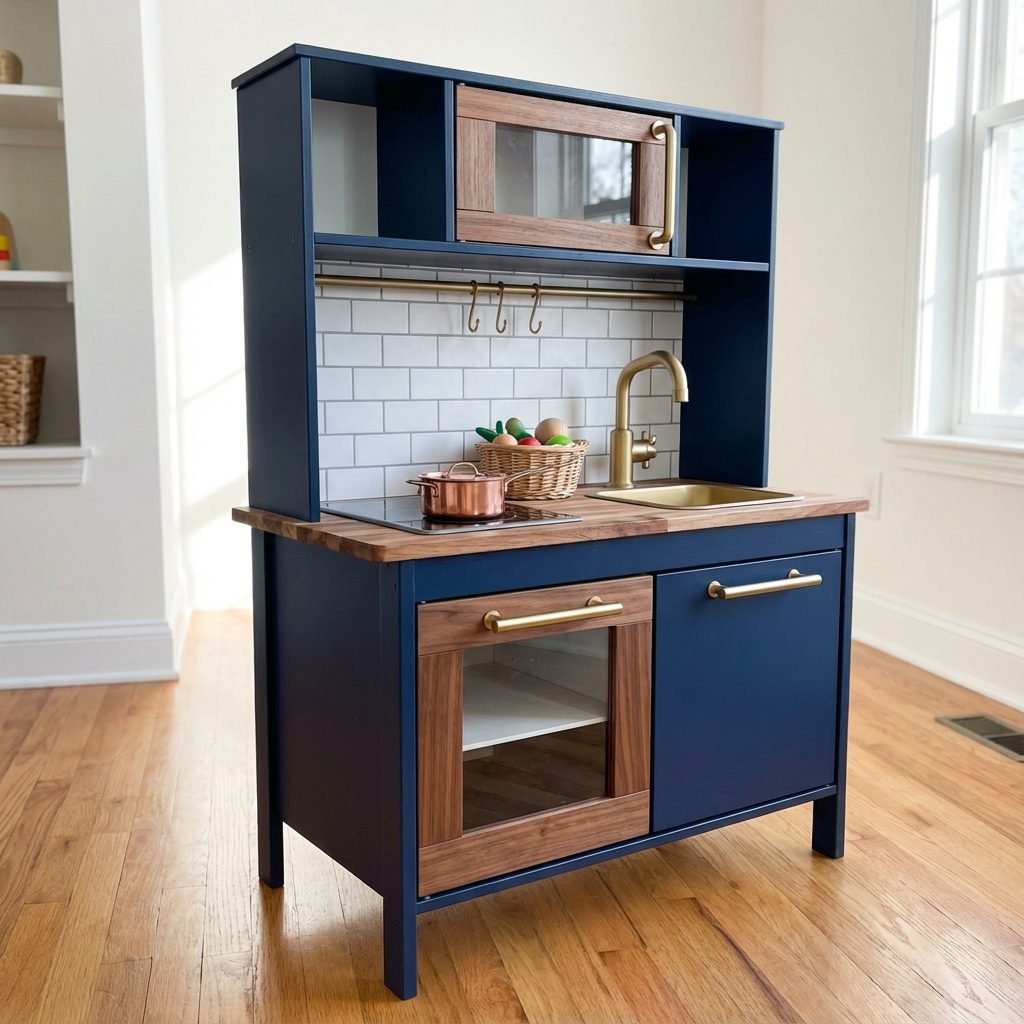
10. The DUKTIG Play Kitchen Makeover
The DUKTIG play kitchen is a classic, but with a little work, it can be transformed into a Pinterest-worthy centerpiece. Why it’s genius: This hack allows you to create a custom play kitchen that matches your home’s aesthetic, turning a toy into a beautiful piece of furniture. How to do it: The transformation usually involves painting the kitchen with furniture paint (a dark green or soft gray is popular), using metallic spray paint for the faucet and handles, and adding a contact paper backsplash to mimic tile or marble. You can also add battery-operated puck lights for a ‘working’ oven light.
11. The PAX Wardrobe System for a Future-Proof Closet
Instead of a small, baby-sized wardrobe, consider investing in the PAX system. Why it’s genius: This is the ultimate long-term solution. The interior organizers are completely customizable. You can start with multiple hanging rails for tiny clothes and lots of shelves for folded items. As your child grows, you can adjust the layout, removing rails and adding drawers or baskets to suit their changing needs. This piece will last them from babyhood well into their teenage years. How to do it: Use the IKEA PAX planner tool online to design the interior. Start with double hanging rods (one high, one low) to maximize space for small clothes. Use KOMPLEMENT drawers and shelves for everything else. Choose doors that match your nursery style, and remember to anchor the unit securely to the wall.
Conclusion
Creating a nurturing, beautiful, and functional nursery doesn’t have to drain your savings. As you can see, a trip to IKEA and a little bit of creativity can completely transform your space. These hacks are more than just budget-friendly projects; they are an opportunity to pour your love and anticipation into building a room where your baby will sleep, play, and grow. Remember to always prioritize safety by anchoring all furniture to the wall and using non-toxic materials. Embrace this process as part of your journey into parenthood. You are building a nest for your new arrival, and that is a truly beautiful thing. We wish you all the best as you embark on this incredible adventure. You’ve got this.