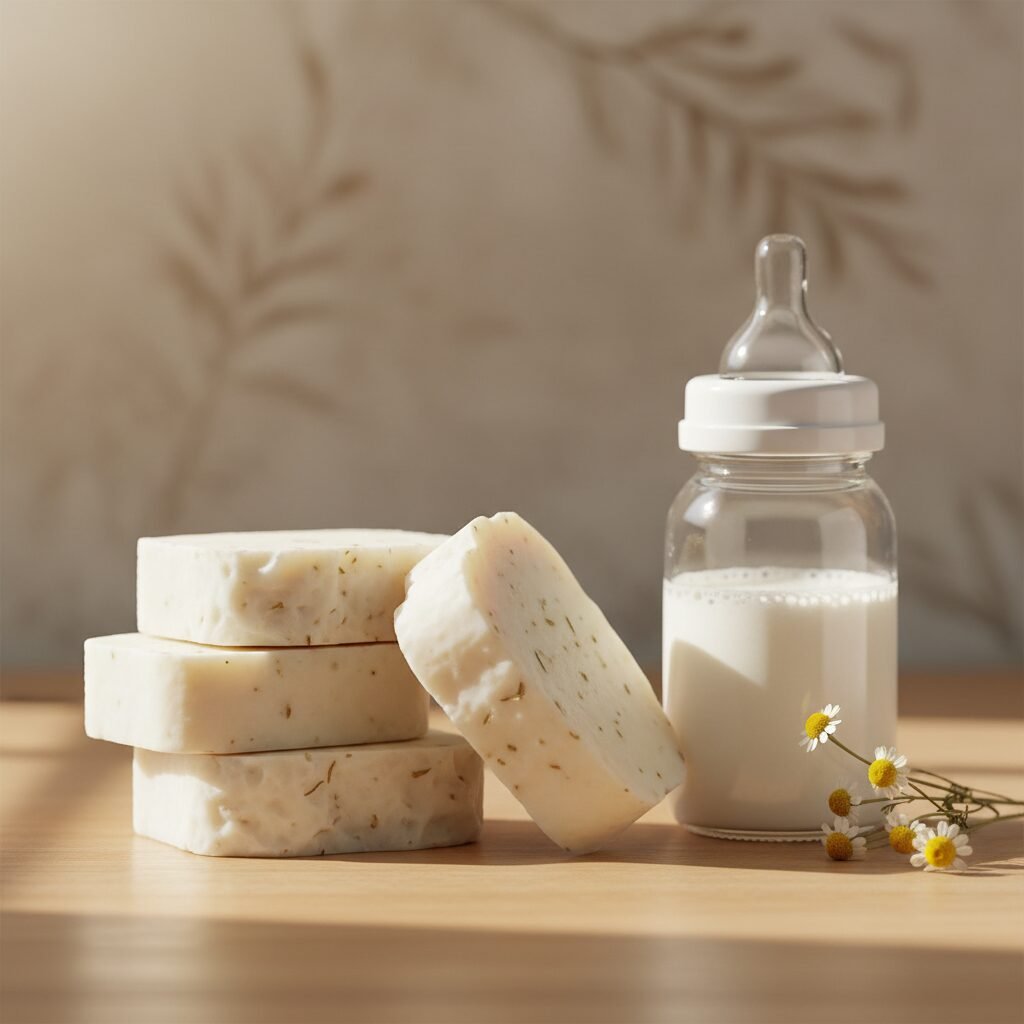
Liquid Gold Skincare: How To Make Creamy Breastmilk Soap For Baby’s Eczema
Watching your baby struggle with the itchiness and discomfort of eczema is a heart-wrenching experience for any parent. You diligently apply creams and lotions, searching for anything that might bring your little one relief. But what if one of the most powerful, gentle, and nourishing ingredients was one you produce yourself? Your breastmilk, often called ‘liquid gold’ for its unparalleled nutritional benefits, also possesses incredible properties for soothing and protecting delicate skin.
As a doula and maternal health educator, I’ve guided countless families through the early days of parenthood, and I’ve seen the profound connection that comes from using your own resources to nurture your child. Creating breastmilk soap is more than just a DIY project; it’s an act of love. It transforms your unique, antibody-rich milk into a tangible form of comfort. This guide will walk you through the entire process, from understanding the science behind why it works to a safe, detailed, step-by-step recipe. Let’s embark on this journey to craft a creamy, gentle soap that can help soothe your baby’s skin.
Understanding Baby Eczema and the Power of Your ‘Liquid Gold’
Understanding Baby Eczema and the Power of Your ‘Liquid Gold’
Before we begin the soap-making process, it’s essential to understand why this works. Baby eczema, or atopic dermatitis, is a condition where the skin barrier becomes compromised, leading to dryness, inflammation, and intense itchiness. While there are many commercial treatments, they can sometimes contain harsh chemicals that may further irritate sensitive skin.
The Science of Breastmilk for Skin Health
Breastmilk is a complex, living substance perfectly designed for your baby, and its benefits extend beyond the high chair. Here’s what makes it so effective for skin:
- Lauric Acid: This fatty acid, also found in coconut oil, has natural antibacterial and anti-inflammatory properties. It helps to gently cleanse the skin without stripping its natural oils.
- Immunoglobulin A (IgA): This primary antibody in breastmilk helps protect against germs and allergens on the skin’s surface, creating a protective layer.
- Oleic Acid: A monounsaturated fatty acid that acts as a fantastic moisturizer, helping to seal in hydration and repair a damaged skin barrier.
- Vitamins and Minerals: Breastmilk contains vitamins A, D, E, and K, all of which are crucial for skin health, cell repair, and reducing inflammation.
Remember, your body has created a substance so complete that it nourishes your baby from the inside out. Using it topically is simply another beautiful extension of that incredible biological synergy.
By incorporating breastmilk into a gentle, handcrafted soap, you are harnessing these natural components to create a cleanser that supports the skin’s barrier rather than disrupting it. It’s a holistic approach that honors the connection between you and your baby.
Safety First: Essential Precautions When Working with Lye
Safety First: Essential Precautions When Working with Lye
This is the most critical section of this guide. Soap making is a wonderful form of chemistry, but it requires handling a caustic substance: lye (Sodium Hydroxide). Lye is what saponifies oils, turning them into soap. When handled correctly, it is completely safe, and no lye remains in the final, cured bar of soap. However, you must treat it with the utmost respect during the creation process.
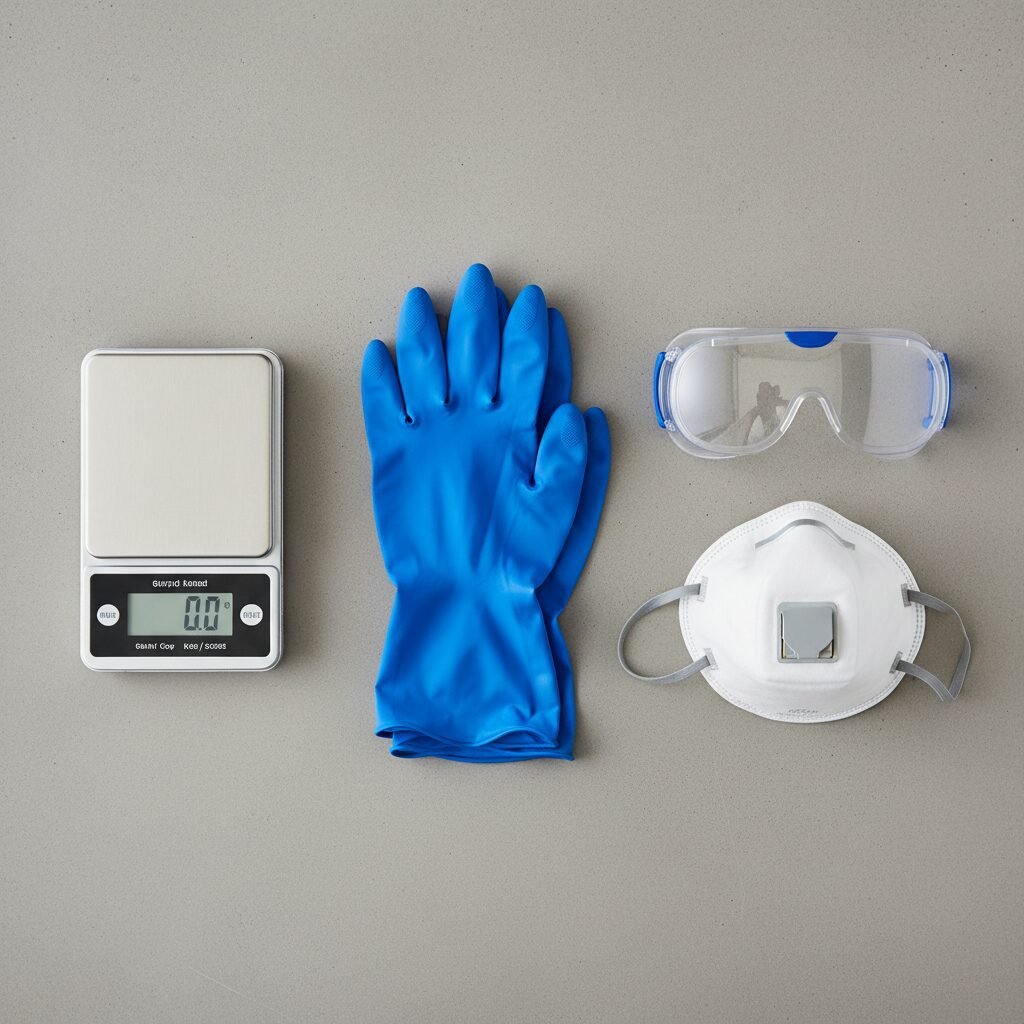
Your Non-Negotiable Safety Protocol
Never attempt to make soap without following these rules precisely. Keep children, pets, and any distractions out of your workspace.
- Protect Yourself: Always wear full safety gear. This includes chemical-resistant gloves, long sleeves, pants, closed-toe shoes, and, most importantly, safety goggles or glasses that protect from splashes.
- Ventilate Your Space: Work in a well-ventilated area. Open windows and turn on an exhaust fan. When lye is mixed with liquid, it releases fumes for a minute or two that should not be inhaled.
- Use Dedicated, Proper Equipment: Do not use aluminum pots, bowls, or utensils, as lye reacts with it. Stick to stainless steel, heavy-duty plastic (labeled #2 or #5), or heat-proof glass for your mixing containers.
- The Golden Rule: Always add the lye slowly to your frozen liquid (breastmilk), never the other way around. Adding liquid to lye can cause a dangerous, volcano-like reaction.
- Clear Your Workspace: Ensure your area is clean and organized. Have a clear path and a stable surface to work on. Keep vinegar on hand, as it can neutralize lye spills on surfaces (but use copious amounts of water for skin contact).
By preparing your space and yourself, you create a safe environment to confidently craft your beautiful soap.
Gathering Your Ingredients & Tools: A Complete Checklist
Gathering Your Ingredients & Tools: A Complete Checklist
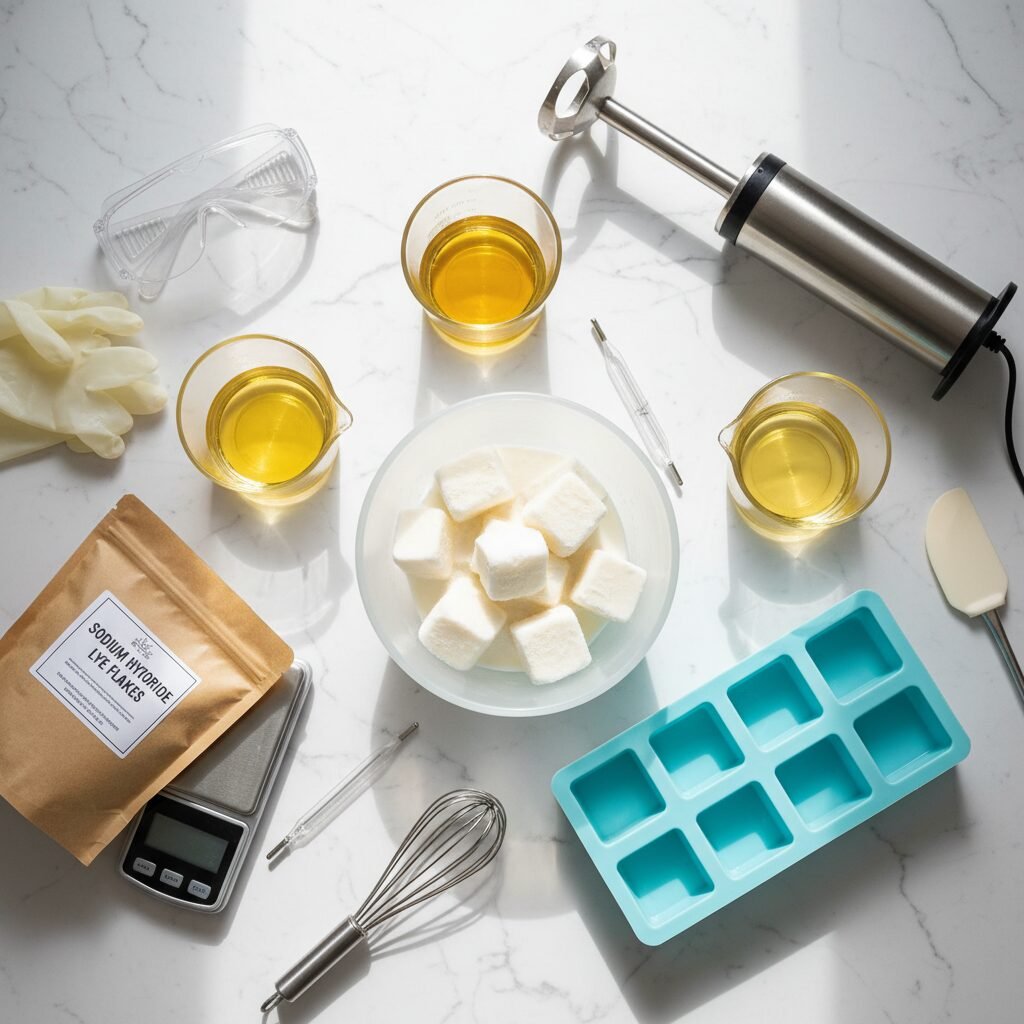
Having everything measured and ready before you start—a practice known as ‘mise en place’ in cooking—is crucial for a smooth and safe soap-making experience. Below is a simple, gentle recipe perfect for a baby’s skin.
Ingredients for a 2 lb. Batch
This recipe is ‘superfatted’ at 5%, meaning a portion of the oils is left unsaponified, resulting in a more moisturizing bar.
| Ingredient | Amount (by weight) | Purpose & Notes |
|---|---|---|
| Frozen Breastmilk | 7.5 oz (213g) | The ‘liquid gold’ base. Must be frozen into cubes to prevent scorching when lye is added. |
| Lye (100% Sodium Hydroxide) | 2.55 oz (72g) | The saponifying agent. Purchase from a reputable supplier. |
| Olive Oil (Pure or Pomace) | 12 oz (340g) | Creates a very gentle, mild, and conditioning bar. |
| Coconut Oil (Refined or Unrefined) | 4 oz (113g) | Adds hardness and a fluffy lather. |
| Shea Butter | 3 oz (85g) | Provides extra creaminess and moisturizing properties. |
| Colloidal Oatmeal (Optional) | 1 Tablespoon | Adds soothing and anti-inflammatory properties. Add at the end. |
Essential Tools
- Digital Kitchen Scale: For accurate measurements. This is not optional; soap making requires precision.
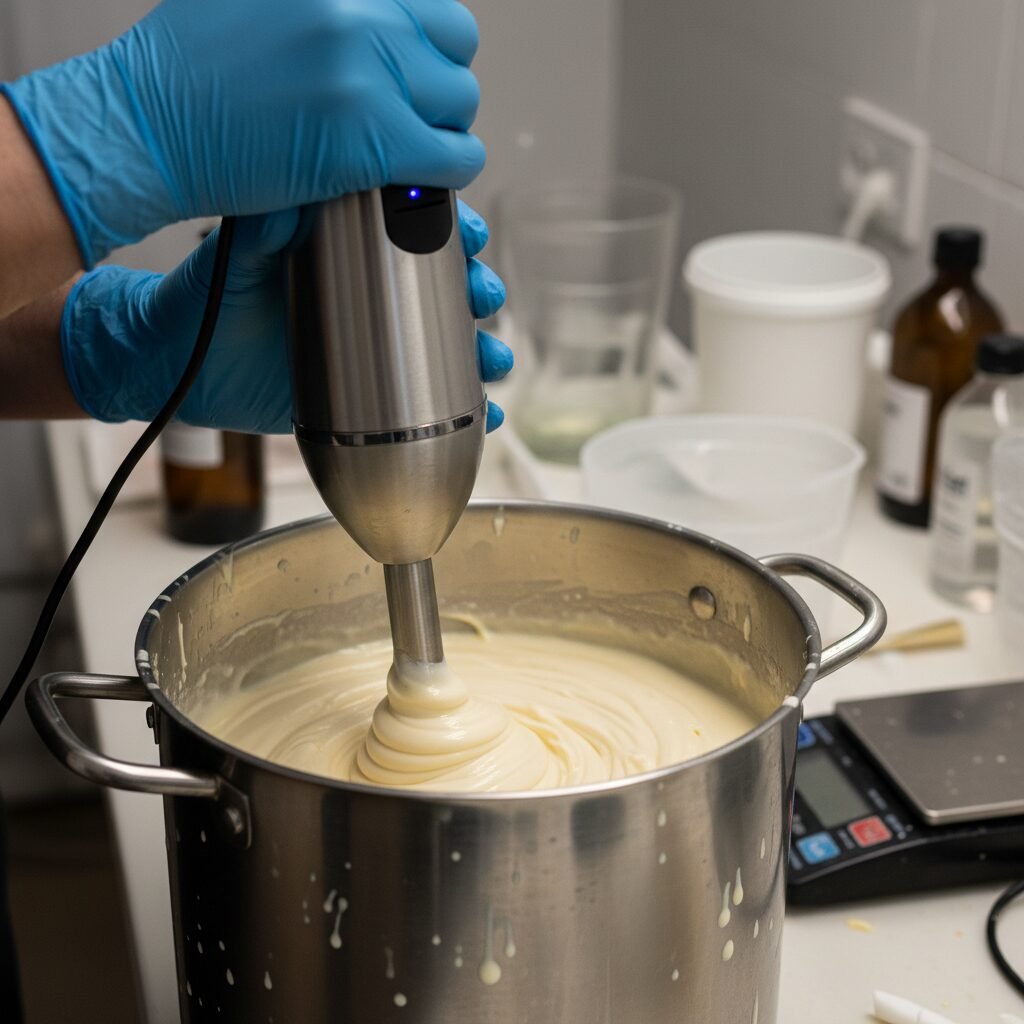
- Stick (Immersion) Blender: To emulsify the mixture quickly and smoothly.
- Stainless Steel Pot: For melting the oils.
- 2 Heat-Proof Containers: For weighing and mixing the lye solution. Heavy-duty plastic or glass works well.
- Silicone Spatula or Whisk: For stirring and scraping. Ensure it’s heat-resistant.
- Soap Mold: A 2 lb. silicone loaf mold is ideal for beginners. You can also use individual silicone molds.
- Thermometer (Optional but Recommended): An infrared or candy thermometer to monitor temperatures.
The Step-by-Step Recipe: Crafting Your Creamy Breastmilk Soap
The Step-by-Step Recipe: Crafting Your Creamy Breastmilk Soap
With your safety gear on and your ingredients measured, you are ready to create. Follow these steps carefully.
- Prepare the Lye-Milk Solution: Place your container with the frozen breastmilk cubes on the scale. Slowly and carefully, sprinkle the pre-measured lye flakes directly onto the frozen milk. Stir gently with a silicone spatula as the lye begins to melt the milk. The milk will prevent the lye from overheating and scorching the precious milk sugars. The mixture will turn a pale yellow-orange; this is normal. Set it aside in a safe place to fully dissolve and cool.
- Melt the Oils: While the lye solution cools, combine your olive oil, coconut oil, and shea butter in a stainless steel pot. Heat gently on the stove over low heat until just melted. Remove from the heat. Ideally, you want both your lye-milk solution and your oils to be around 85-100°F (29-38°C).
- Combine and Emulsify: Once the temperatures are within range, slowly pour the lye-milk solution into the pot of melted oils. Use your stick blender to mix in short bursts. Pulse for a few seconds, then stir with the blender’s head (while it’s off).
- Reach ‘Trace’: Continue this process until the mixture thickens to the consistency of a thin pudding. This is called ‘trace.’ You’ll know you’ve reached it when you can drizzle some of the mixture onto the surface and it leaves a faint trail for a moment before sinking back in. This can take anywhere from 2 to 5 minutes.
- Add Optional Ingredients: If you’re using colloidal oatmeal, add it now and stir it in thoroughly with your spatula.
- Pour into Mold: Carefully pour the thickened soap batter into your silicone mold. Tap the mold gently on the counter to release any air bubbles.
- Insulate and Rest: Cover the mold with a piece of cardboard or a small towel. This helps the soap go through the ‘gel phase,’ which ensures a complete saponification process. Let it sit undisturbed for 24-48 hours.
- Unmold and Cut: After 24-48 hours, the soap should be hard enough to remove from the mold. If using a loaf mold, cut it into individual bars using a sharp, non-serrated knife.
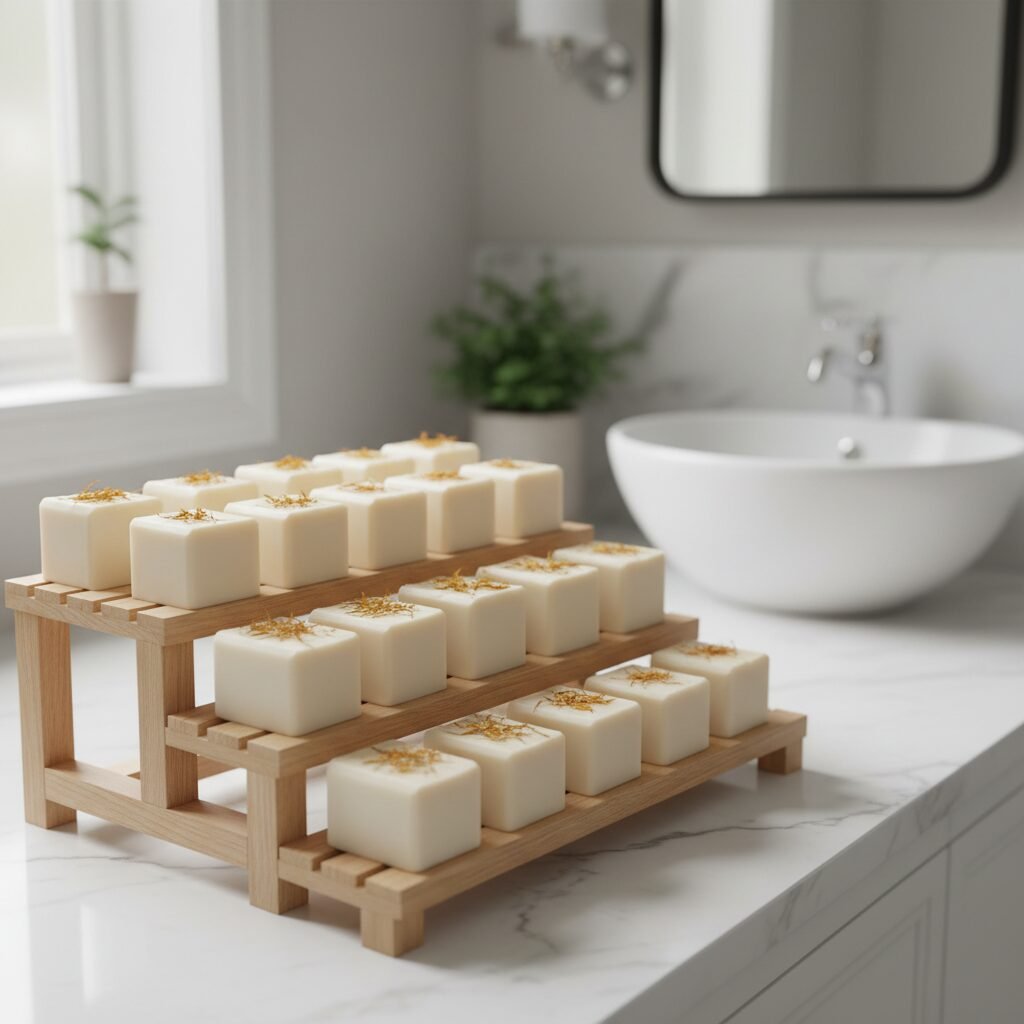
- The Curing Process: This is the final, crucial step. Place your bars on a coated baking rack or a piece of parchment paper in a cool, dry, well-ventilated area. Let them cure for 4 to 6 weeks. This allows the saponification process to complete and the water to evaporate, resulting in a harder, milder, and longer-lasting bar of soap. Do not skip this step!
Customization, Storage, and First Use
Customization, Storage, and First Use
Once your soap has fully cured, it’s ready to be used and enjoyed. Here are a few final tips on getting the most out of your handcrafted ‘liquid gold’ skincare.
Gentle Customizations
While this recipe is designed to be as simple and pure as possible for a baby’s skin, you can make small adjustments for adult use or for toddlers with less sensitive skin. Consider adding:
- Dried Calendula Petals: Sprinkle on top before insulating for a beautiful, natural decoration. Calendula is known for its skin-soothing properties.
- Chamomile-Infused Oil: You can infuse your olive oil with dried chamomile flowers for several weeks before making the soap to impart its calming benefits.
- Avoid Essential Oils: It is strongly recommended to avoid all essential oils in soap intended for babies, as their skin is incredibly sensitive and can react unpredictably.
Proper Storage for Longevity
To ensure your soap lasts as long as possible, proper storage is key.
- Curing: During the 4-6 week curing period, ensure good airflow around each bar.
- Long-Term Storage: Once cured, store the bars in a cool, dry place away from direct sunlight. A linen closet or a drawer is perfect. Do not store them in airtight plastic containers, as soap needs to breathe.
- In the Shower: To make your bar last, use a draining soap dish that allows it to dry out completely between uses.
Introducing the Soap to Your Baby’s Routine
When it’s time for that first bath with your homemade soap, take a gentle approach.
- Perform a Patch Test: Before the first full use, test the soap on a small, inconspicuous area of your baby’s skin, like behind the ear or on their leg. Wait 24 hours to ensure there is no reaction.
- Less is More: The soap is a cleanser, not a lotion. Lather a small amount in your hands and then gently wash your baby. Avoid getting it in their eyes.
- Rinse Thoroughly: Make sure all soap residue is rinsed from your baby’s skin and hair.
- Pat Dry and Moisturize: Gently pat your baby’s skin dry with a soft towel and immediately apply your pediatrician-approved emollient or moisturizer to lock in hydration.
Conclusion
A Labor of Love for Your Little One
Creating breastmilk soap is a beautiful, tangible way to channel your love and nurturing instincts into something that can bring comfort to your baby. It’s a project that combines science, care, and the unique magic of your own body. By following these steps safely and patiently, you’ve created more than just a bar of soap; you’ve made a gentle, personalized skincare product that is a testament to the powerful bond between you and your child.
Embrace the process, trust in your ability to provide for your baby in so many wonderful ways, and enjoy the peace of mind that comes from knowing exactly what is going onto their delicate skin.
Medical Disclaimer
The information provided in this article is for educational and informational purposes only and is not intended as medical advice. The content is not a substitute for professional medical advice, diagnosis, or treatment. Always seek the advice of your pediatrician, dermatologist, or other qualified health provider with any questions you may have regarding a medical condition like eczema. Never disregard professional medical advice or delay in seeking it because of something you have read in this article.