7 Genius Small Nursery Hacks That Double Your Storage Space Instantly
Welcome, expecting parents. The journey of preparing for your little one is filled with a unique mix of pure excitement and, let’s be honest, a little bit of logistical panic. One of the biggest puzzles to solve is often the nursery. You envision a peaceful, organized haven, but the reality might be a small spare room, a converted office, or even a cozy corner of your own bedroom. If you’re staring at four walls and wondering how you’ll ever fit a crib, changing station, and a mountain of baby essentials, please take a deep, calming breath. You are not alone, and you have absolutely come to the right place.
As a doula and maternal health educator, I’ve supported hundreds of families as they navigate this exact challenge. I’ve seen firsthand that the size of the nursery has zero correlation with the amount of love it can hold. A smaller space doesn’t mean sacrificing function or style; it simply calls for a bit more creativity. It’s about working smarter, not harder, to create a space that is both a serene sanctuary for your baby and an efficient workstation for you. Forget the sprawling nurseries you see in magazines. We’re going to focus on reality and turn your compact space into a powerhouse of efficiency and charm. In this guide, I’ll walk you through seven of my most trusted, genius hacks to instantly maximize your storage and create a nursery that feels spacious, organized, and ready for your new arrival.
Hack #1: Embrace Vertical Space to Draw the Eye Upward
Why Vertical Storage is a Game-Changer
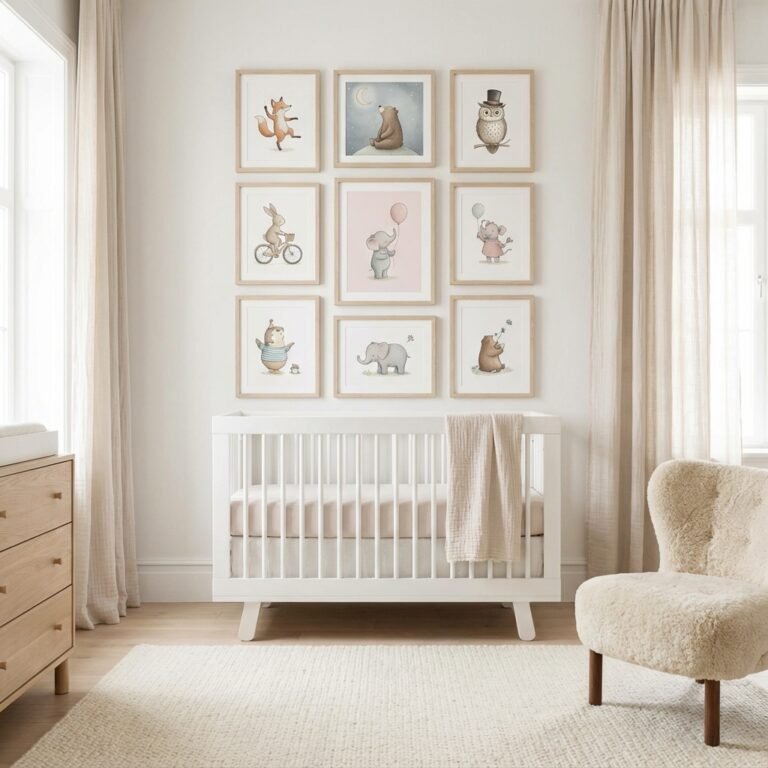
When floor space is at a premium, the single most effective strategy is to look up. Your walls are prime real estate that often goes underutilized. By drawing the eye upward with vertical storage, you not only free up the floor for essential furniture like the crib and a comfy chair, but you also create an illusion of height and spaciousness. It’s a classic interior design trick that works wonders in compact rooms.
How to Implement Vertical Storage
Think beyond a single, bulky bookshelf. The key is to use a variety of sleek, wall-mounted options:
- Floating Shelves: Install two or three floating shelves above the changing table or dresser. This is the perfect spot for items you need to access quickly but want to keep out of a toddler’s future reach. Use them for diapers in a neat stack, wipes in a dispenser, and ointments in a small basket. They also double as a lovely display for a few treasured books or a special stuffed animal.
- Tall, Narrow Bookcases: Instead of a wide, short bookcase, opt for a tall, slender one. It will hold just as much, if not more, while occupying a much smaller footprint. Use decorative bins or baskets on the shelves to conceal clutter and create a clean, uniform look.
- Wall-Mounted Cube Storage: Modular cube systems are fantastic because you can configure them to fit your specific space. Hang a set of four or six cubes on the wall to store folded blankets, extra clothes, or toys.
A crucial safety note from your doula: Any and all tall furniture, including bookcases and dressers, must be securely anchored to the wall. Babies will eventually become curious climbers, and this simple step is non-negotiable for preventing dangerous tip-over accidents. Safety always comes first in creating your baby’s haven.
Hack #2: Invest in Furniture That Does Double (or Triple) Duty
In a small nursery, every single piece of furniture should earn its keep. Single-use items are a luxury you can’t afford when every square foot matters. The goal is to find smart, multi-functional pieces that serve two or more purposes, saving you space, money, and hassle.
The Smartest Swaps for Your Nursery
Instead of buying separate pieces for every need, consider these powerful combinations:
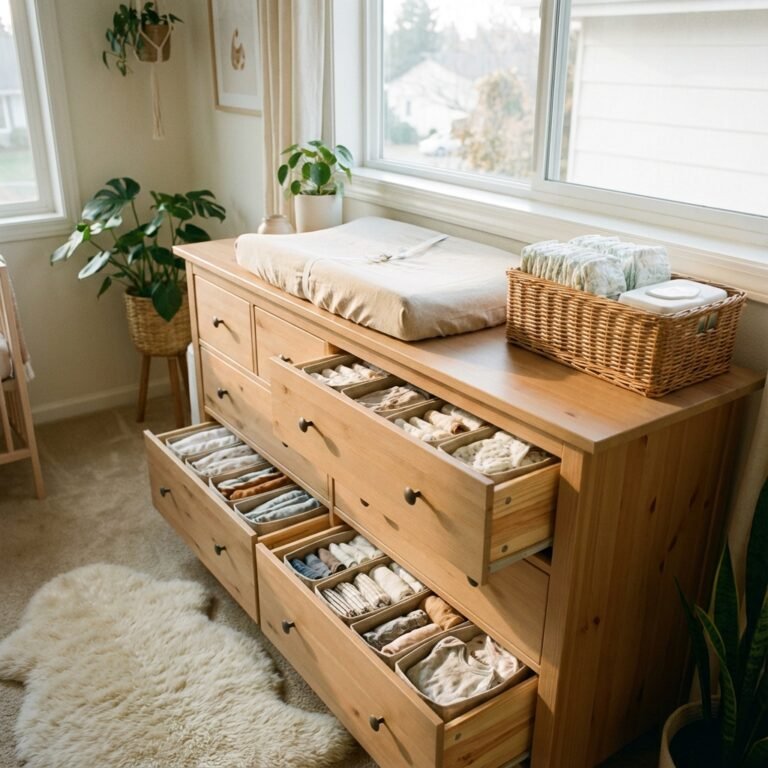
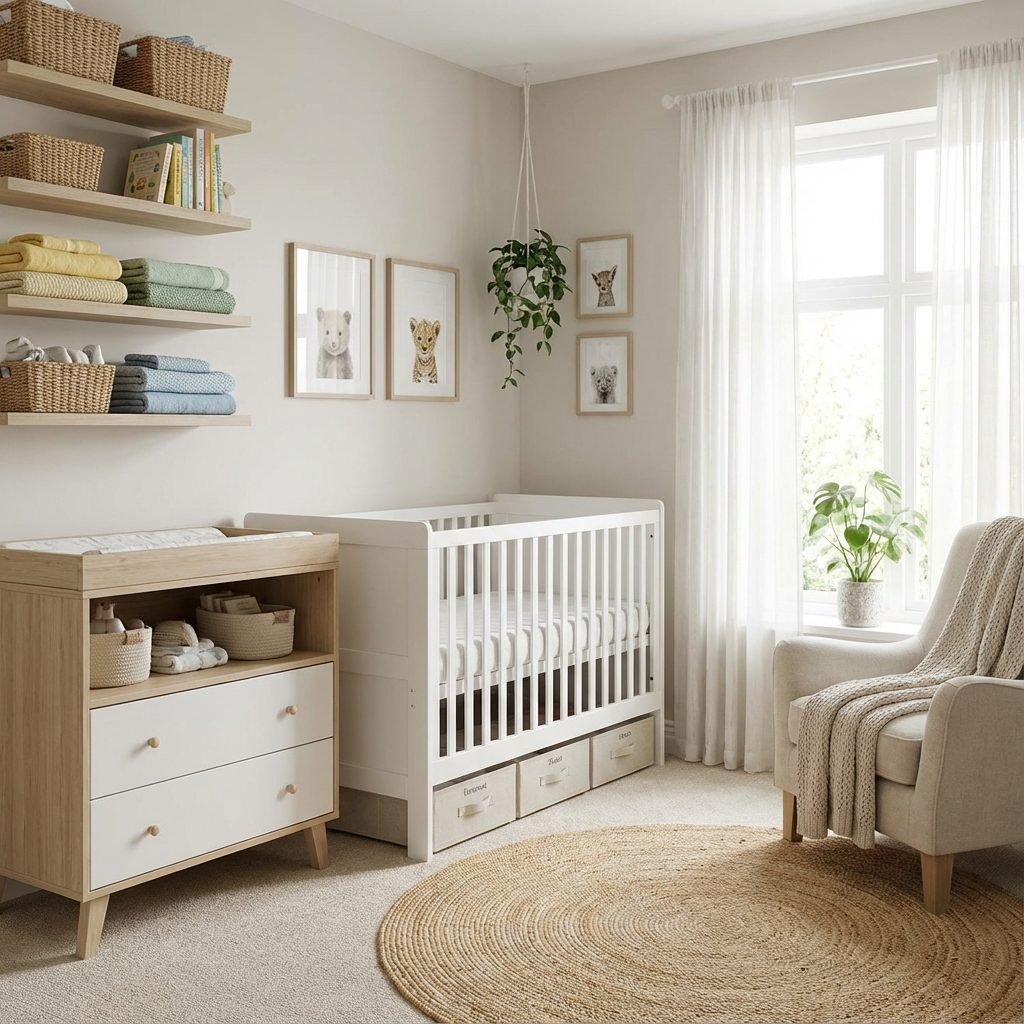
- The Dresser-Changer Combo: This is the holy grail of nursery space-saving. Forgo the traditional, often flimsy, changing table. Instead, choose a sturdy, standard-height dresser and top it with a secure changing pad with raised sides and a safety strap. You gain a robust changing surface and ample storage for clothes, diapers, and linens all in one footprint. Once your child is out of diapers, simply remove the pad, and you have a dresser that will last for years.
- Storage Ottomans and Benches: A comfortable glider or rocking chair is a nursery must-have for those late-night feedings. Pair it with a storage ottoman. It provides a place to prop up your feet while hiding extra blankets, nursing supplies, or toys inside.
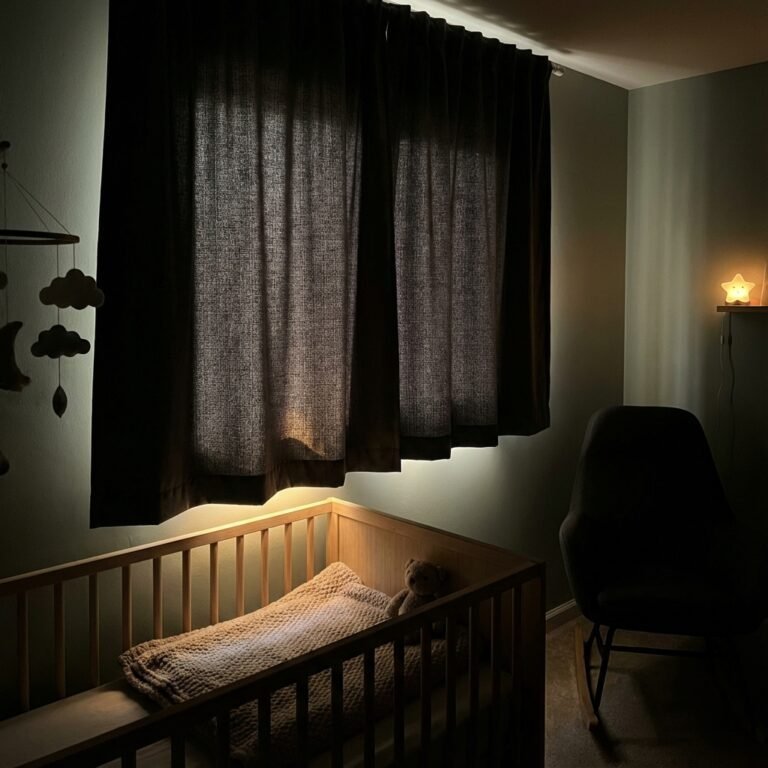
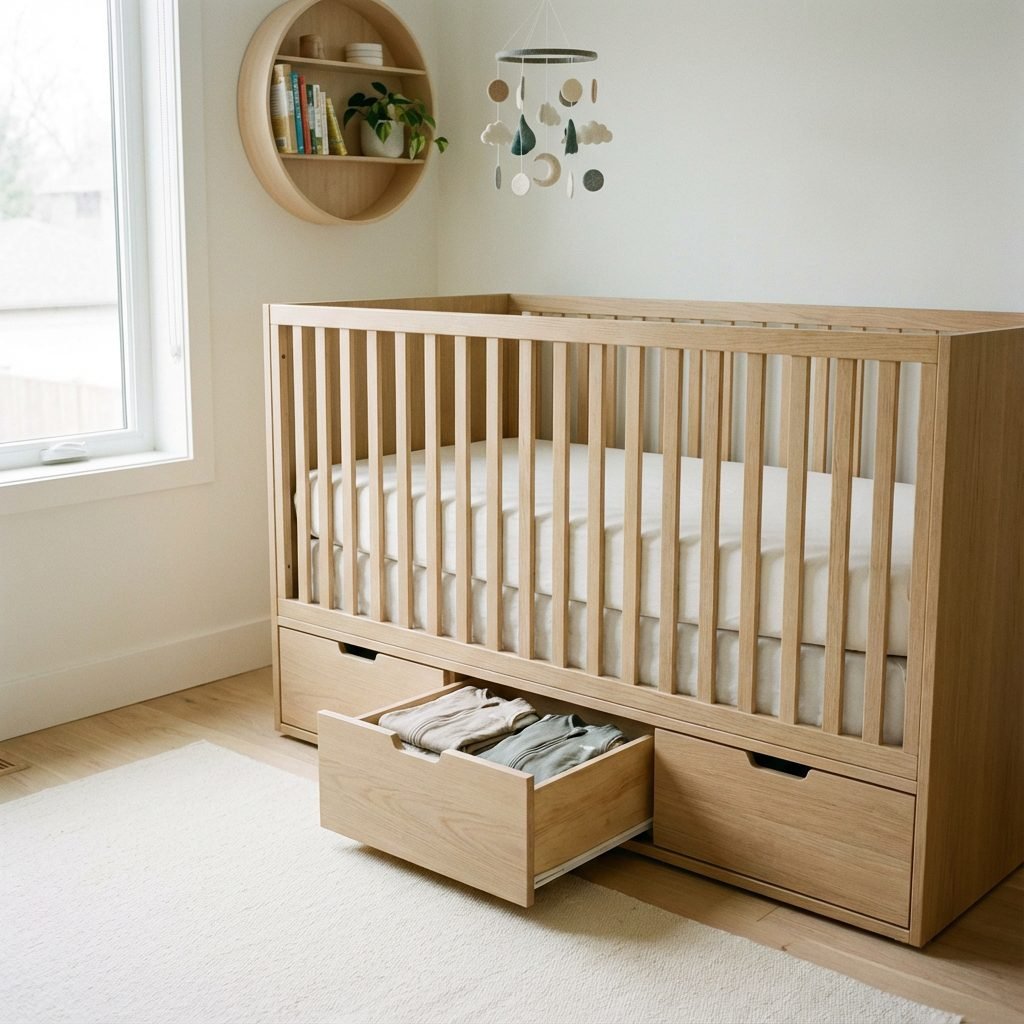
- Cribs with Built-in Drawers: Many modern cribs come with one or two large drawers built into the base. This is the perfect, dust-free spot for storing extra crib sheets, mattress protectors, and sleep sacks—items you need nearby but not every single day.
Changing Table vs. Dresser: A Quick Comparison
| Feature | Traditional Changing Table | Dresser with Changing Pad |
|---|---|---|
| Storage Capacity | Minimal; often just one or two open shelves. | Excellent; multiple deep drawers for clothes, diapers, etc. |
| Longevity | Short-term; useful for only 1-2 years. | Long-term; transitions into a child’s dresser for many years. |
| Stability & Safety | Can be less stable; must be chosen carefully. | Very stable; a solid piece of furniture (must be anchored). |
| Footprint | Dedicated space for one function. | No extra space needed; combines two functions in one. |
Hack #3: Claim Unseen Spaces: Under the Crib and Behind the Door

Some of the most valuable storage space in any room is the space we don’t immediately see. In a nursery, this ‘hidden real estate’ is your secret weapon against clutter. By utilizing these forgotten zones, you can store a surprising amount of gear without making the room feel crowded.
Unlocking Under-the-Crib Storage
The space under the crib is often a dust bunny graveyard, but it can be so much more. The key is to use contained, easily accessible storage. Look for:
- Low-Profile Rolling Bins: These are specifically designed to slide under beds and cribs. Choose ones with lids to keep contents clean and dust-free. This is the ideal place to store items you don’t need daily, such as clothes the baby hasn’t grown into yet, seasonal outfits, or bulk boxes of diapers.
- Shallow Storage Bags: Zippered fabric bags can work well for soft items like extra blankets, swaddles, and bedding. Label each bin or bag clearly so you can find what you need without pulling everything out.
The Power of the Door
The back of the nursery door is a vertical storage goldmine. An over-the-door organizer is a simple, no-drill solution that adds immense capacity.
- Organizers with Clear Pockets: These are my top recommendation. The clear pockets let you see everything at a glance, which is a lifesaver when you’re sleep-deprived. Use them to organize baby shoes, socks, hats, bows, small soft toys, pacifiers, or even baby care items like nail clippers and thermometers.
- Over-the-Door Hooks: A simple rack of hooks can be used for bath towels, a diaper bag, or tomorrow’s outfit, keeping your ‘get ready’ routine streamlined.
Hack #4: Reimagine the Closet with Smart Systems
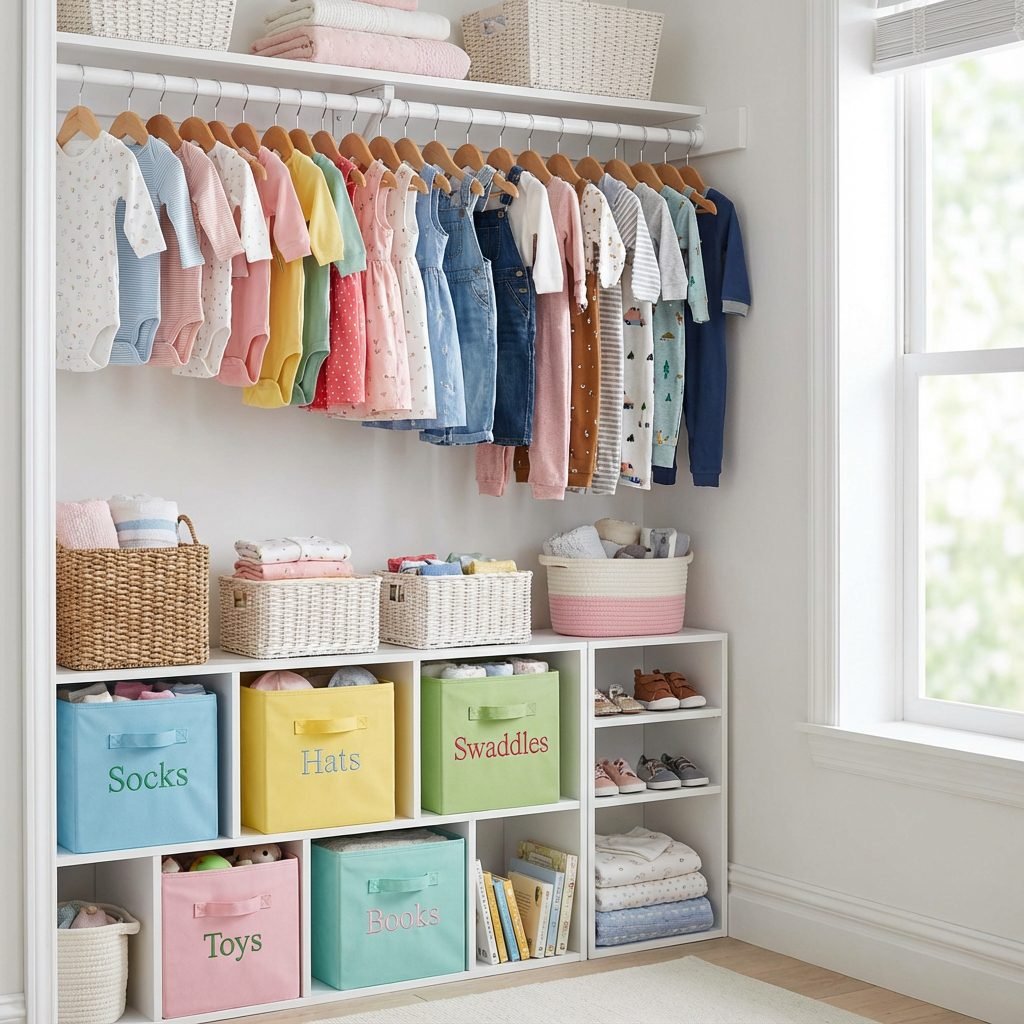
Most standard closets come with a single rod and a high shelf—a setup designed for adult-sized clothes and one that is incredibly inefficient for a baby’s wardrobe. Those tiny outfits will leave a massive amount of wasted space. A strategic closet makeover is one of the highest-impact changes you can make.
From Basic to Brilliant: A Closet Overhaul
You don’t need a custom carpenter; many solutions are DIY-friendly and affordable.
- Install a Second Rod: This is the easiest and most effective hack. Add a second closet rod below the existing one. This instantly doubles your hanging space. Baby clothes are short, so you’ll have plenty of clearance for both rods.
- Use a Hanging Organizer: A fabric hanging shelf organizer can break up the vertical space, creating cubbies for folded sweaters, pants, or shoes.
- Incorporate a Small Cube Unit or Dresser: If the closet is deep enough, placing a small cube organizer or even a narrow dresser on the floor inside the closet can provide a ton of concealed, organized storage for items you don’t need to see every day.
- Leverage Shelf Dividers: On that high top shelf, use acrylic or wire shelf dividers to keep stacks of blankets, bedding, or storage bins from toppling over. This creates neat, manageable ‘lanes’ of storage.
Remember, this is about creating a system that works for you. The goal is to open the closet door and feel a sense of calm, not chaos. When you can find what you need in seconds, it makes caring for your baby just that little bit easier.
Hack #5: Master the Art of Containment with Baskets and Dividers
Once you’ve established your main storage zones, it’s time to focus on the micro-level: organization within the drawers and on the shelves. Without proper containment, even the largest dresser can become a jumbled mess. Baskets, bins, and dividers are the tools that bring order to the chaos of tiny baby items.
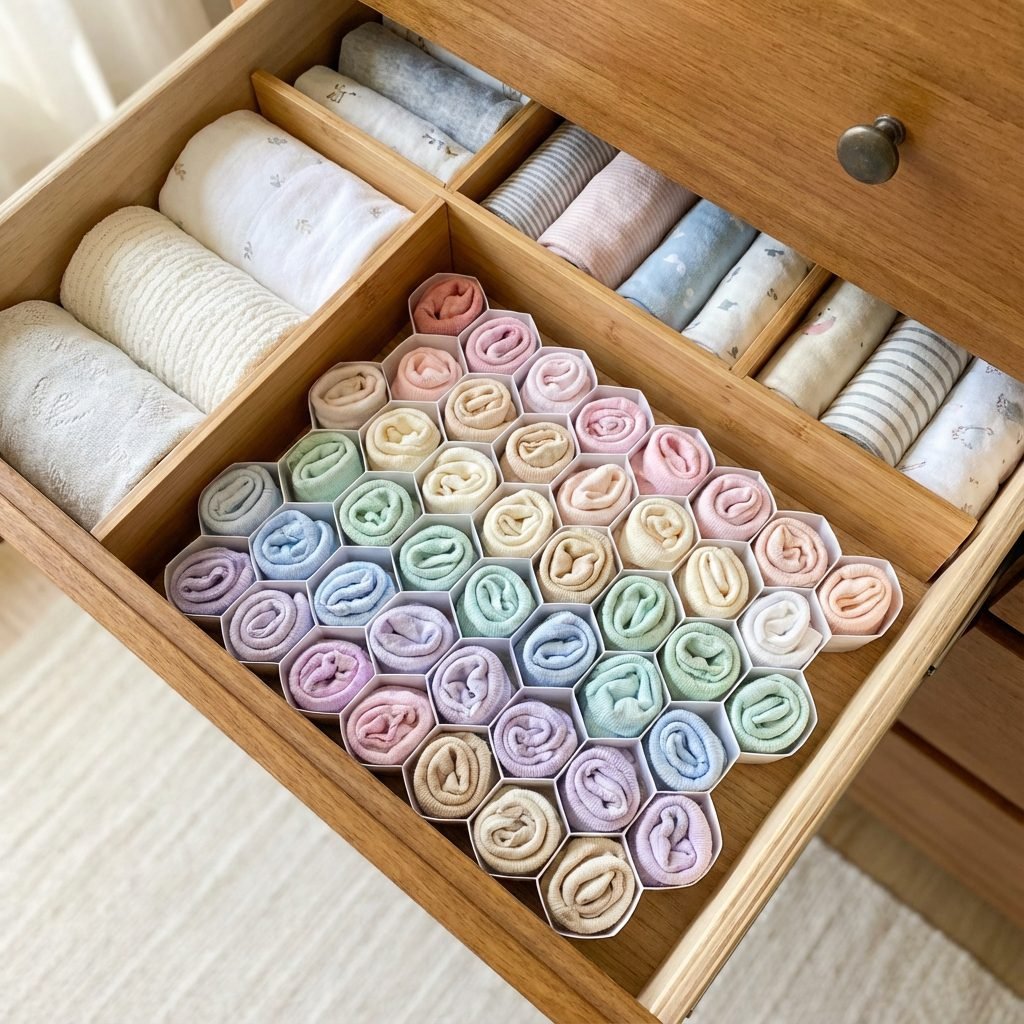
Taming the Dresser Drawers
A baby’s dresser can quickly become a black hole for socks that have lost their mates and onesies you forgot you had. Drawer dividers are the solution.
- Adjustable Dividers: Spring-loaded or adjustable dividers allow you to create custom-sized compartments in any drawer.
- Honeycomb Organizers: These are perfect for the top drawer, creating small, individual cells for rolled-up socks, pacifiers, hats, and mittens.
- Small Baskets or Bins: Using a series of small, open-top baskets inside a larger drawer is another great way to categorize items. Have one for diaper cream and lotions, one for hairbrushes and nail clippers, etc.
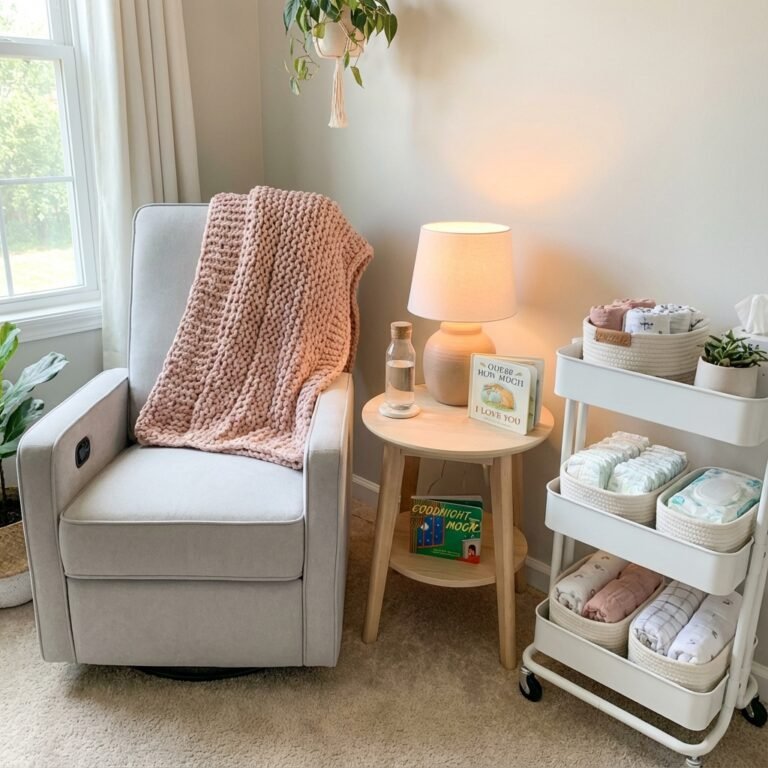
The Versatile Rolling Cart
A slim, three-tiered rolling cart is one of my favorite nursery items. It takes up minimal space and can be moved wherever you need it. Create a dedicated ‘station’ on wheels:
- A Diapering Station: Stock it with diapers, wipes, cream, a few toys for distraction, and a change of clothes. You can roll it right next to the changing area.
- A Feeding Station: For nursing or bottle-feeding parents, a cart next to your glider can hold your water bottle, snacks, burp cloths, nipple cream, and your phone.
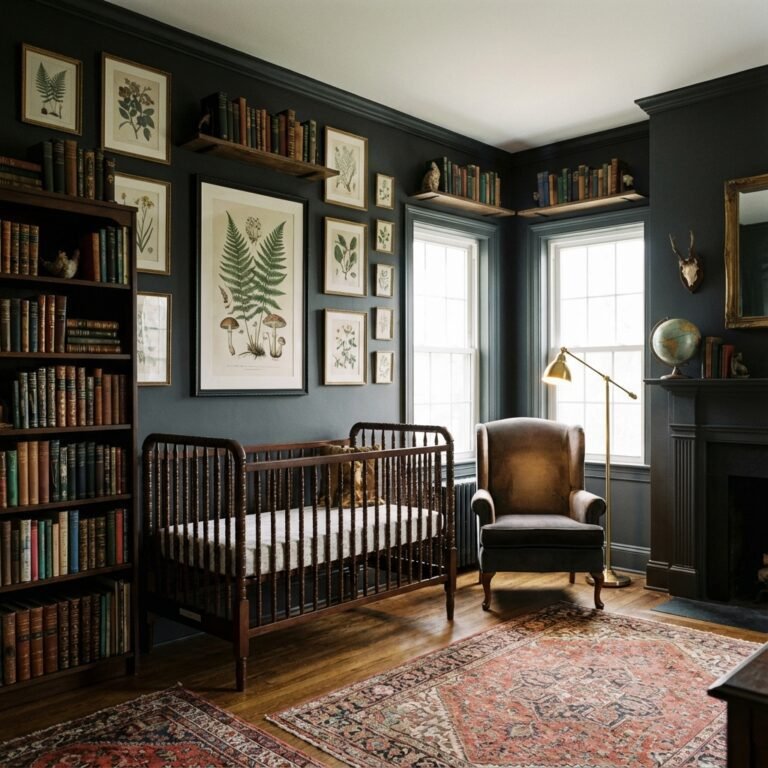
Hack #6: Ditch the Bulky Bookcase for Wall-Mounted Ledges
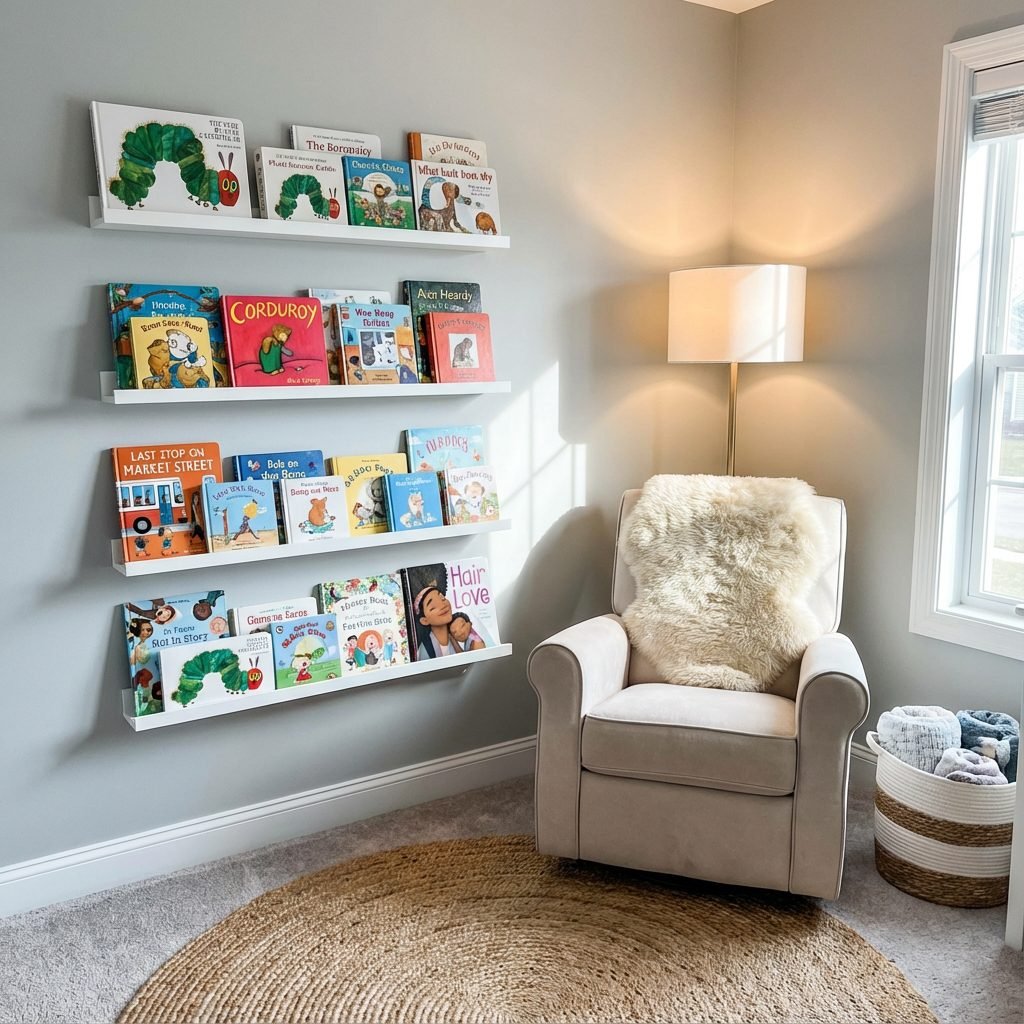
Fostering a love of reading from day one is a beautiful goal, but a collection of board books can quickly overwhelm a small room. Traditional bookcases are often too deep and bulky, jutting out into precious floor space. The solution is elegant, space-saving, and turns your book collection into a piece of art.
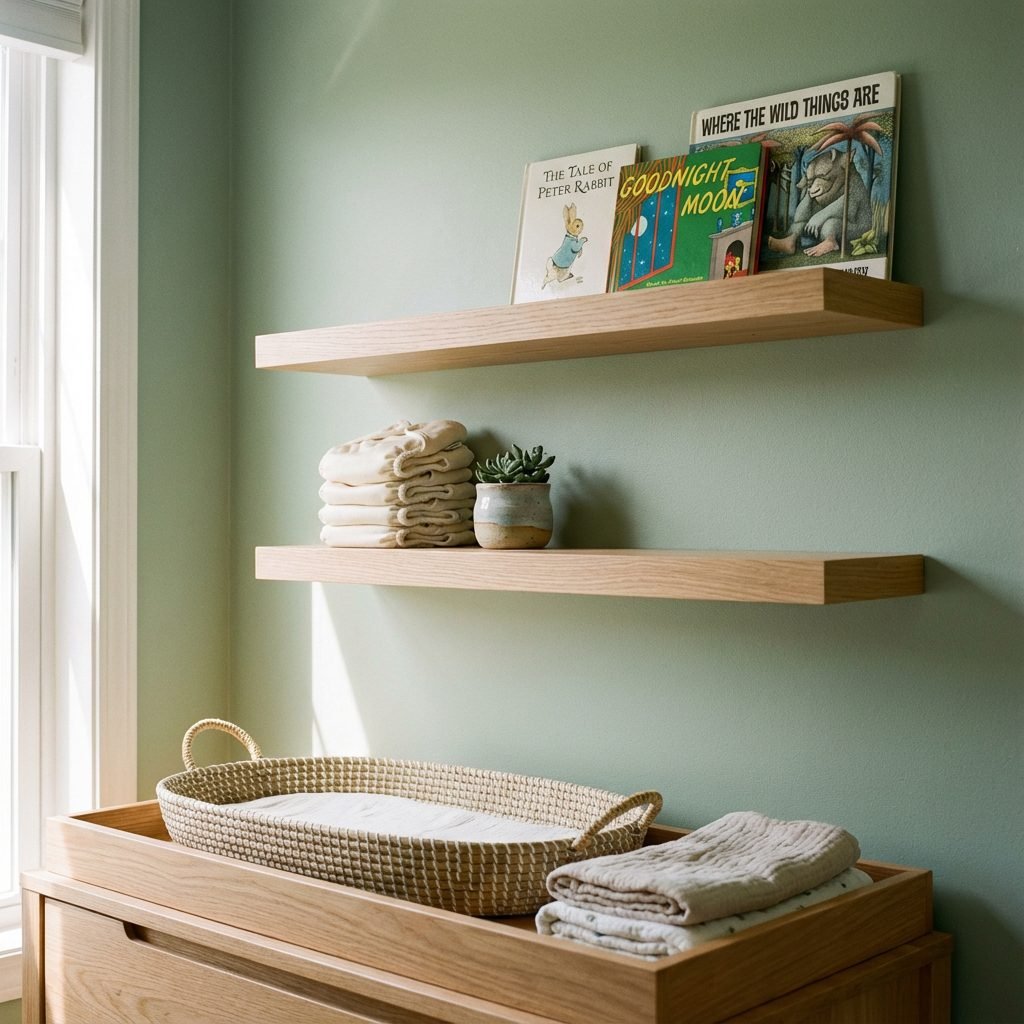
Why Picture Ledges are Perfect for Books
Shallow picture ledges, typically used for displaying framed photos, are the ideal depth for children’s books. Here’s why this works so well:
- Minimal Footprint: They are extremely slim and mount directly to the wall, taking up virtually no floor space.
- Cover-Forward Display: By placing books on the ledges with their covers facing out, you create a vibrant, colorful, and inviting display. This is much more visually appealing to a young child than seeing only the spines. It’s like having a rotating art gallery in their room!
- Encourages Reading: When children can easily see the fun, engaging covers of their books, they are more likely to point to one and ask for a story. It makes reading an interactive and accessible activity.
Install three or four of these ledges in a cozy corner next to your glider to create a dedicated reading nook that is both beautiful and highly functional, without sacrificing an inch of the floor.
Hack #7: Create a Customizable ‘Command Center’ with a Pegboard
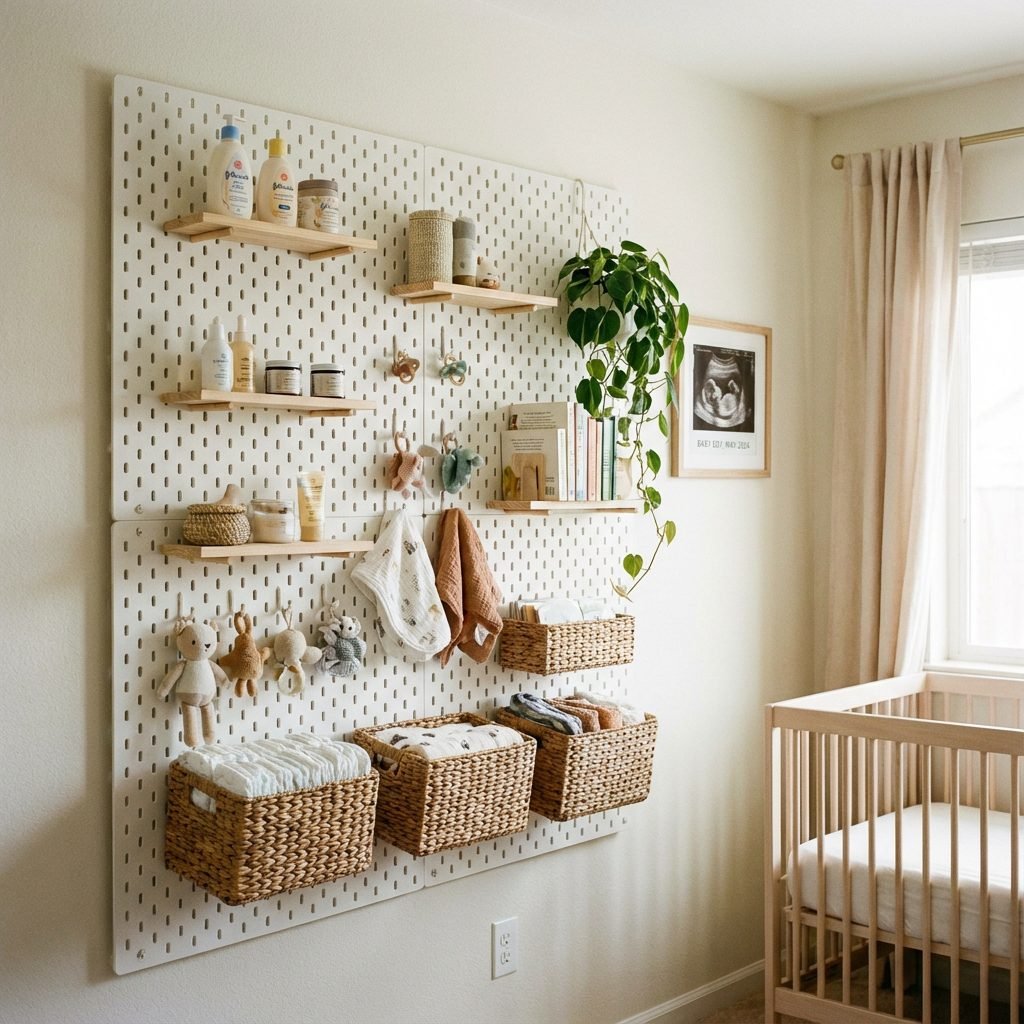
For a truly versatile and adaptable storage solution, look no further than the humble pegboard. It’s a powerhouse of organization that can be customized to your exact needs and can evolve as your baby grows. A single pegboard can serve multiple functions, consolidating clutter into one streamlined, vertical space.
Endless Possibilities with a Pegboard Wall
Mount a large pegboard on the wall near your changing station or in another accessible spot. Then, use a variety of hooks, baskets, and small shelves that are designed for pegboard systems to create your custom command center:
- Diaper Station Organizer: Use small wire baskets to hold diapers, wipes, and creams. Use hooks to hang pacifier clips, washcloths, or a ring of toys.
- Accessory Display: Pegboards are perfect for organizing all those adorable but easy-to-lose accessories. Use small hooks and pegs to hang baby’s headbands, hats, and bibs.
- A Growing Storage Solution: As your baby becomes a toddler, the pegboard can change with them. It can become an art station, holding cups of crayons and scissors, or a place to hang dress-up clothes and accessories.
Its ultimate strength is its flexibility. You are not locked into one configuration. As your needs change, you can simply move the components around to create a whole new system. It’s a small investment for a storage solution that will serve your family for years.
Conclusion
Creating a nursery in a small space is not a limitation; it’s an invitation to be creative, intentional, and resourceful. As you can see from these seven hacks—from leveraging vertical space and multi-functional furniture to organizing every last drawer and reclaiming hidden corners—a functional and beautiful nursery is entirely within your reach. It’s not about having the most space, but about making the most of the space you have.
Remember to be kind to yourselves during this process. Setting up your baby’s first room is a profound act of love and preparation. Focus on creating a space that feels safe, calm, and efficient for you and your family. Every basket you place and every shelf you hang is part of building a nest for your new arrival. You are doing an amazing job, and soon, this small, wonderfully organized space will be filled with the biggest and most important thing of all: your new baby.