10 Viral Gender Reveal Projects You Can Make With A Cricut
The journey to parenthood is filled with incredible milestones, each one a precious memory in the making. One of the most exciting of these is discovering and sharing your baby’s gender. A gender reveal party is more than just an announcement; it’s a celebration of the new life you’re about to welcome, shared with the people who love and support you most. And what better way to make this moment uniquely yours than by crafting the reveal yourself?
For creative parents-to-be, the Cricut machine is a game-changer. It opens up a world of personalization, allowing you to infuse every detail with love and intention. Forget generic, store-bought decorations. With a little creativity and your trusty Cricut, you can design a reveal that’s not only beautiful but also deeply meaningful. This guide is here to walk you through 10 viral, fun, and heartfelt gender reveal projects. We’ll provide the steps, the inspiration, and the encouragement you need to create a day you’ll always cherish. Let’s get crafting!
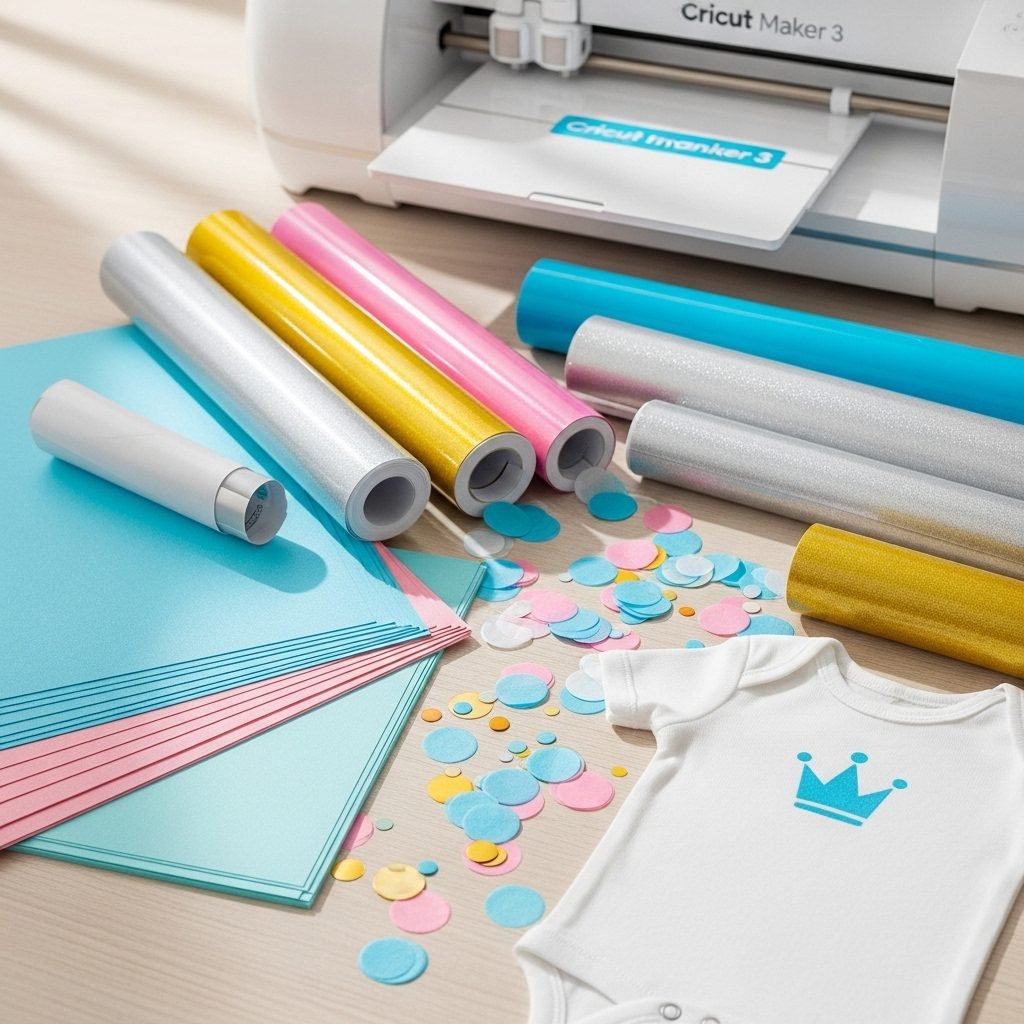
Your Cricut Gender Reveal Crafting Kit: The Essentials
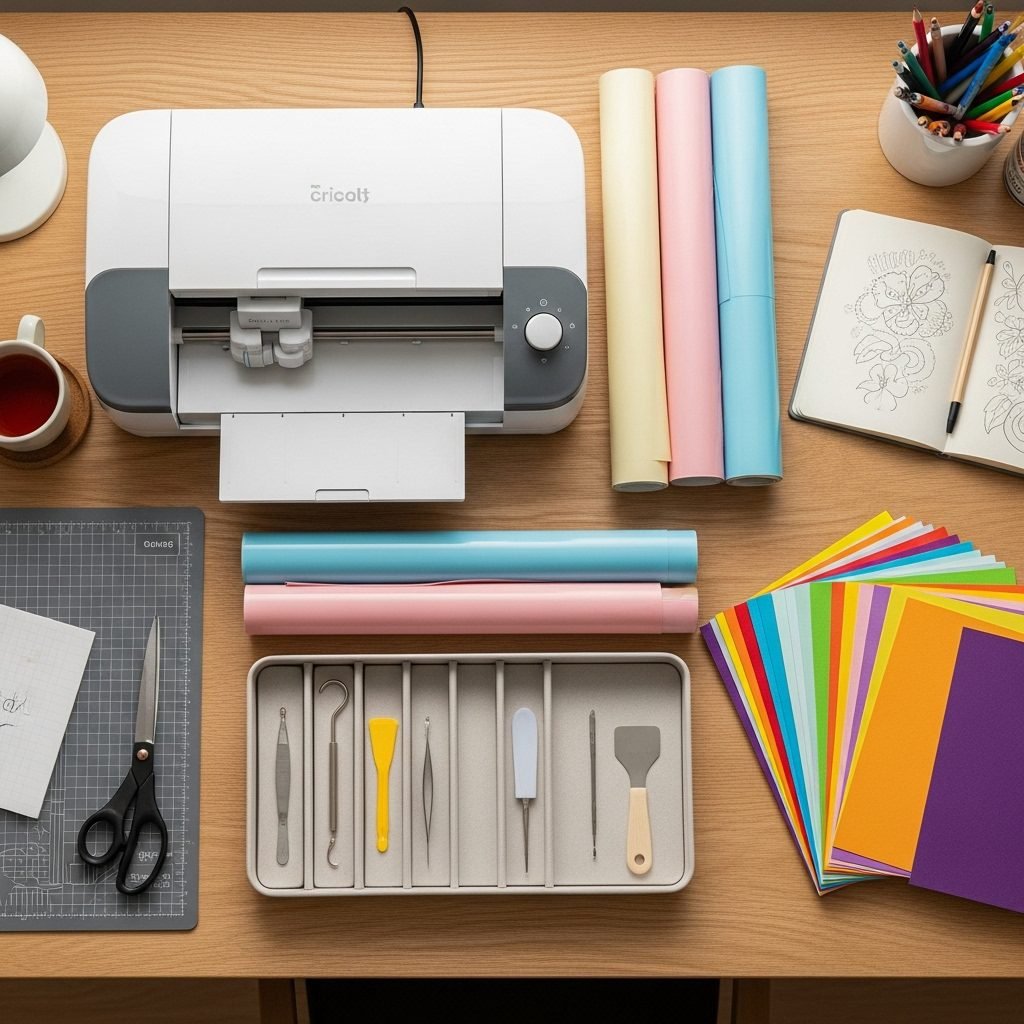
Before we dive into the specific projects, let’s gather our tools. Having these essentials on hand will make the creative process smooth and enjoyable. Think of this as your foundational kit for bringing any gender reveal vision to life.
Essential Supplies & Tools
- Cricut Machine: Any model will work (Joy, Explore, or Maker), but some projects with fabric or thicker materials are easier with the Explore or Maker series.
- Cutting Mats: A StandardGrip (green) and LightGrip (blue) mat are essential for cardstock and vinyl. A FabricGrip (pink) mat is needed for fabric projects.
- Cricut Design Space: The software where all the magic happens. Familiarize yourself with basic functions like uploading images, welding text, and selecting materials.
- Weeding Tools: A basic toolset with a weeder and scraper is a must-have for vinyl projects.
- Transfer Tape: Crucial for applying adhesive vinyl designs cleanly.
- Adhesive Vinyl: Stock up on pink, blue, gold, silver, and white removable or permanent vinyl.
- Heat Transfer Vinyl (HTV): For any fabric projects like onesies or t-shirts. You’ll need it in your chosen reveal colors.
- Cricut EasyPress or Heat Press: Essential for applying HTV correctly and ensuring it lasts. An iron can work in a pinch, but an EasyPress gives much better results.
- Cardstock: High-quality cardstock in various colors (especially pink, blue, and neutrals) is the backbone of many paper-based projects.
- Glue Gun or Craft Glue: For assembling 3D paper projects.
Having these items ready will empower you to tackle any of the projects on our list with confidence. Now, let’s get to the fun part!
Wearable Wonders: Onesies & T-Shirts for the Big Reveal
There’s something incredibly sweet about a tiny baby onesie. Using one as the centerpiece of your reveal creates a tangible keepsake. Likewise, custom t-shirts for family and guests can build excitement and make for fantastic photos.
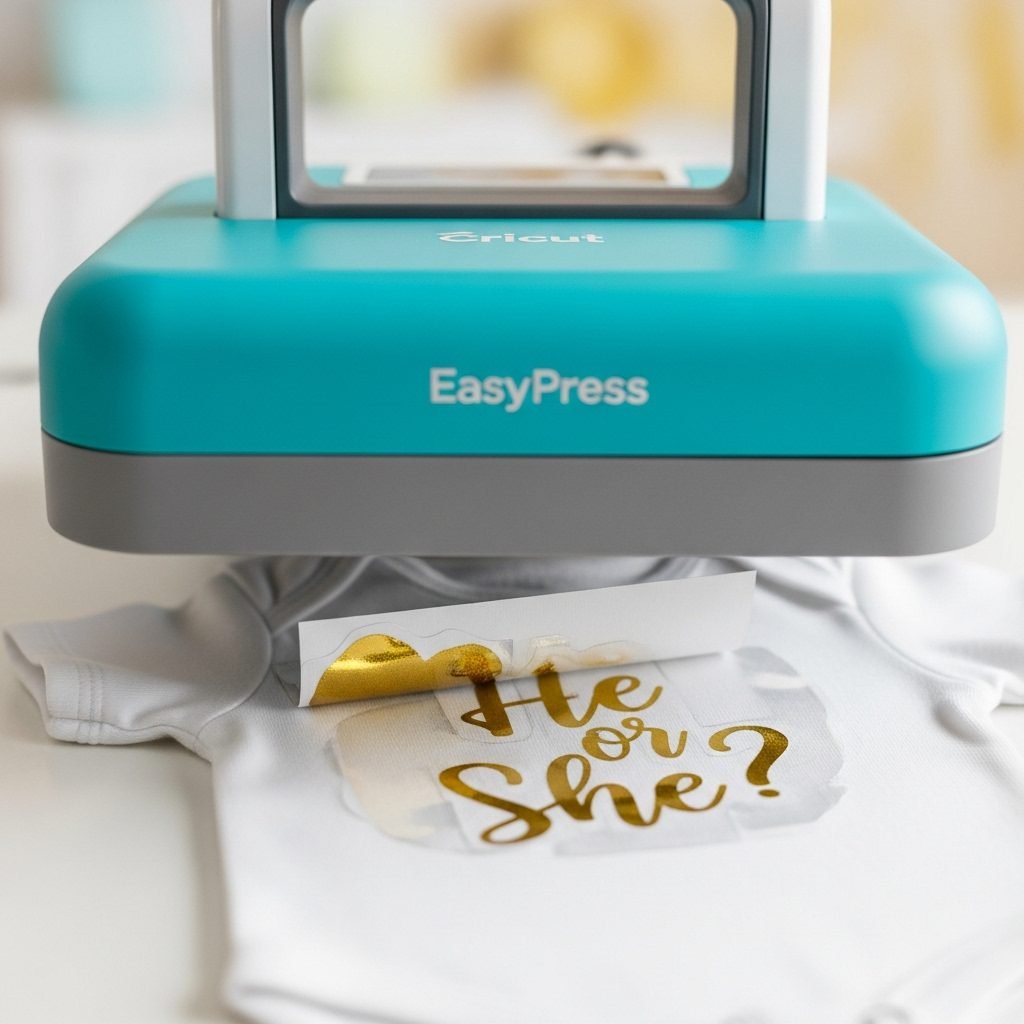
Project 1: The Classic ‘He or She?’ Reveal Onesie
This project involves creating a custom onesie that hides the gender until the big moment. You can have the big reveal printed on the inside or have a design that family members can interact with.
- What You’ll Need: A plain white baby onesie, pink and blue HTV, a neutral color HTV (like gold or gray), your Cricut, an EasyPress, and weeding tools.
- Design in Cricut Space: Create a design for the front of the onesie. Popular choices include ‘He or She, What Will I Be?’ or ‘Pink or Blue, We Love You’. Use a neutral color for this text.
- Cut & Weed: Mirror your design (very important for HTV!) and cut it from the neutral-colored HTV. Weed away the excess vinyl.
- Prepare the Reveal: On a separate canvas, type ‘It’s a Boy!’ or ‘It’s a Girl!’ in a simple font. Cut this from your chosen pink or blue HTV.
- Apply the Front Design: Preheat your onesie for 5 seconds. Place the neutral-colored design on the front and press according to your HTV instructions.
- The Secret Reveal: Carefully turn the onesie inside out. Place the pink or blue ‘It’s a Boy/Girl’ text on the inside, directly behind the front design. Press it. When you hold the onesie up to the light, the color will subtly show through, or you can simply turn it inside out for the reveal!
Project 2: ‘Team Pink’ vs. ‘Team Blue’ Guest T-Shirts
Get your guests involved in the fun! Have them pick a team by grabbing a custom t-shirt or pin upon arrival.
- What You’ll Need: Plain t-shirts (in white, gray, or black), pink and blue HTV, Cricut, EasyPress.
- Create the Designs: In Design Space, create simple text designs like ‘Team Girl’, ‘Team Boy’, ‘Team Lashes’, or ‘Team Staches’. Make sure you have both a pink and blue version ready.
- Cut in Bulk: Measure your t-shirts and size the designs accordingly. Mirror the images and cut as many as you need for your guests. Weeding simple text can be done quickly.
- Set Up a Pressing Station: At your party, you can have a fun DIY station where guests can press their own shirt (with supervision!), or you can pre-make them.
- Press and Distribute: Follow the pressing instructions for your HTV. Lay out the shirts for guests to choose as they arrive. It’s a great icebreaker and a fun way to build anticipation.
Interactive Fun: Puzzles & Scratch-Off Surprises
An interactive reveal gets everyone involved and builds suspense. These projects are less about a single ‘pop’ and more about a shared moment of discovery.
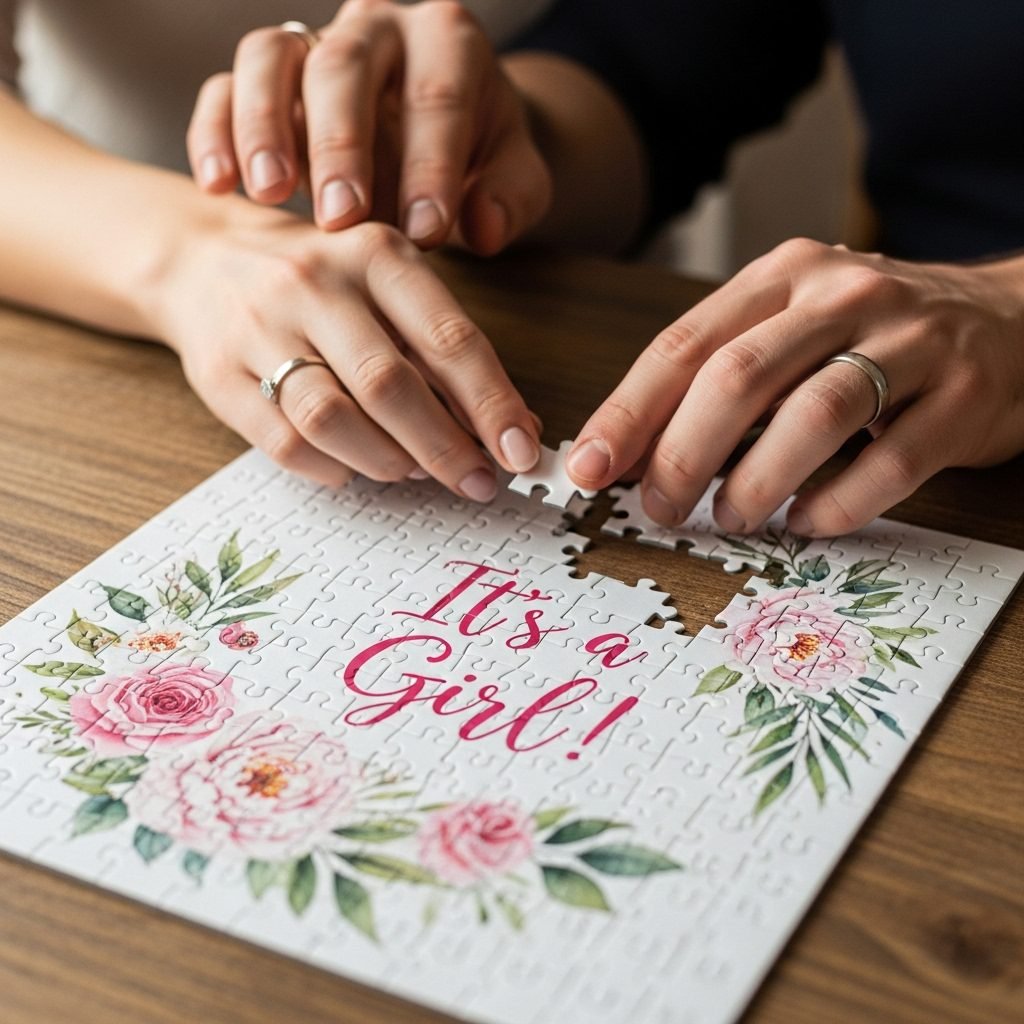
Project 3: Custom ‘It’s a…’ Jigsaw Puzzle
A custom puzzle is a wonderful, gentle way to reveal the news, especially for grandparents or close family. The final image comes together to share your secret.
- What You’ll Need: Cricut Maker with Knife Blade, chipboard (2mm), printable vinyl or a high-quality photo print, and a strong adhesive spray.
- Design Your Reveal Image: Create a beautiful image in a program like Canva or Photoshop that says ‘It’s a Girl!’ or ‘It’s a Boy!’ surrounded by sweet graphics. Save it as a high-quality PNG or JPG.
- Print Then Cut: Upload your image to Design Space. Use the ‘Print Then Cut’ feature to print it on printable vinyl. If not using printable vinyl, print it on photo paper.
- Adhere to Chipboard: Carefully apply the printed design onto the Cricut Chipboard. Use a brayer to smooth out any bubbles.
- Find a Puzzle Template: In Design Space, search for ‘puzzle’ templates. Choose one that fits the size of your chipboard.
- Cut the Puzzle: Secure the chipboard to a StrongGrip mat with masking tape. Insert the Knife Blade into your Maker and follow the on-screen prompts. This cut takes time, so be patient!
- Box it Up: Once cut, break apart the pieces and place them in a beautiful box for the recipient to assemble.
Project 4: DIY Gender Reveal Scratch-Off Cards
Who doesn’t love the suspense of a scratch-off ticket? These are easy to make in batches and perfect for mailing to long-distance relatives or handing out at a party.
- What You’ll Need: White cardstock, your Cricut with a pen and fine-point blade, a printer, and scratch-off sticker paper (or a DIY recipe of acrylic paint and dish soap).
- Design the Card: Create a simple 4×6 inch card design. Include a cute phrase like ‘Scratch to Reveal!’ and leave a designated circle or heart shape for the reveal message.
- Write and Cut: Use the Cricut pen feature to write ‘It’s a Boy!’ or ‘It’s a Girl!’ inside the designated shape on your cardstock. Then, have the machine cut out the card shape.
- Create the Scratch-Off Cover: In Design Space, create a shape that is slightly larger than your reveal text area (e.g., if you wrote in a 1.5-inch circle, create a 1.6-inch circle).
- Cut the Sticker Paper: Cut this cover shape out of scratch-off sticker paper.
- Assemble: Carefully place the scratch-off sticker over the text you wrote with the Cricut pen. Your cards are now ready to be handed out with a penny for scratching!
Decor That Delights: Banners, Boxes, and Poppers

Your party decor sets the entire mood. With a Cricut, you can create a cohesive and personalized theme that wows your guests from the moment they walk in.
Project 5: Personalized ‘Baby [Last Name]’ Banner
A beautiful banner serves as the perfect backdrop for photos and the reveal itself. It’s a piece you can even save for the nursery.
- What You’ll Need: High-quality cardstock in pink, blue, and a metallic accent color (like gold or silver), twine or ribbon, and craft glue.
- Design the Letters: In Design Space, type out your desired phrase, such as ‘Oh Baby’ or ‘Baby [Last Name]’. Choose a font you love.
- Create an Offset Layer: Use the ‘Offset’ tool to create a background layer for each letter. This makes the text pop.
- Cut the Layers: Cut the main letters from your neutral/metallic color and the offset backgrounds from alternating pink and blue cardstock.
- Assemble: Glue the letters onto their corresponding backgrounds. Use a hole punch or your Cricut to cut small holes in the top corners of each background piece.
- String it Up: Thread your ribbon or twine through the holes, and your custom banner is ready to hang.
Project 6: Confetti Popper Reveal
For a dramatic and photo-worthy moment, nothing beats a confetti explosion. You can customize the poppers to match your theme.
- What You’ll Need: Push-pop containers, cardstock or vinyl for decorating, and confetti in the reveal color (blue or pink) mixed with neutral colors like gold and white.
- Create a Wrapper: Measure the label area of your push-pop containers. In Design Space, create a rectangle to this size. Add text like ‘Pop to See!’ or your party’s hashtag.
- Cut and Apply: Use the ‘Print Then Cut’ feature on sticker paper, or cut the design from vinyl. Wrap it around each container.
- Fill with Confetti: This is the secret part! Have a trusted friend or the ultrasound tech fill the containers with the correct color confetti. Mix in neutrals to help conceal the color.
- Seal and Display: Place the lids back on and display them for guests to grab right before the big moment. On the count of three, everyone pushes up for a shower of color!
Sweet Surprises & Thoughtful Favors

Incorporate your reveal into the treats and favors to give your guests a sweet memory to take home. These small details make a big impact.
Project 7: Themed Cupcake Toppers
Elevate simple cupcakes into adorable themed desserts. This is a quick and easy project that adds a professional touch.
- What You’ll Need: Cardstock (pink, blue, glitter), toothpicks or small food-safe sticks, and a hot glue gun.
- Find or Create Shapes: In Design Space, search for simple shapes like onesies, baby feet, question marks, or bows.
- Size and Cut: Size the shapes to be about 2 inches wide. Create offset layers for a multi-dimensional look. Cut them from various coordinating colors of cardstock.
- Assemble: Glue the layers together. Then, use a small dot of hot glue to attach a toothpick to the back of each topper.
- Decorate: Insert the finished toppers into your cupcakes for an instant upgrade.
Project 8: ‘Ready to Pop’ Favor Boxes
Send your guests home with a thank you gift that cleverly ties into the baby theme. These little boxes can be filled with popcorn, gumballs, or other small treats.
- What You’ll Need: Cardstock, your Cricut with a scoring tool (Scoring Stylus or Wheel), and your chosen favors.
- Find a Box Template: Search ‘favor box’ in Design Space images. There are hundreds of templates available. Choose one that is easy to assemble.
- Customize the Box: Before cutting, add a small ‘cutout’ shape or use the pen tool to write ‘Thanks for Popping By!’ on one of the panels.
- Score and Cut: Load your scoring tool and fine-point blade. The Cricut will first score the fold lines and then cut the box outline.
- Fold and Fill: Carefully fold along the scored lines and assemble the box. Fill with your treats and display them on a table for guests to take as they leave.
Unique Keepsakes: Beyond the Party

Some of the most special reveal projects are the ones that become cherished keepsakes long after the party is over. These ideas create a lasting memory of this incredible milestone.
Project 9: Gender Reveal Shadow Box
A shadow box is a beautiful way to commemorate the day. You can create a design that incorporates the ultrasound photo and the big news.
- What You’ll Need: A shadow box, adhesive vinyl, cardstock, your ultrasound picture, and other small mementos (like a hospital bracelet or baby shoes).
- Design the Vinyl Lettering: In Design Space, create the text you want on the glass. This could be ‘It’s a Boy!’, the baby’s name if you’ve chosen it, and the due date.
- Cut and Transfer: Cut the design from adhesive vinyl. Use transfer tape to carefully apply it to the front of the shadow box glass.
- Create the Background: Cut a piece of decorative cardstock to fit the inside back of the shadow box.
- Arrange and Assemble: Mount your ultrasound photo on the cardstock background. Add other meaningful items. You could even include some of the confetti from your reveal! Secure the back of the shadow box, and you have a beautiful piece of art for the nursery.
Project 10: Heat-Reveal Coffee Mugs
This is a truly magical reveal, perfect for surprising grandparents or your partner. A seemingly plain black mug reveals the message when a hot beverage is poured inside.
- What You’ll Need: A Cricut Mug Press, a color-changing or heat-sensitive sublimation mug blank, and Infusible Ink transfer sheets.
- Design in Reverse: Create your ‘It’s a Girl!’ or ‘It’s a Boy!’ design in Design Space using a Mug Press template. Remember to mirror the design.
- Cut the Infusible Ink: Place the Infusible Ink sheet liner-side down on a StandardGrip mat and cut your design.
- Weed and Apply: Weed the design. Be careful to do this with your hands, not sharp tools. Wrap the design tightly around the heat-sensitive mug, securing it with heat-resistant tape.
- Press Your Mug: Place the mug in the preheated Cricut Mug Press and press the button. The machine handles the rest!
- The Magic Moment: Once the mug is completely cool, it will appear solid black (or dark blue). The magic happens when you pour in coffee, tea, or hot water, and the message slowly appears. It’s a reveal that keeps on giving with every morning cup.
Conclusion
Celebrating the upcoming arrival of your little one is a profoundly personal and joyous experience. By choosing to create your own gender reveal elements with a Cricut, you’re not just planning a party; you’re weaving your love, hope, and excitement into every detail. Whether you opted for a dramatic confetti pop, a quiet puzzle assembly, or a sweet onesie that will one day be worn by your baby, you’ve made the moment entirely your own.
Remember, this journey is yours. There is no right or wrong way to celebrate. The most important thing is the love that surrounds your growing family. We hope these projects have inspired you to get creative and have fun during this special time. Congratulations on your growing family. The best is yet to come.